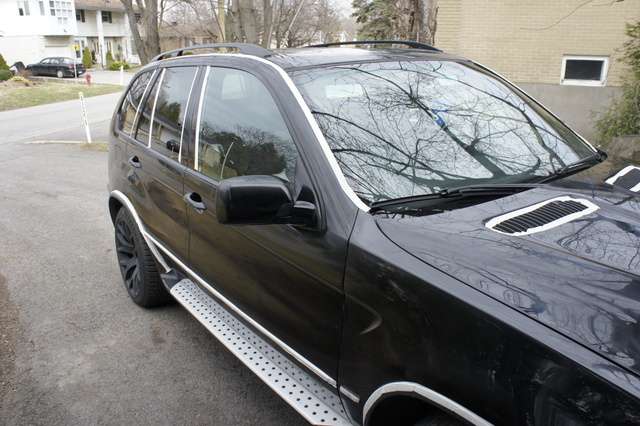
J’ai bien aimé comment la X5 est arrivé dans mon entré entouré de 3 motos ! Vous étiez brave à 8 degrée celcius boys! Après avoir vendu sa belle voiture la saison passée, je le retrouve maintenant avec ce camion. Pas mal différent come contraste!
With that said, let’s jump to the core of the job :
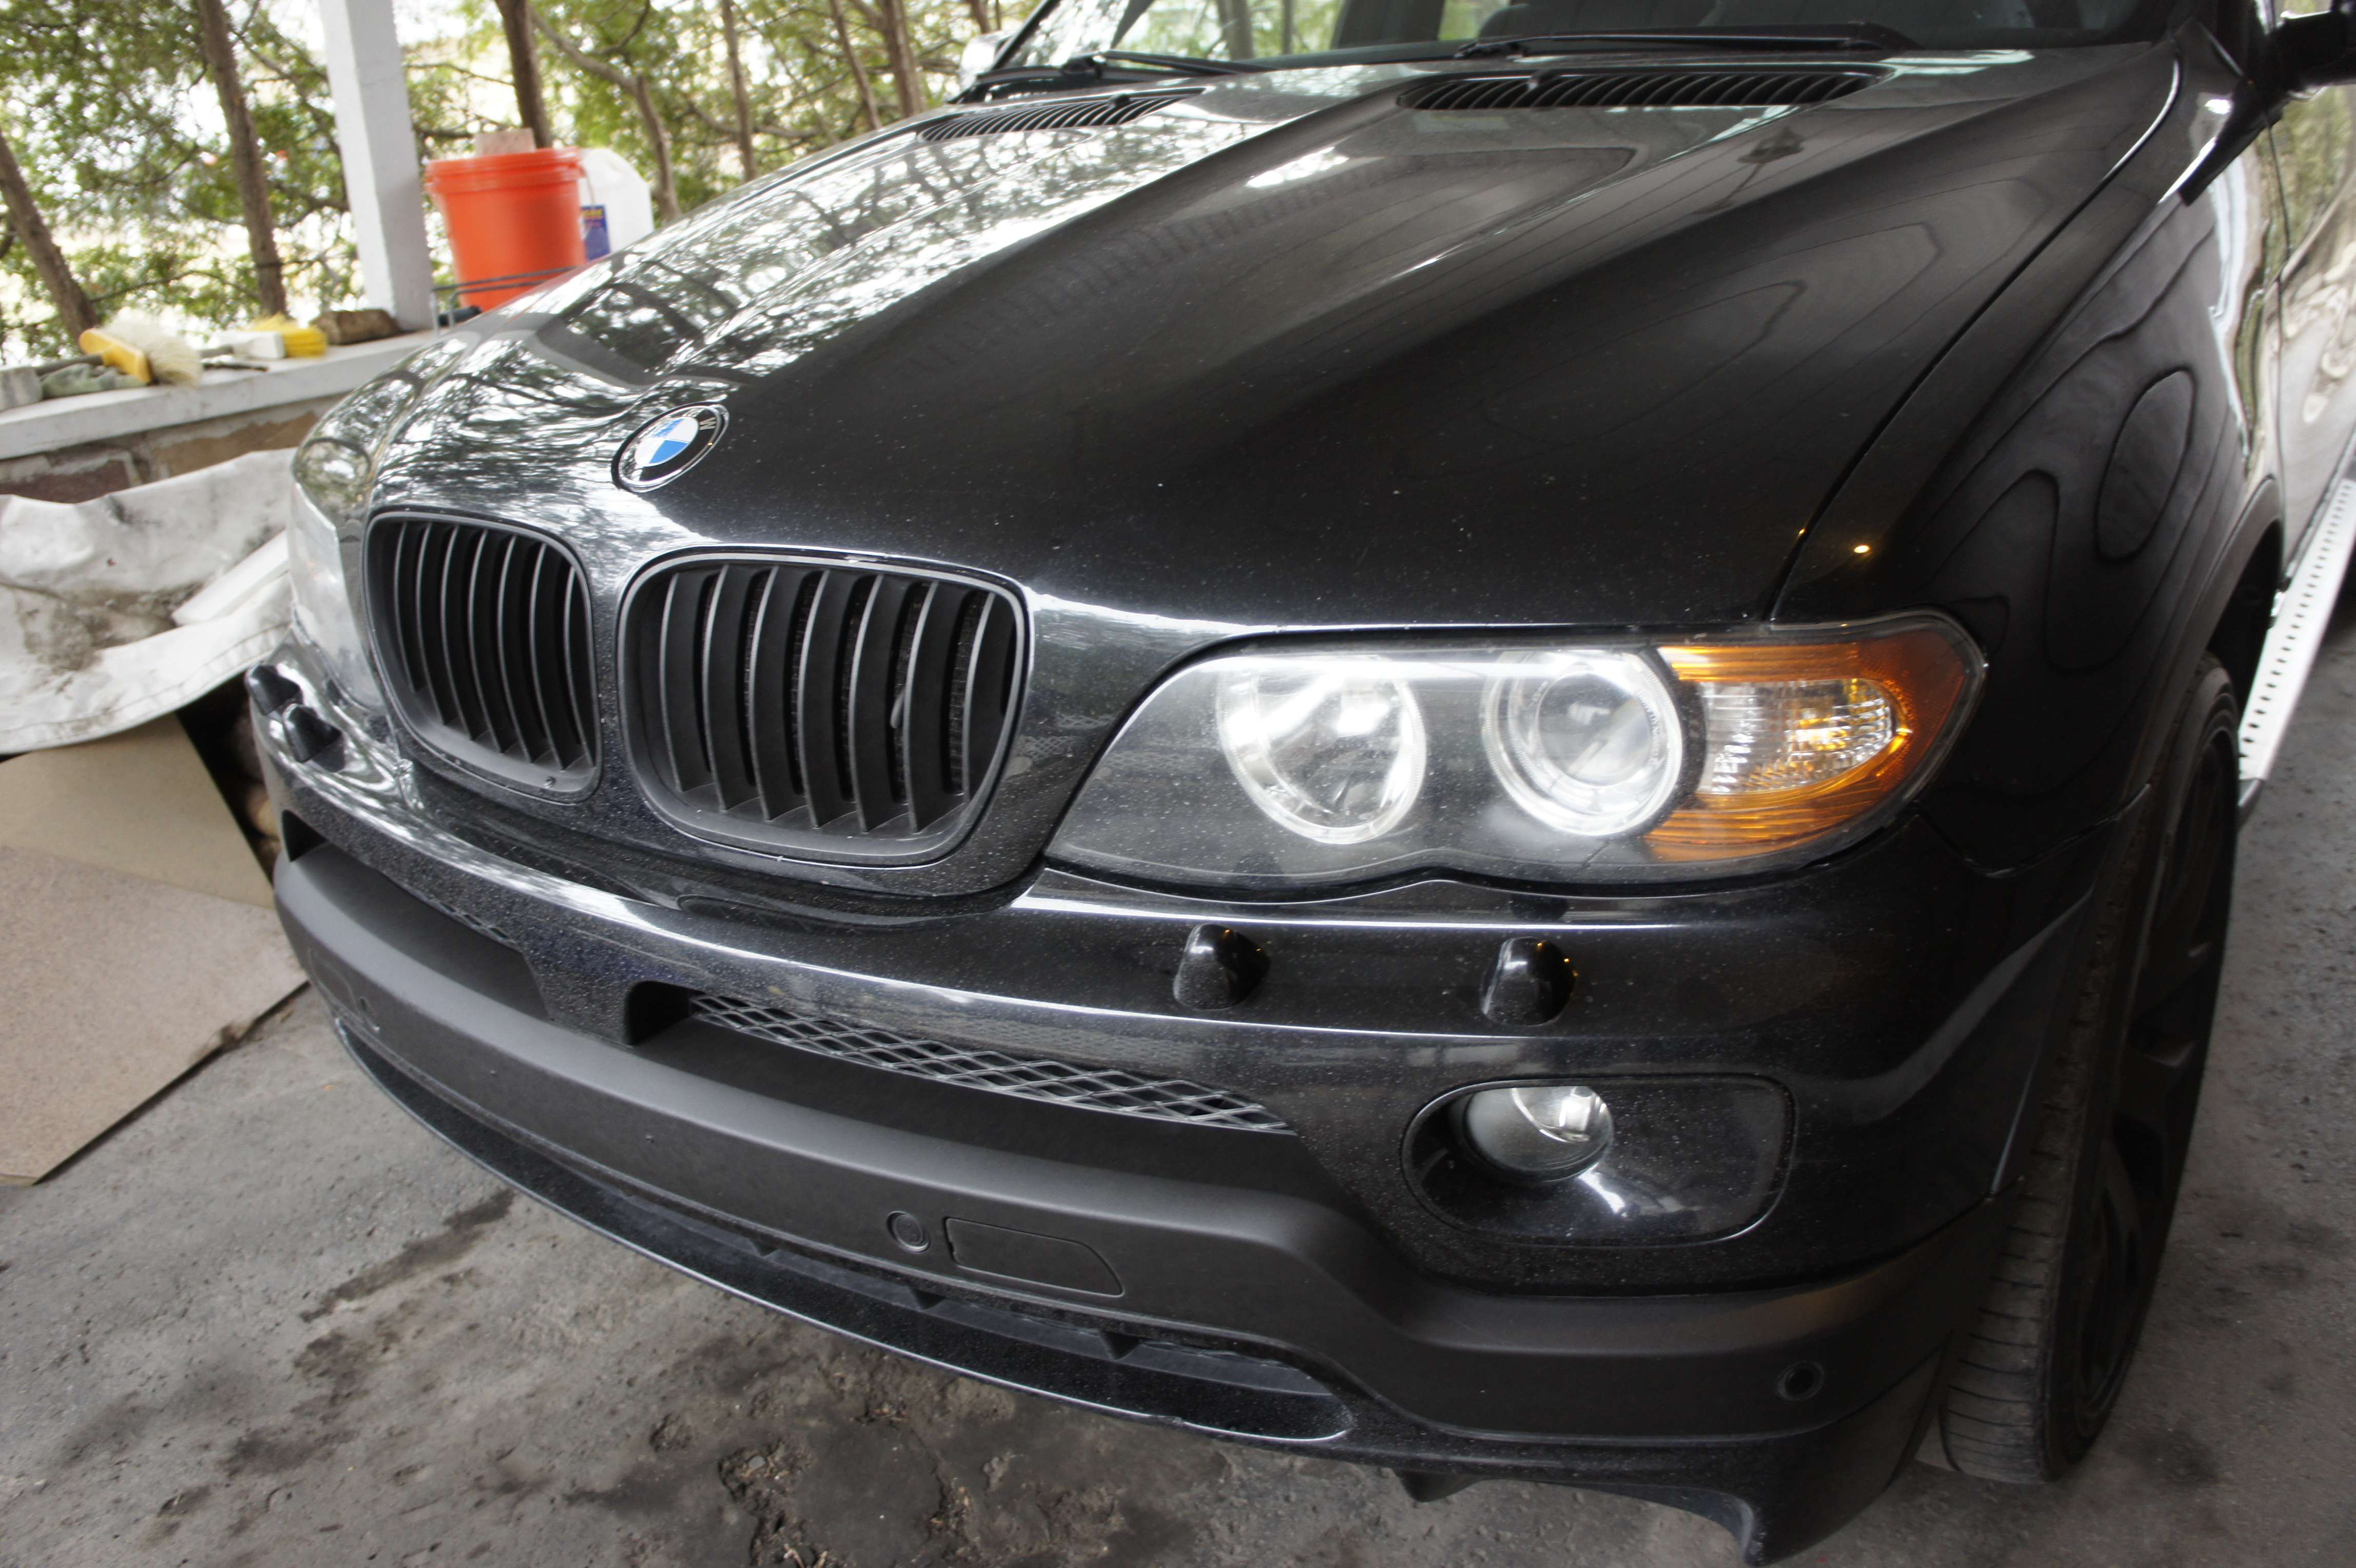
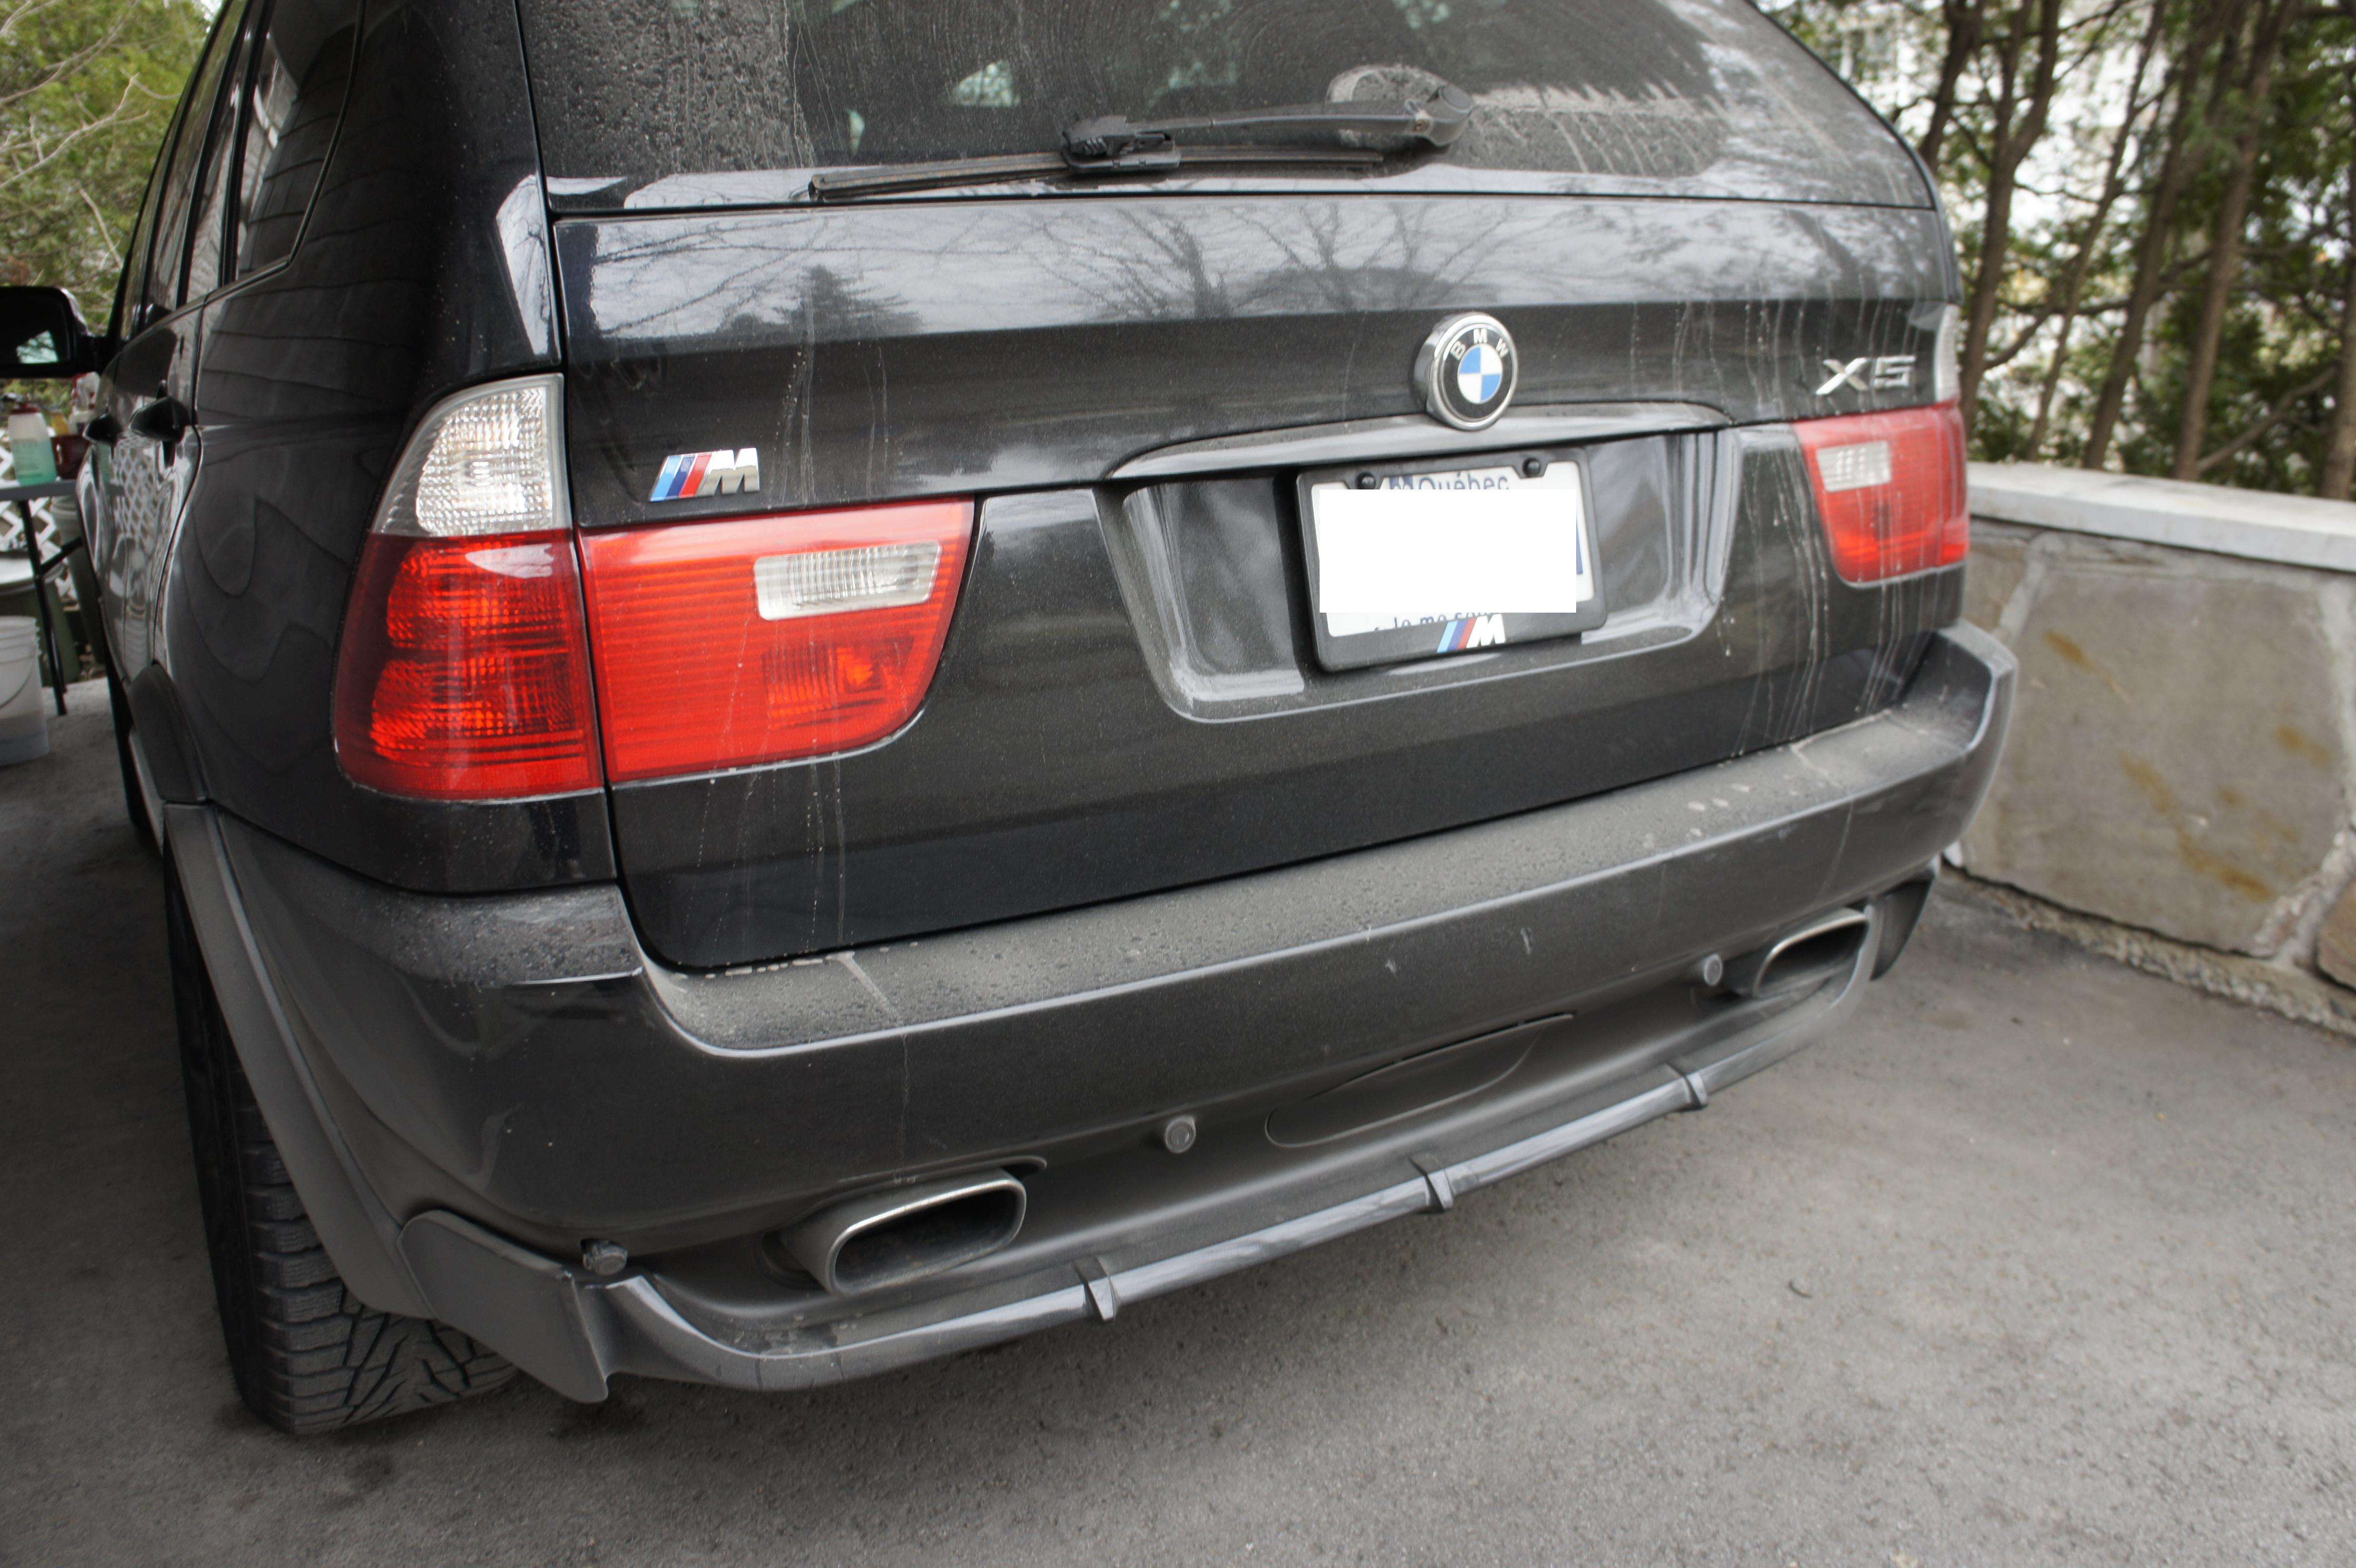
Here’s how I got the car :
Cleaning-step:
Voici comment je procède toujours pour la preparation d’un polissage:
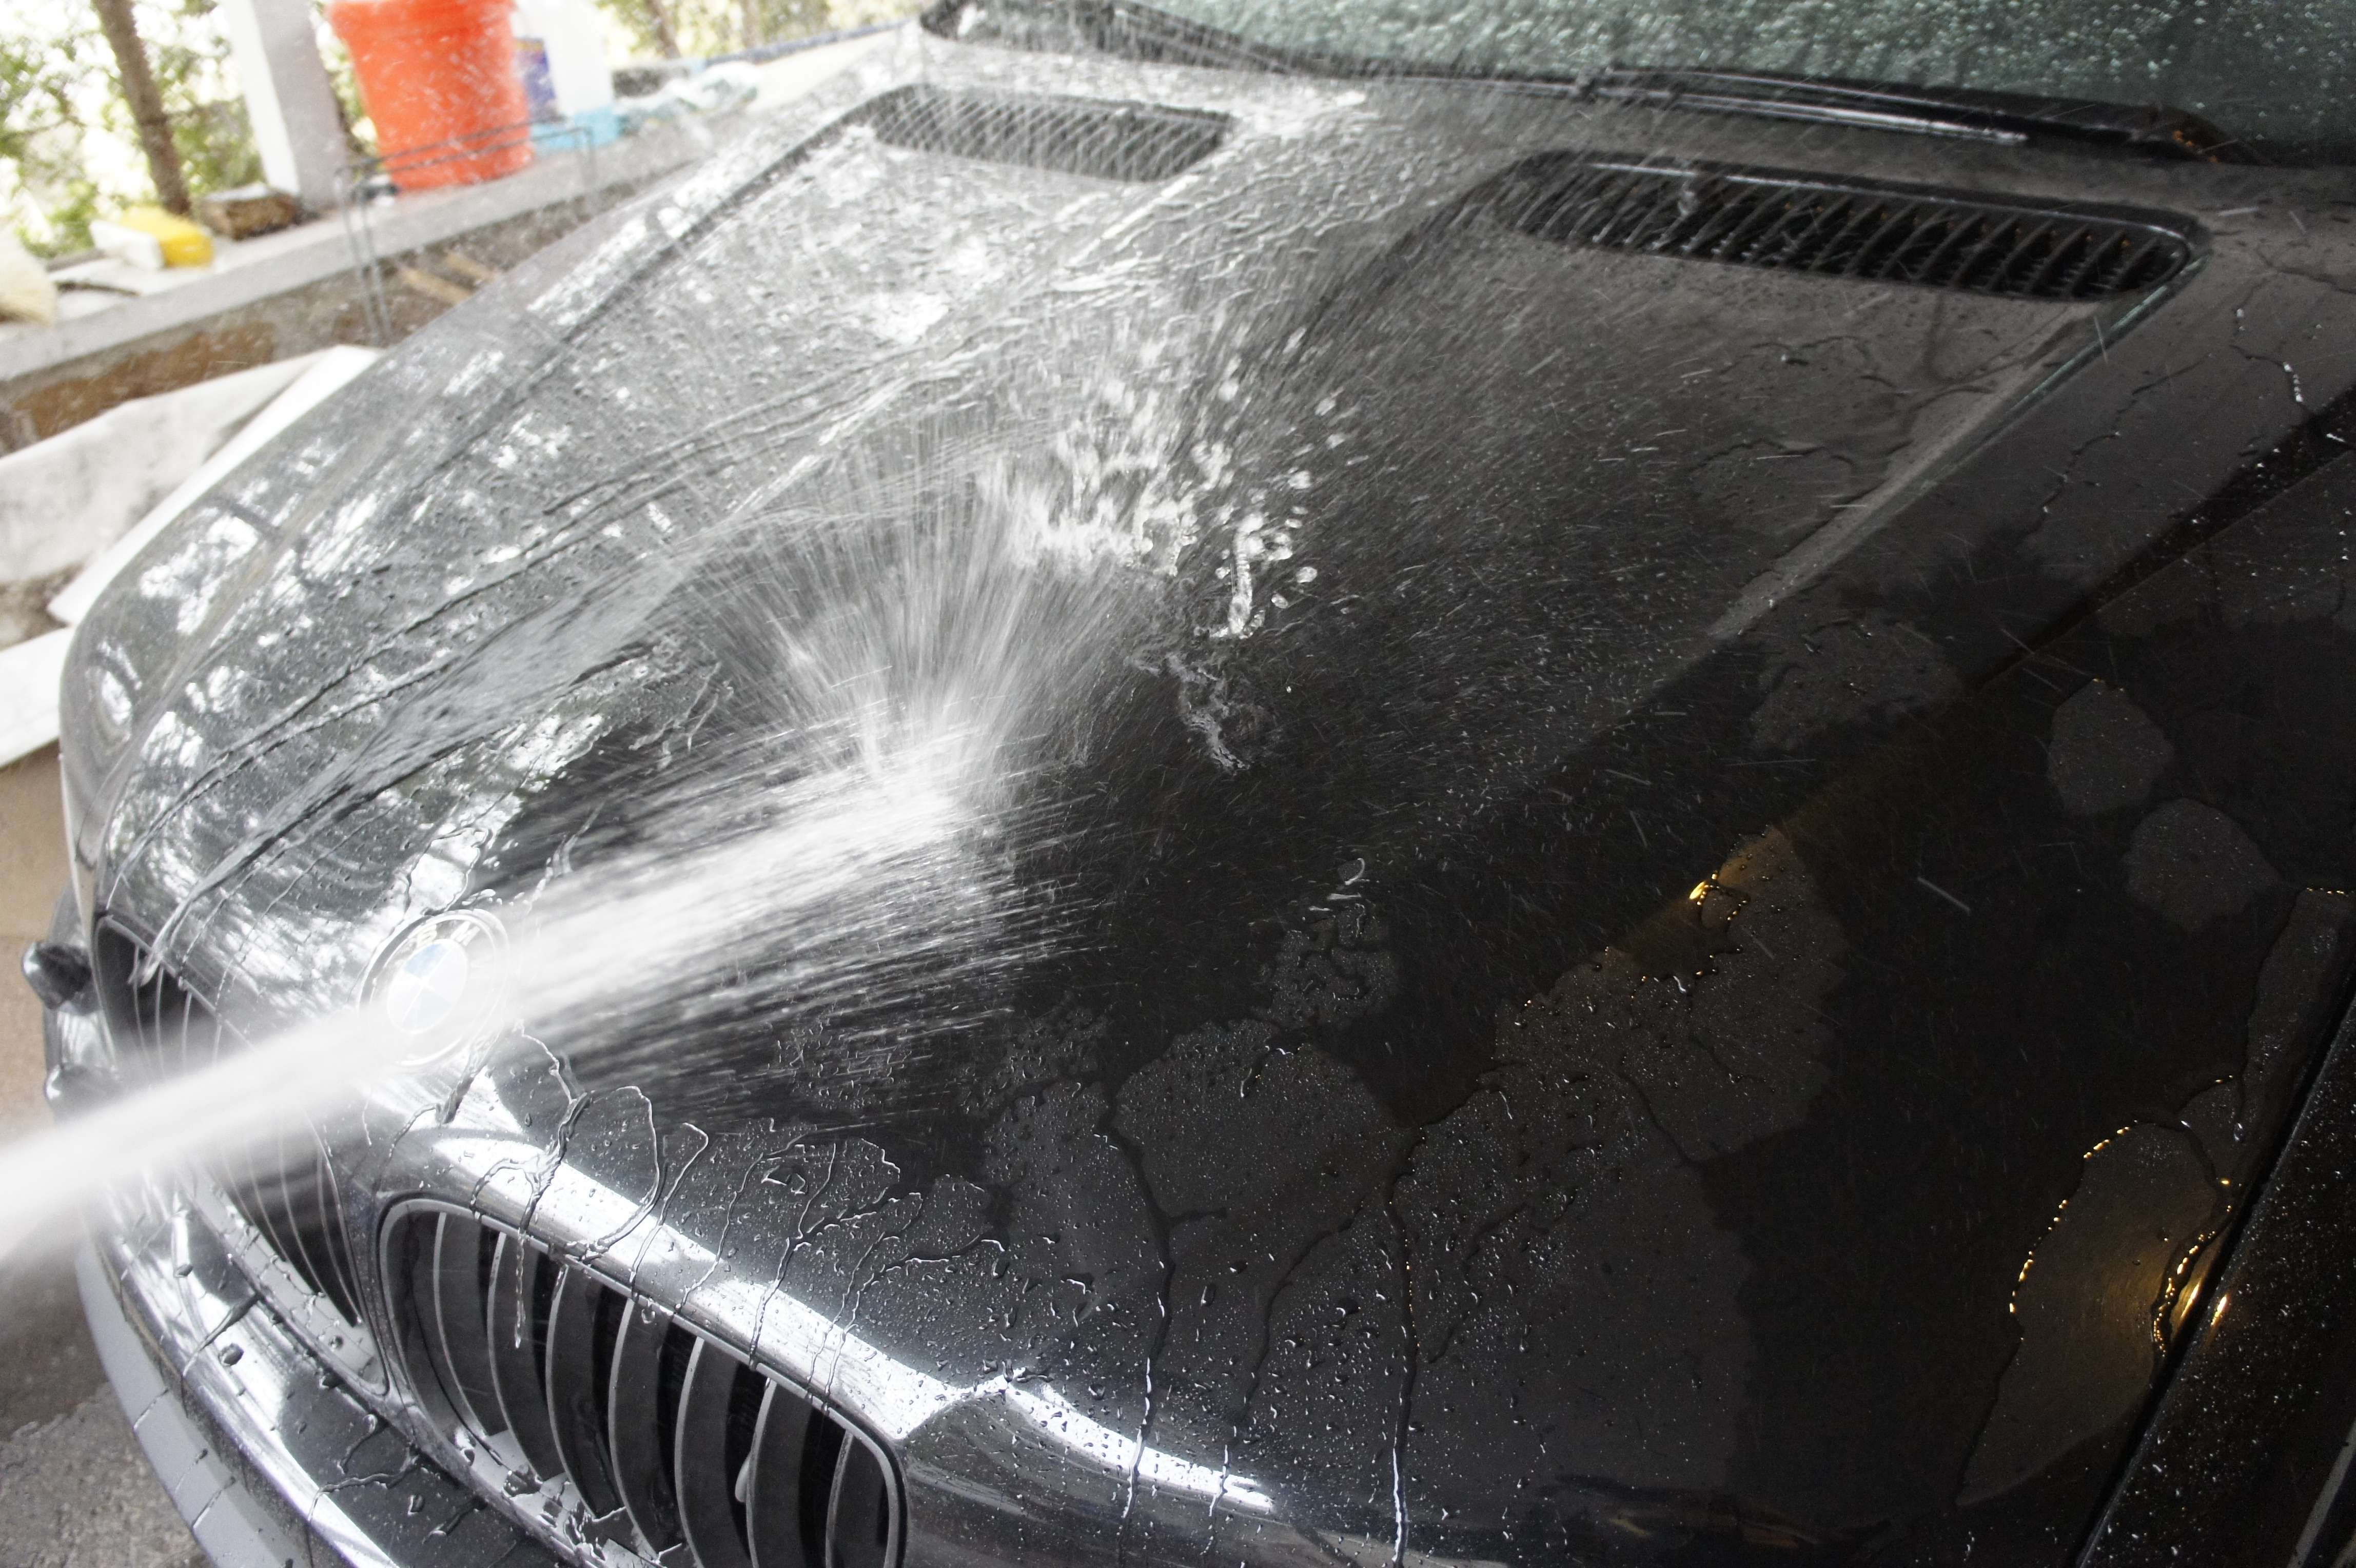
1. Rinse the car to remove some dirt :
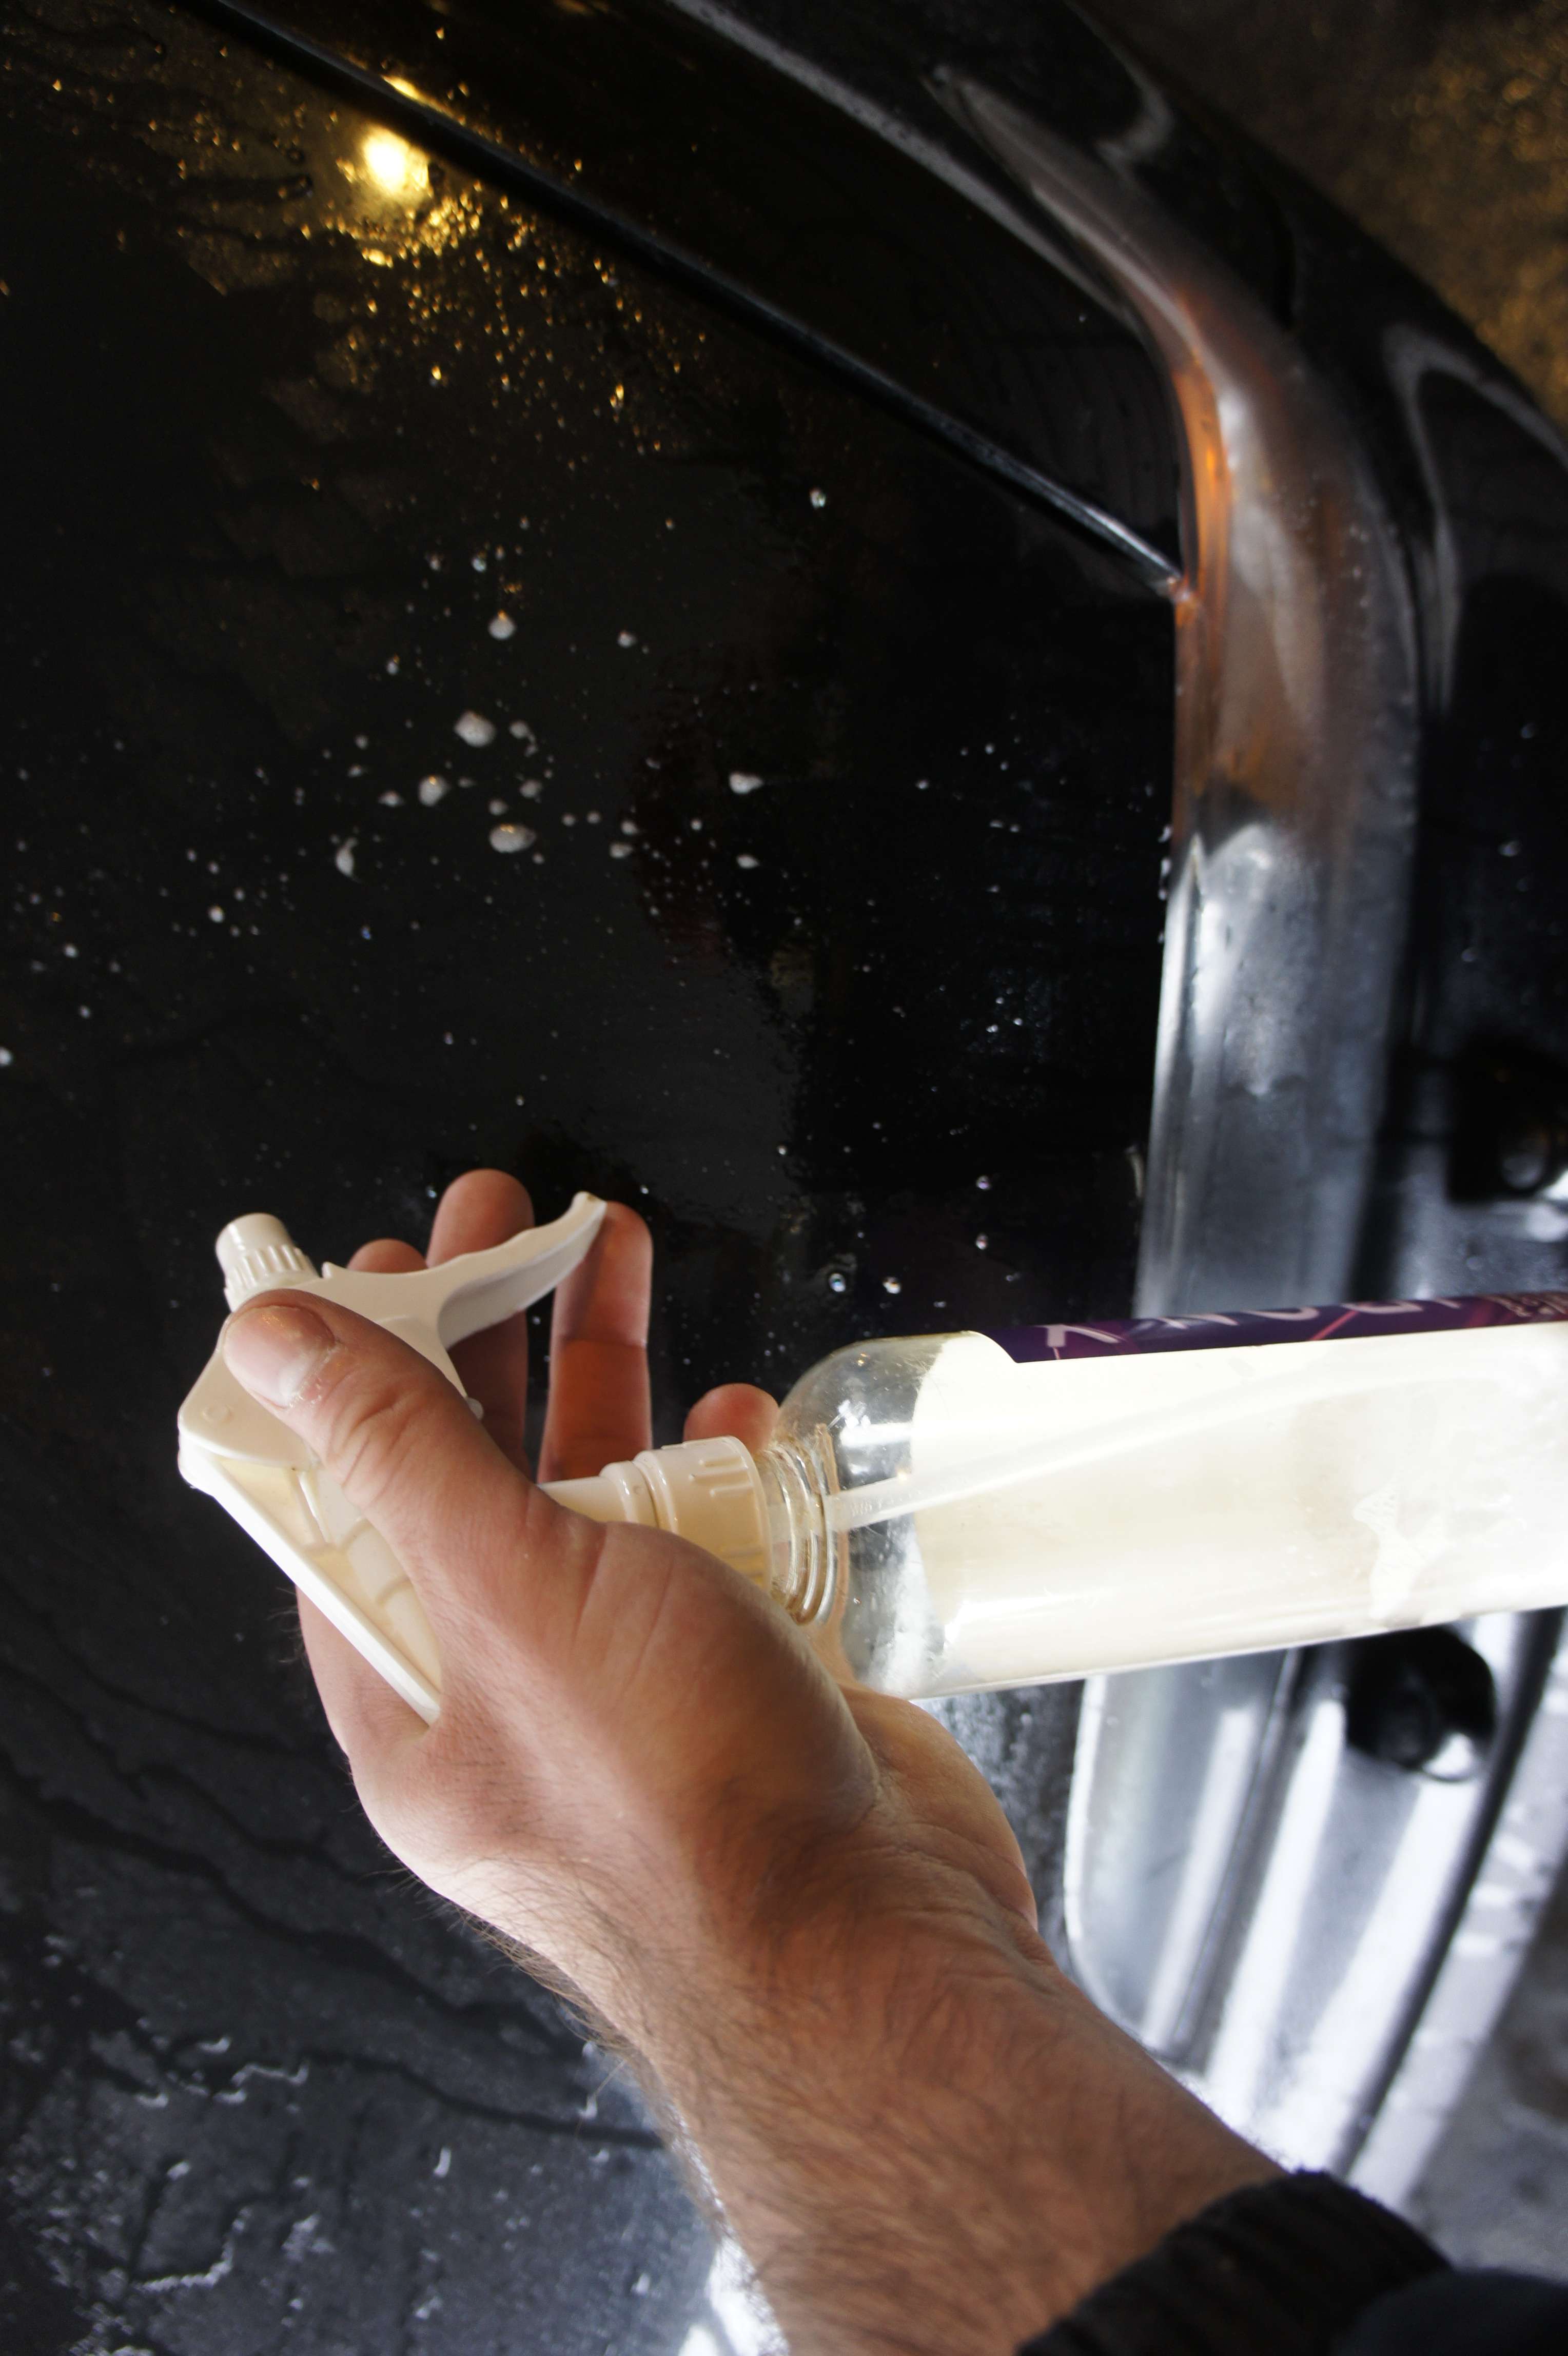
2. I then foam the car:
Gotta love thick foam!
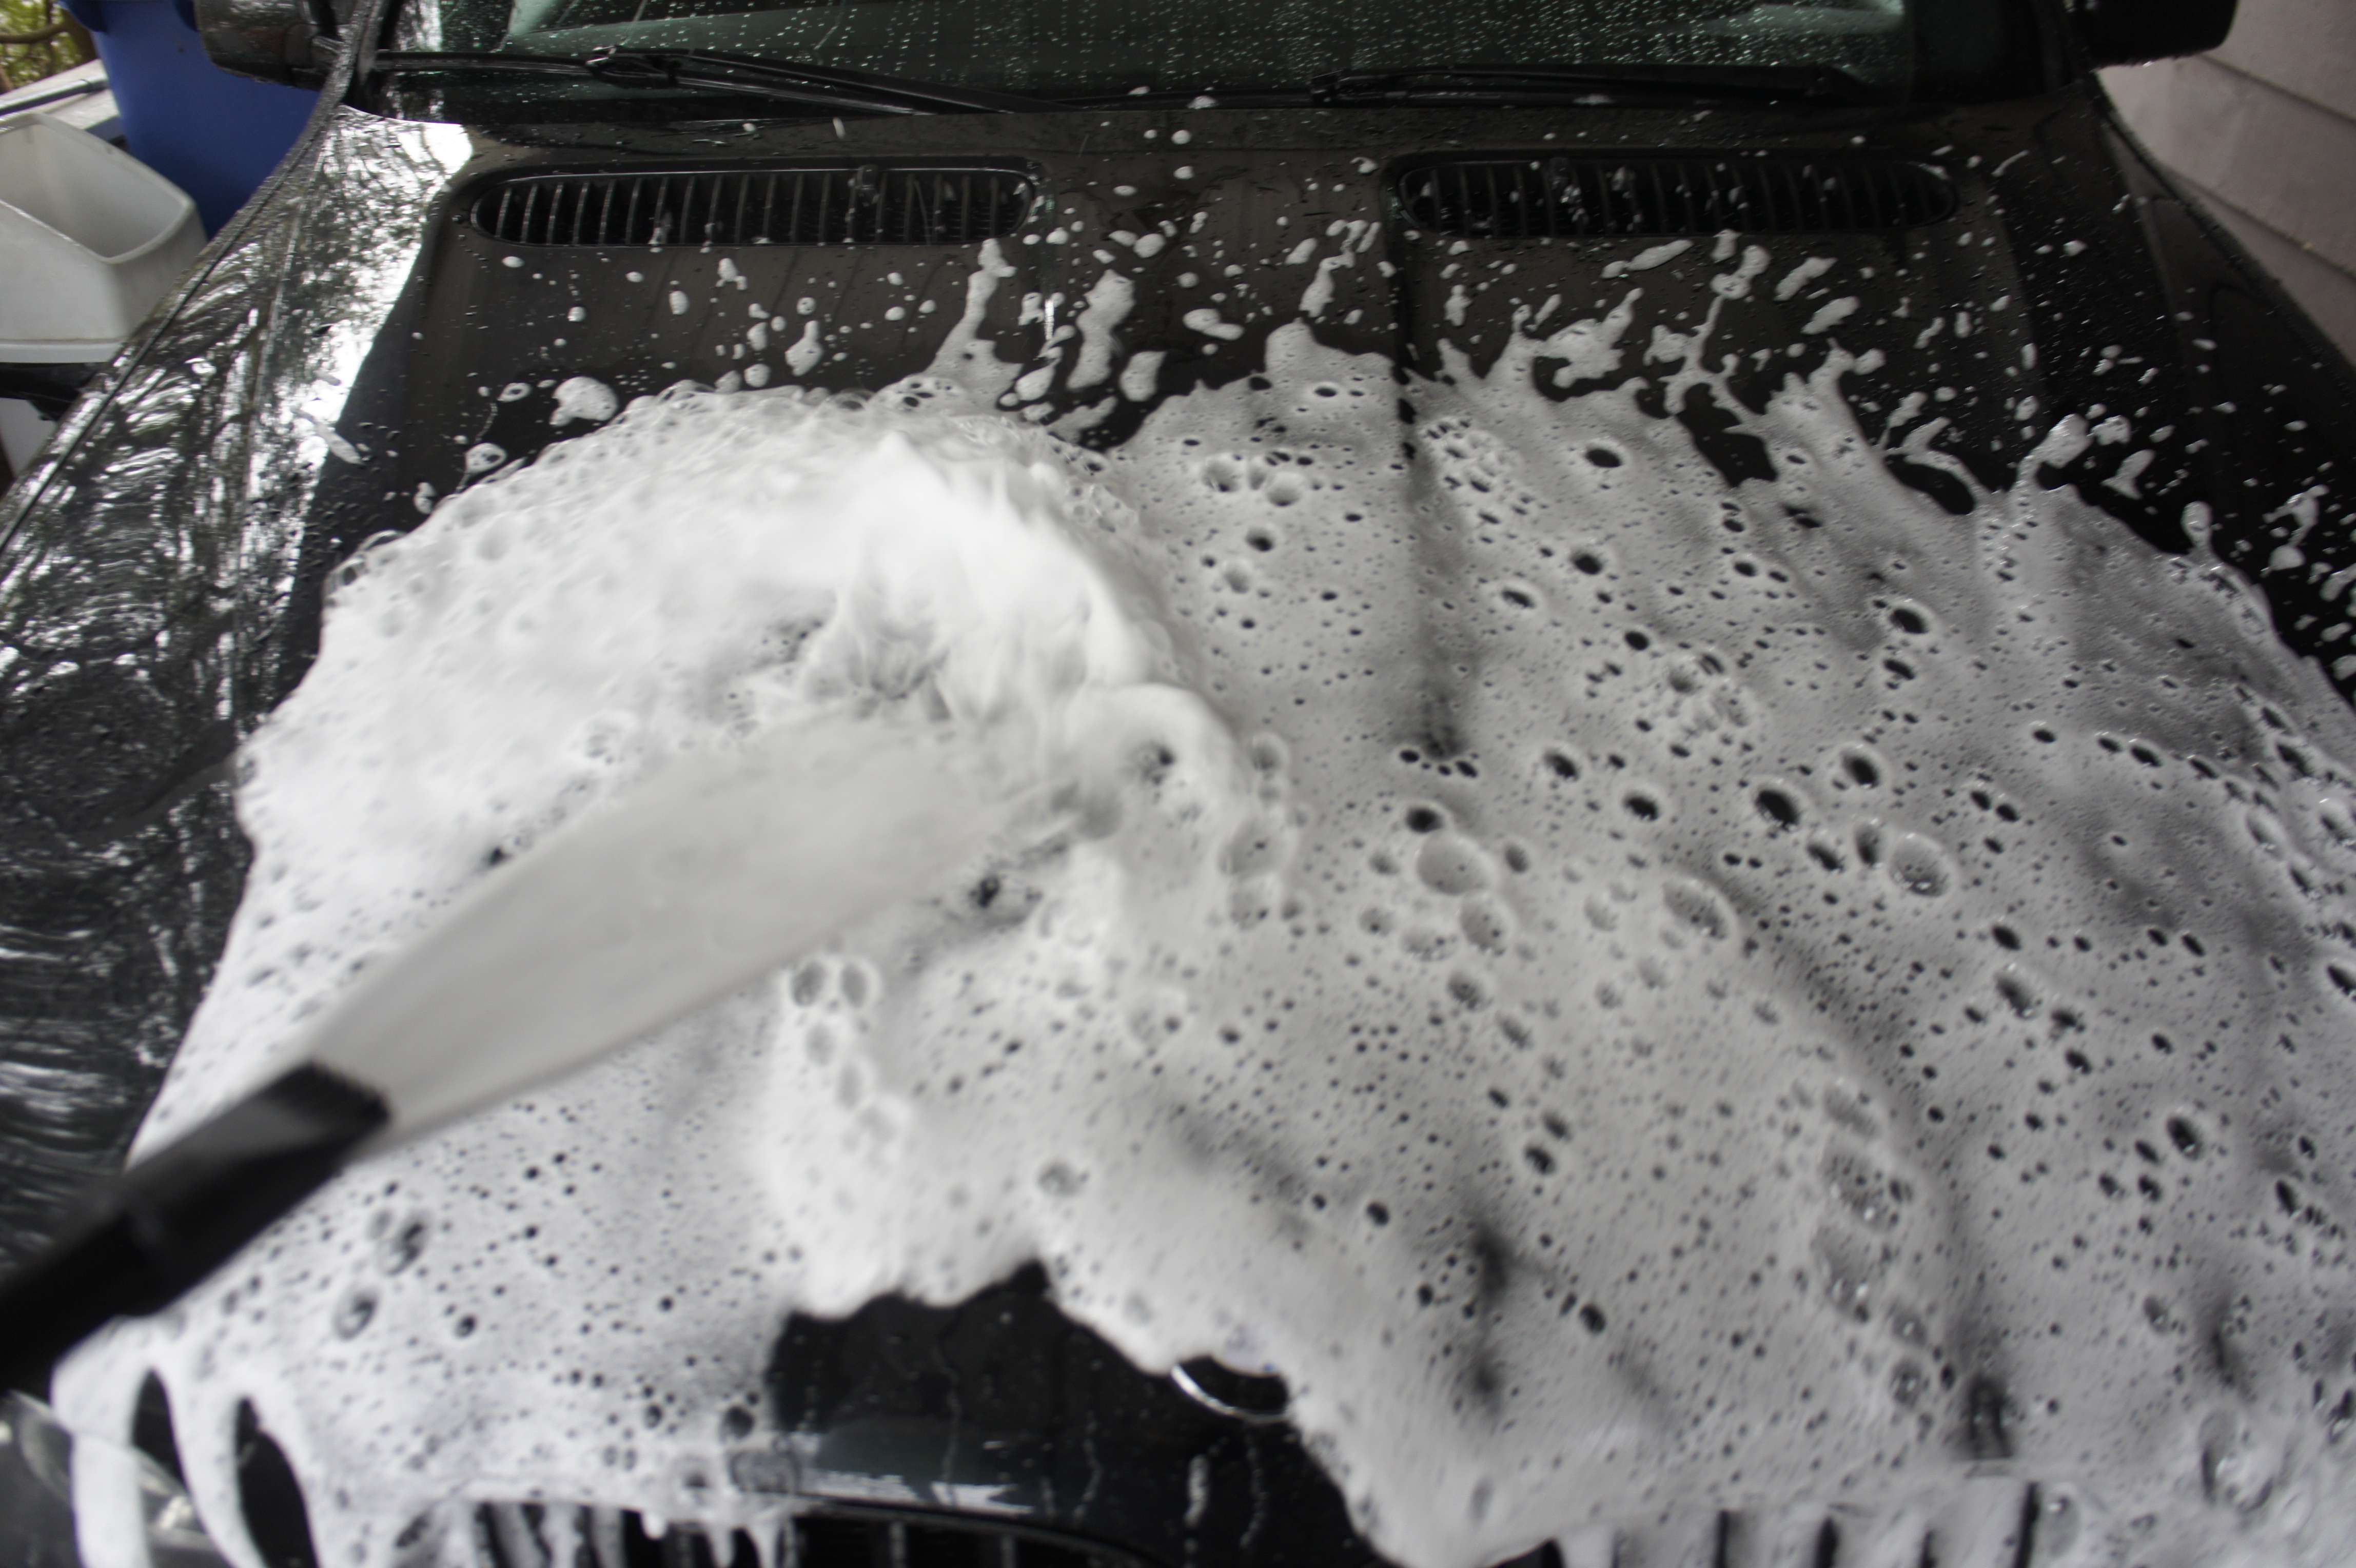
3. I let the foam dwell and works in every crevice of the car and the meantime, I fill up my bucket.
Notice that my bucket have 4 grit guard to keep most of the dirt under the Guard.
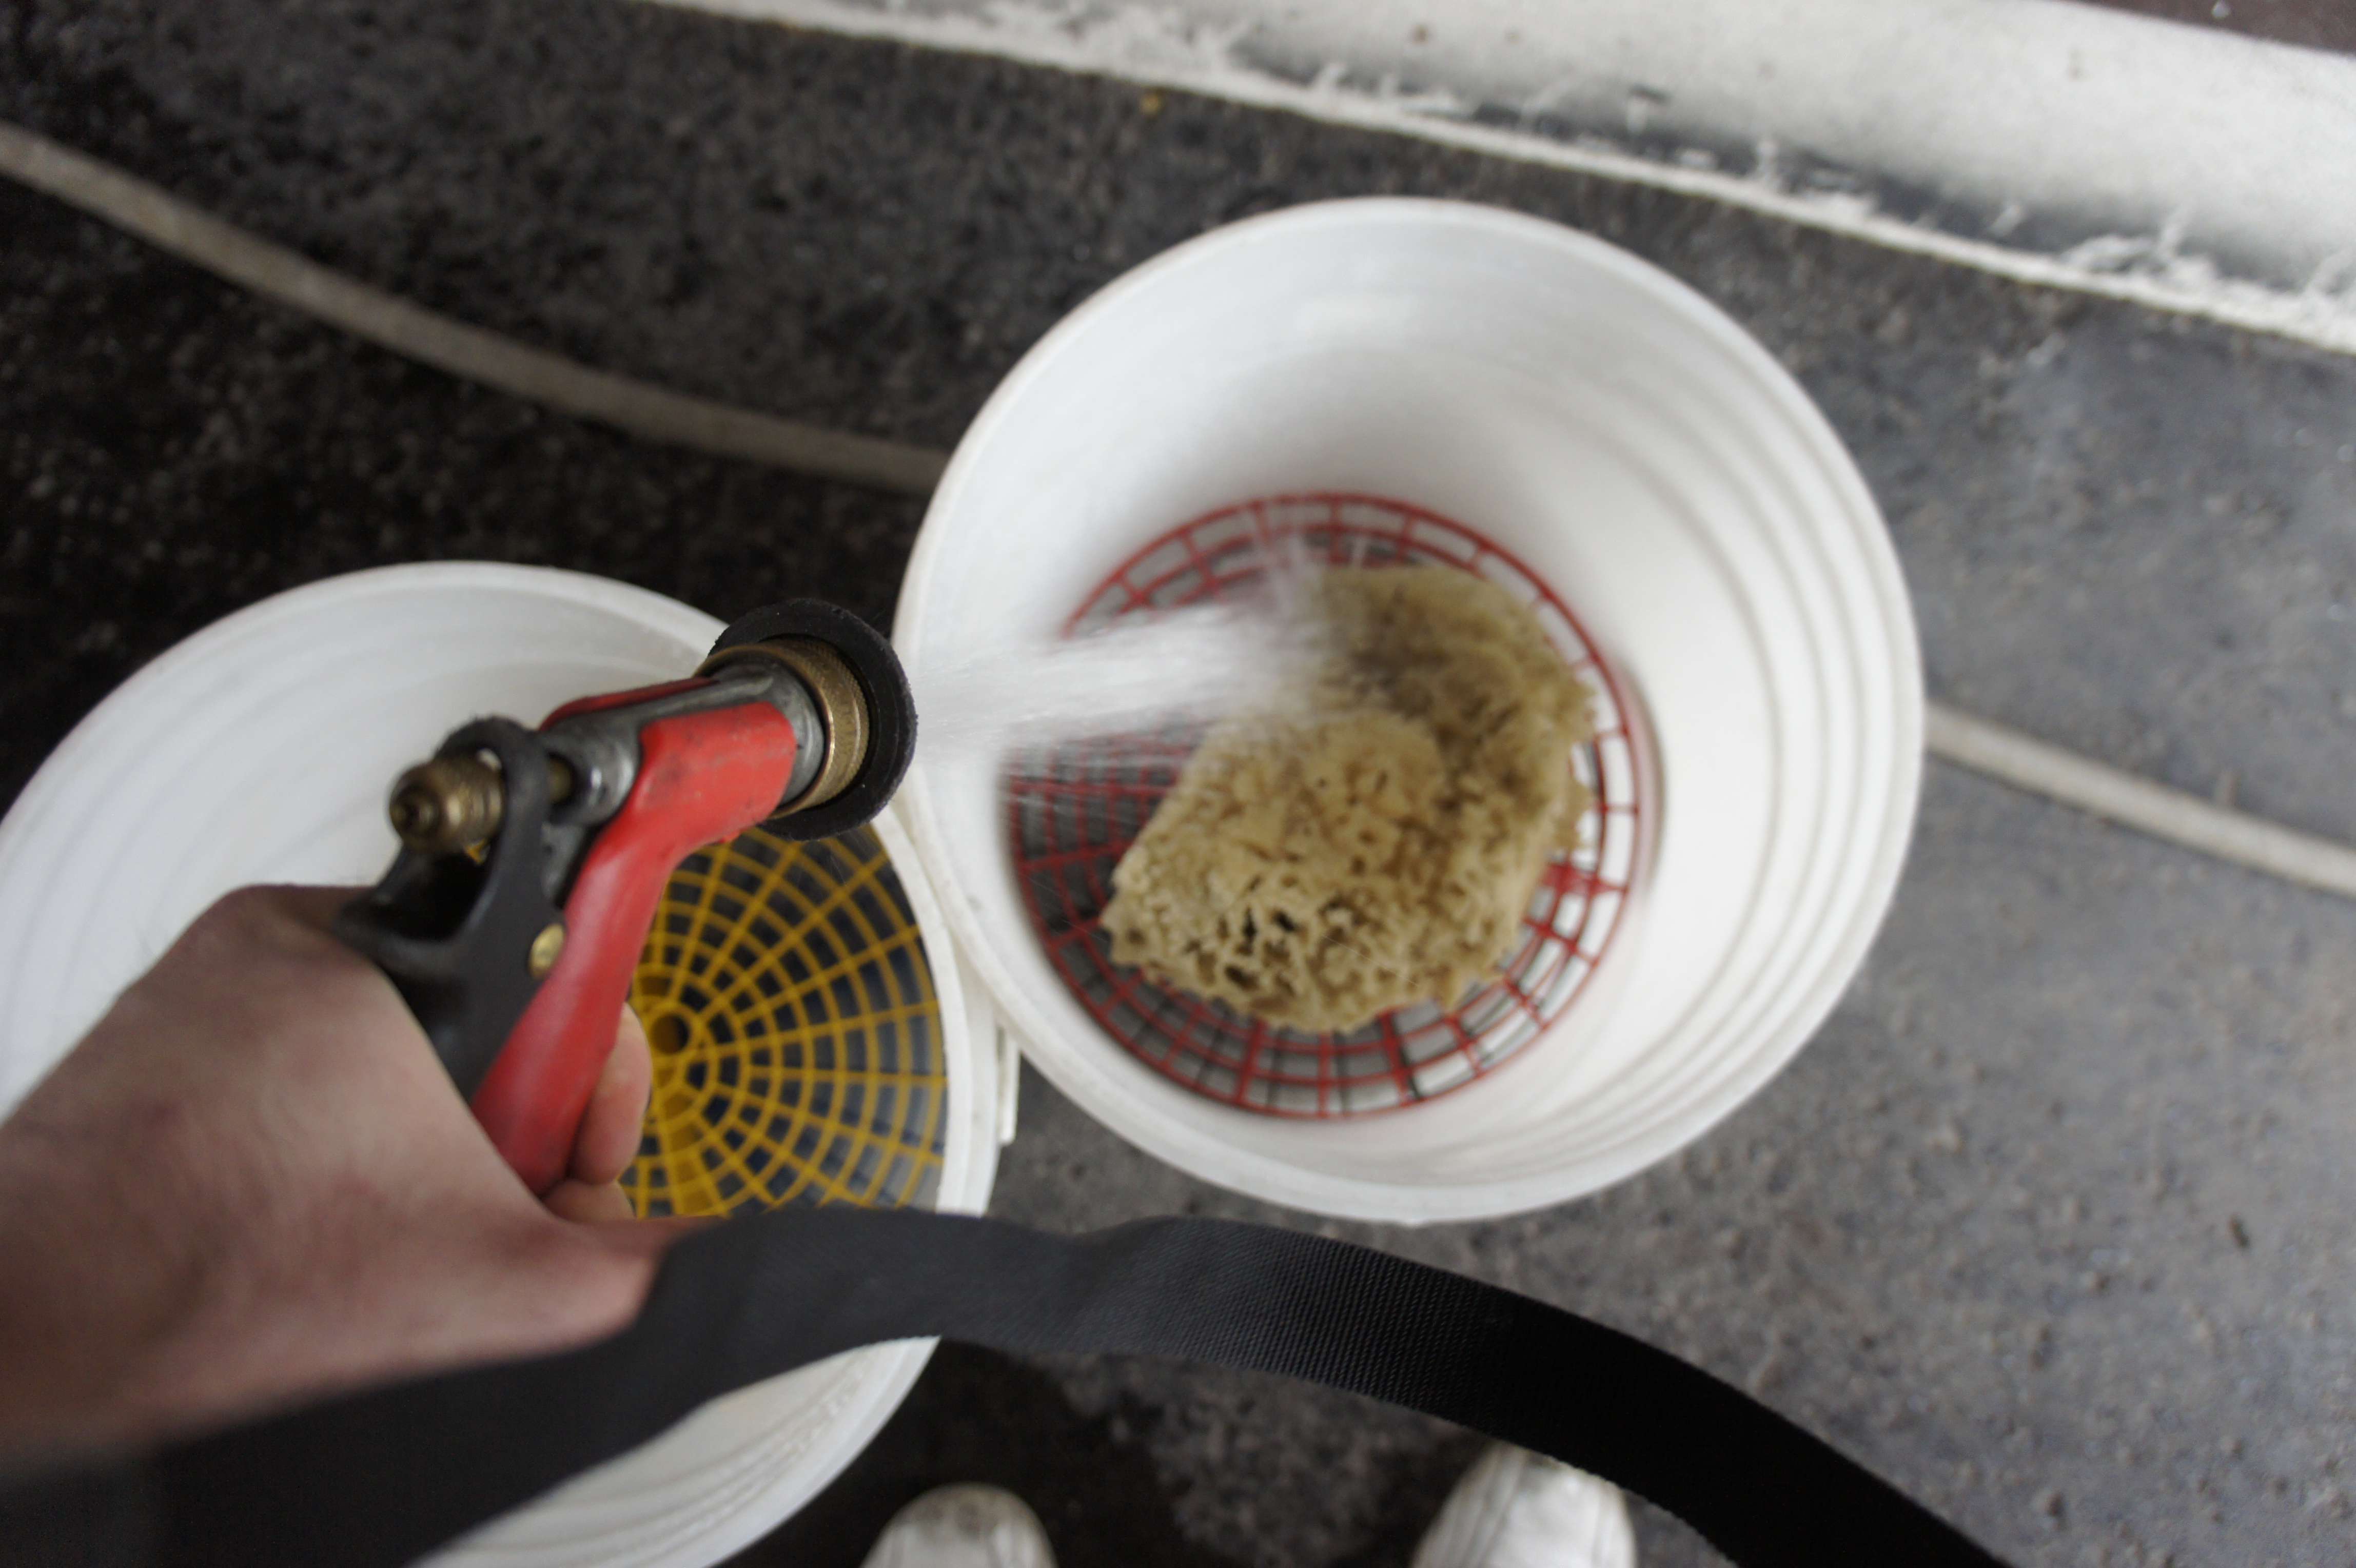
Oh yeah, you propably saw my natural sea sponge here.. well just a little extra luxury")
4. Rinse again
5. Wash using the 2 bucket method.
6. Rinse
7. Time for the clay bar:
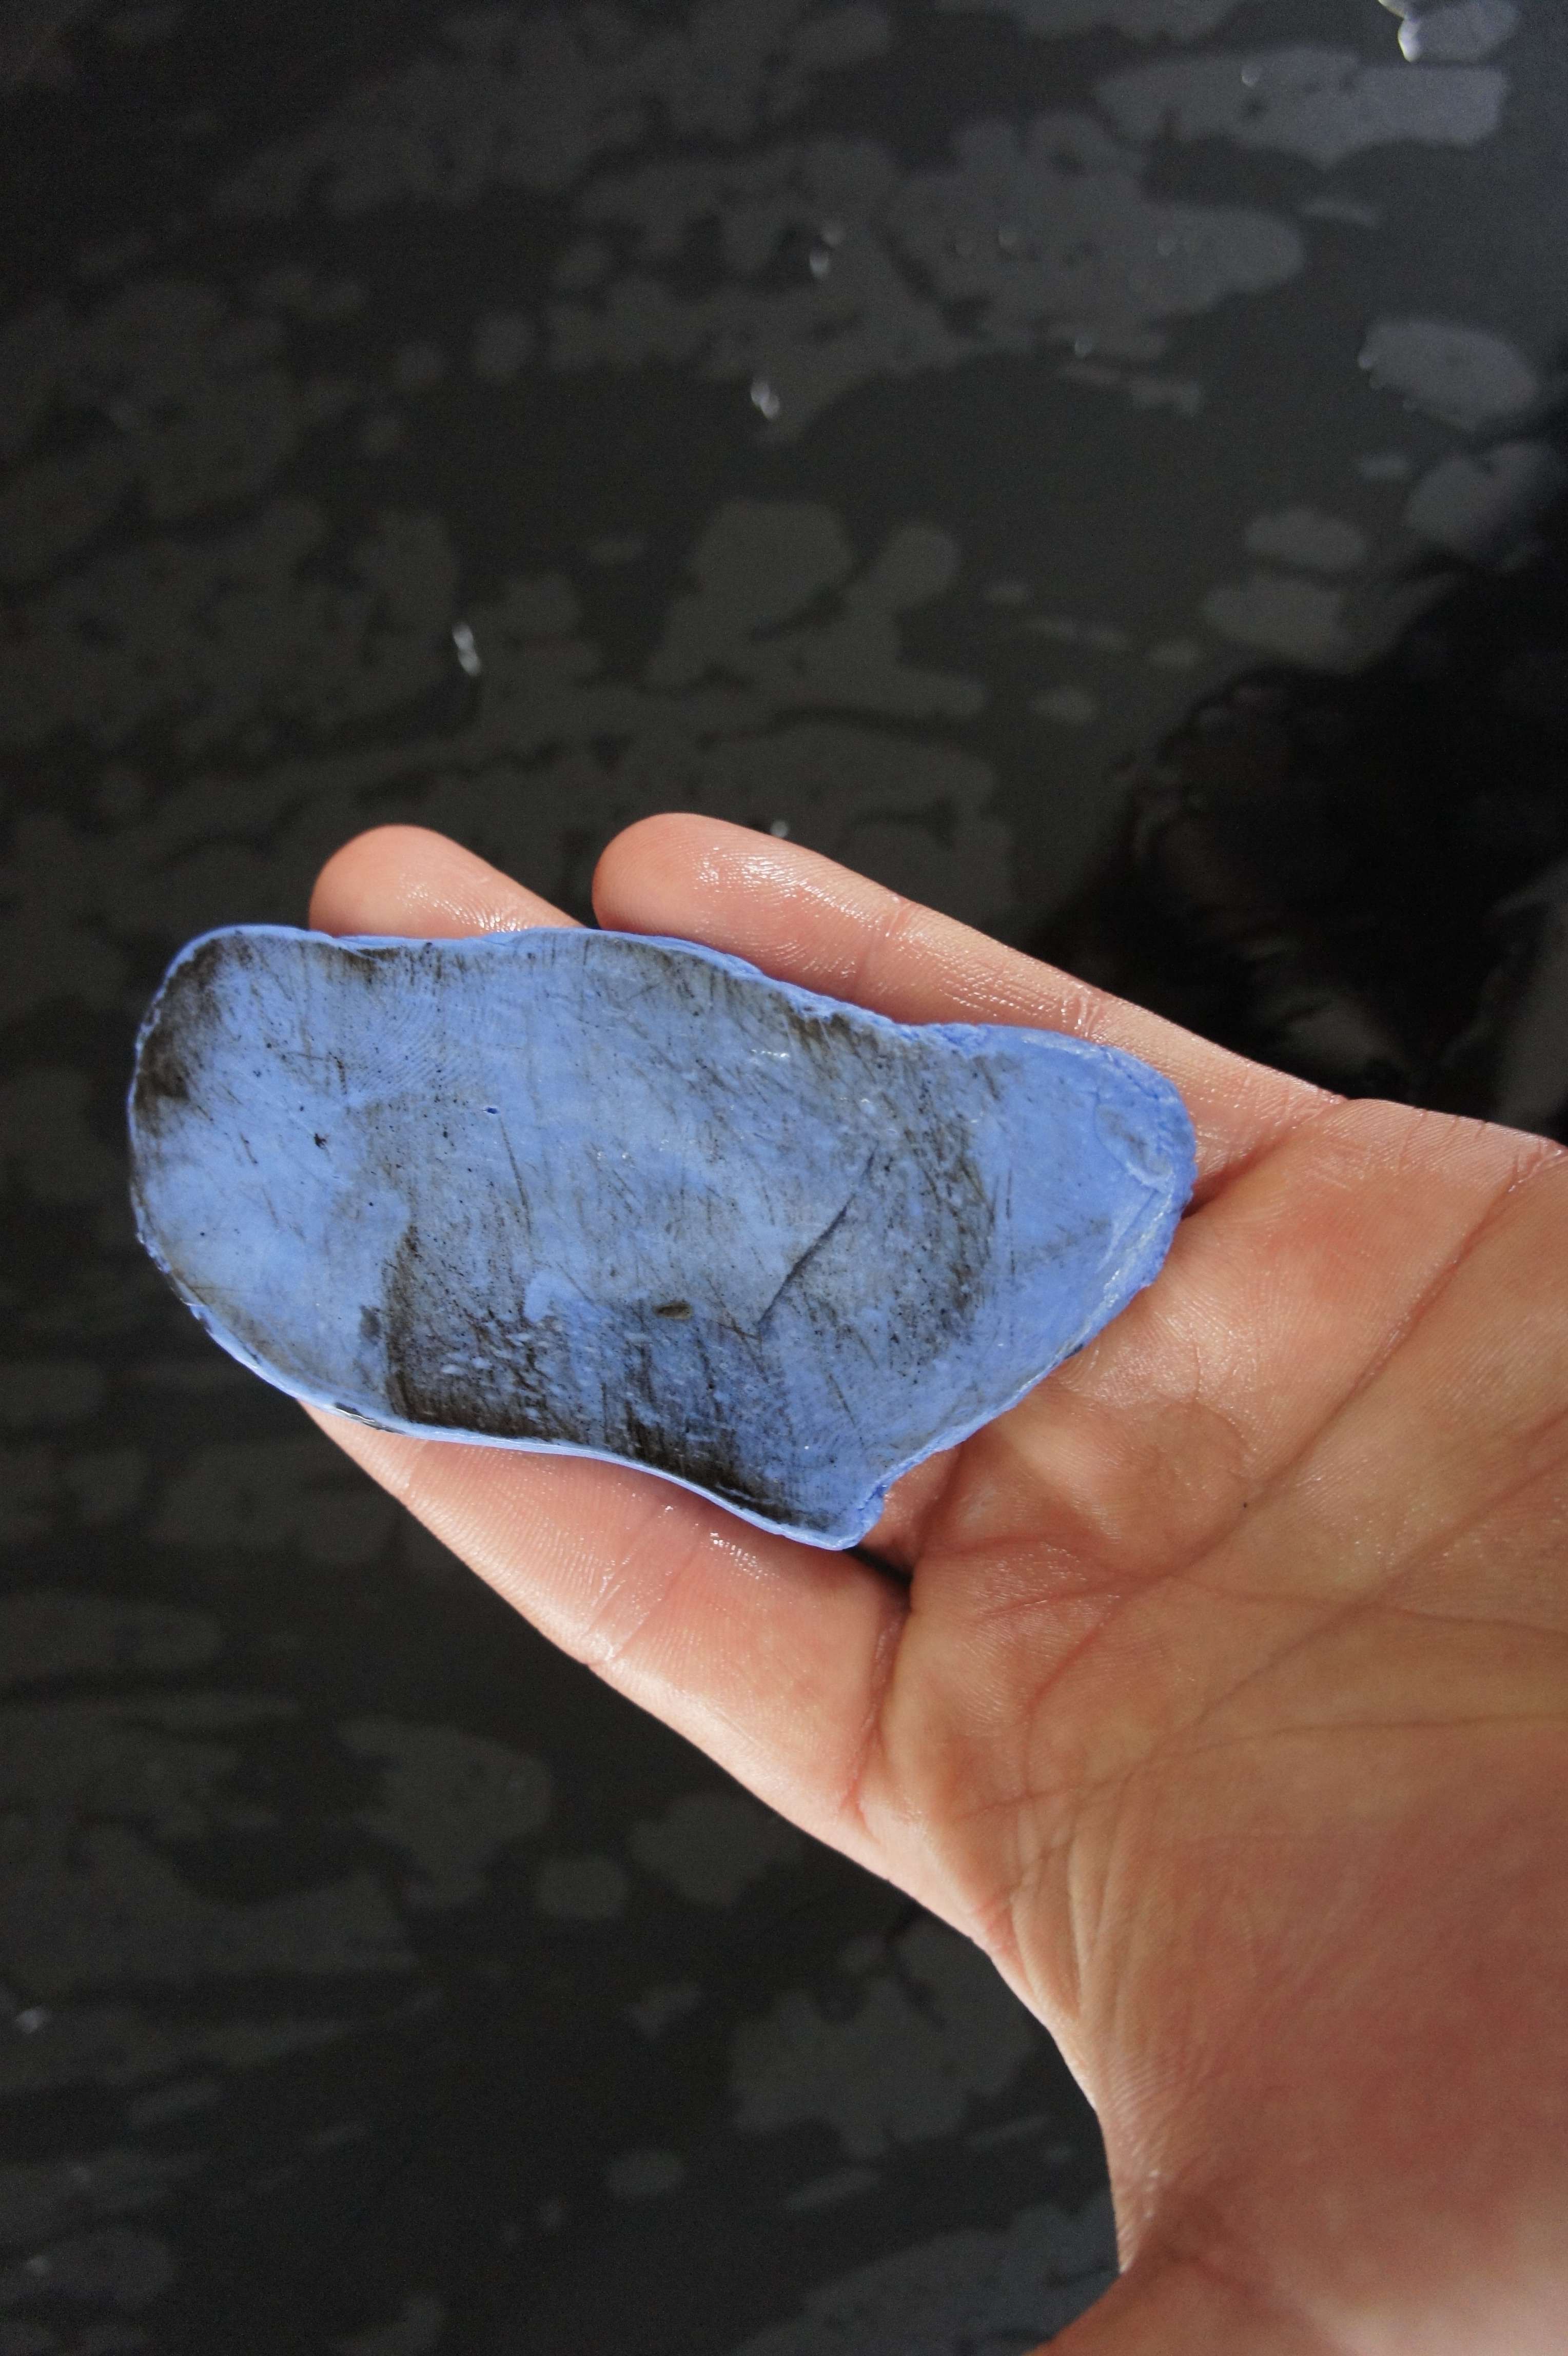
Rough condition!
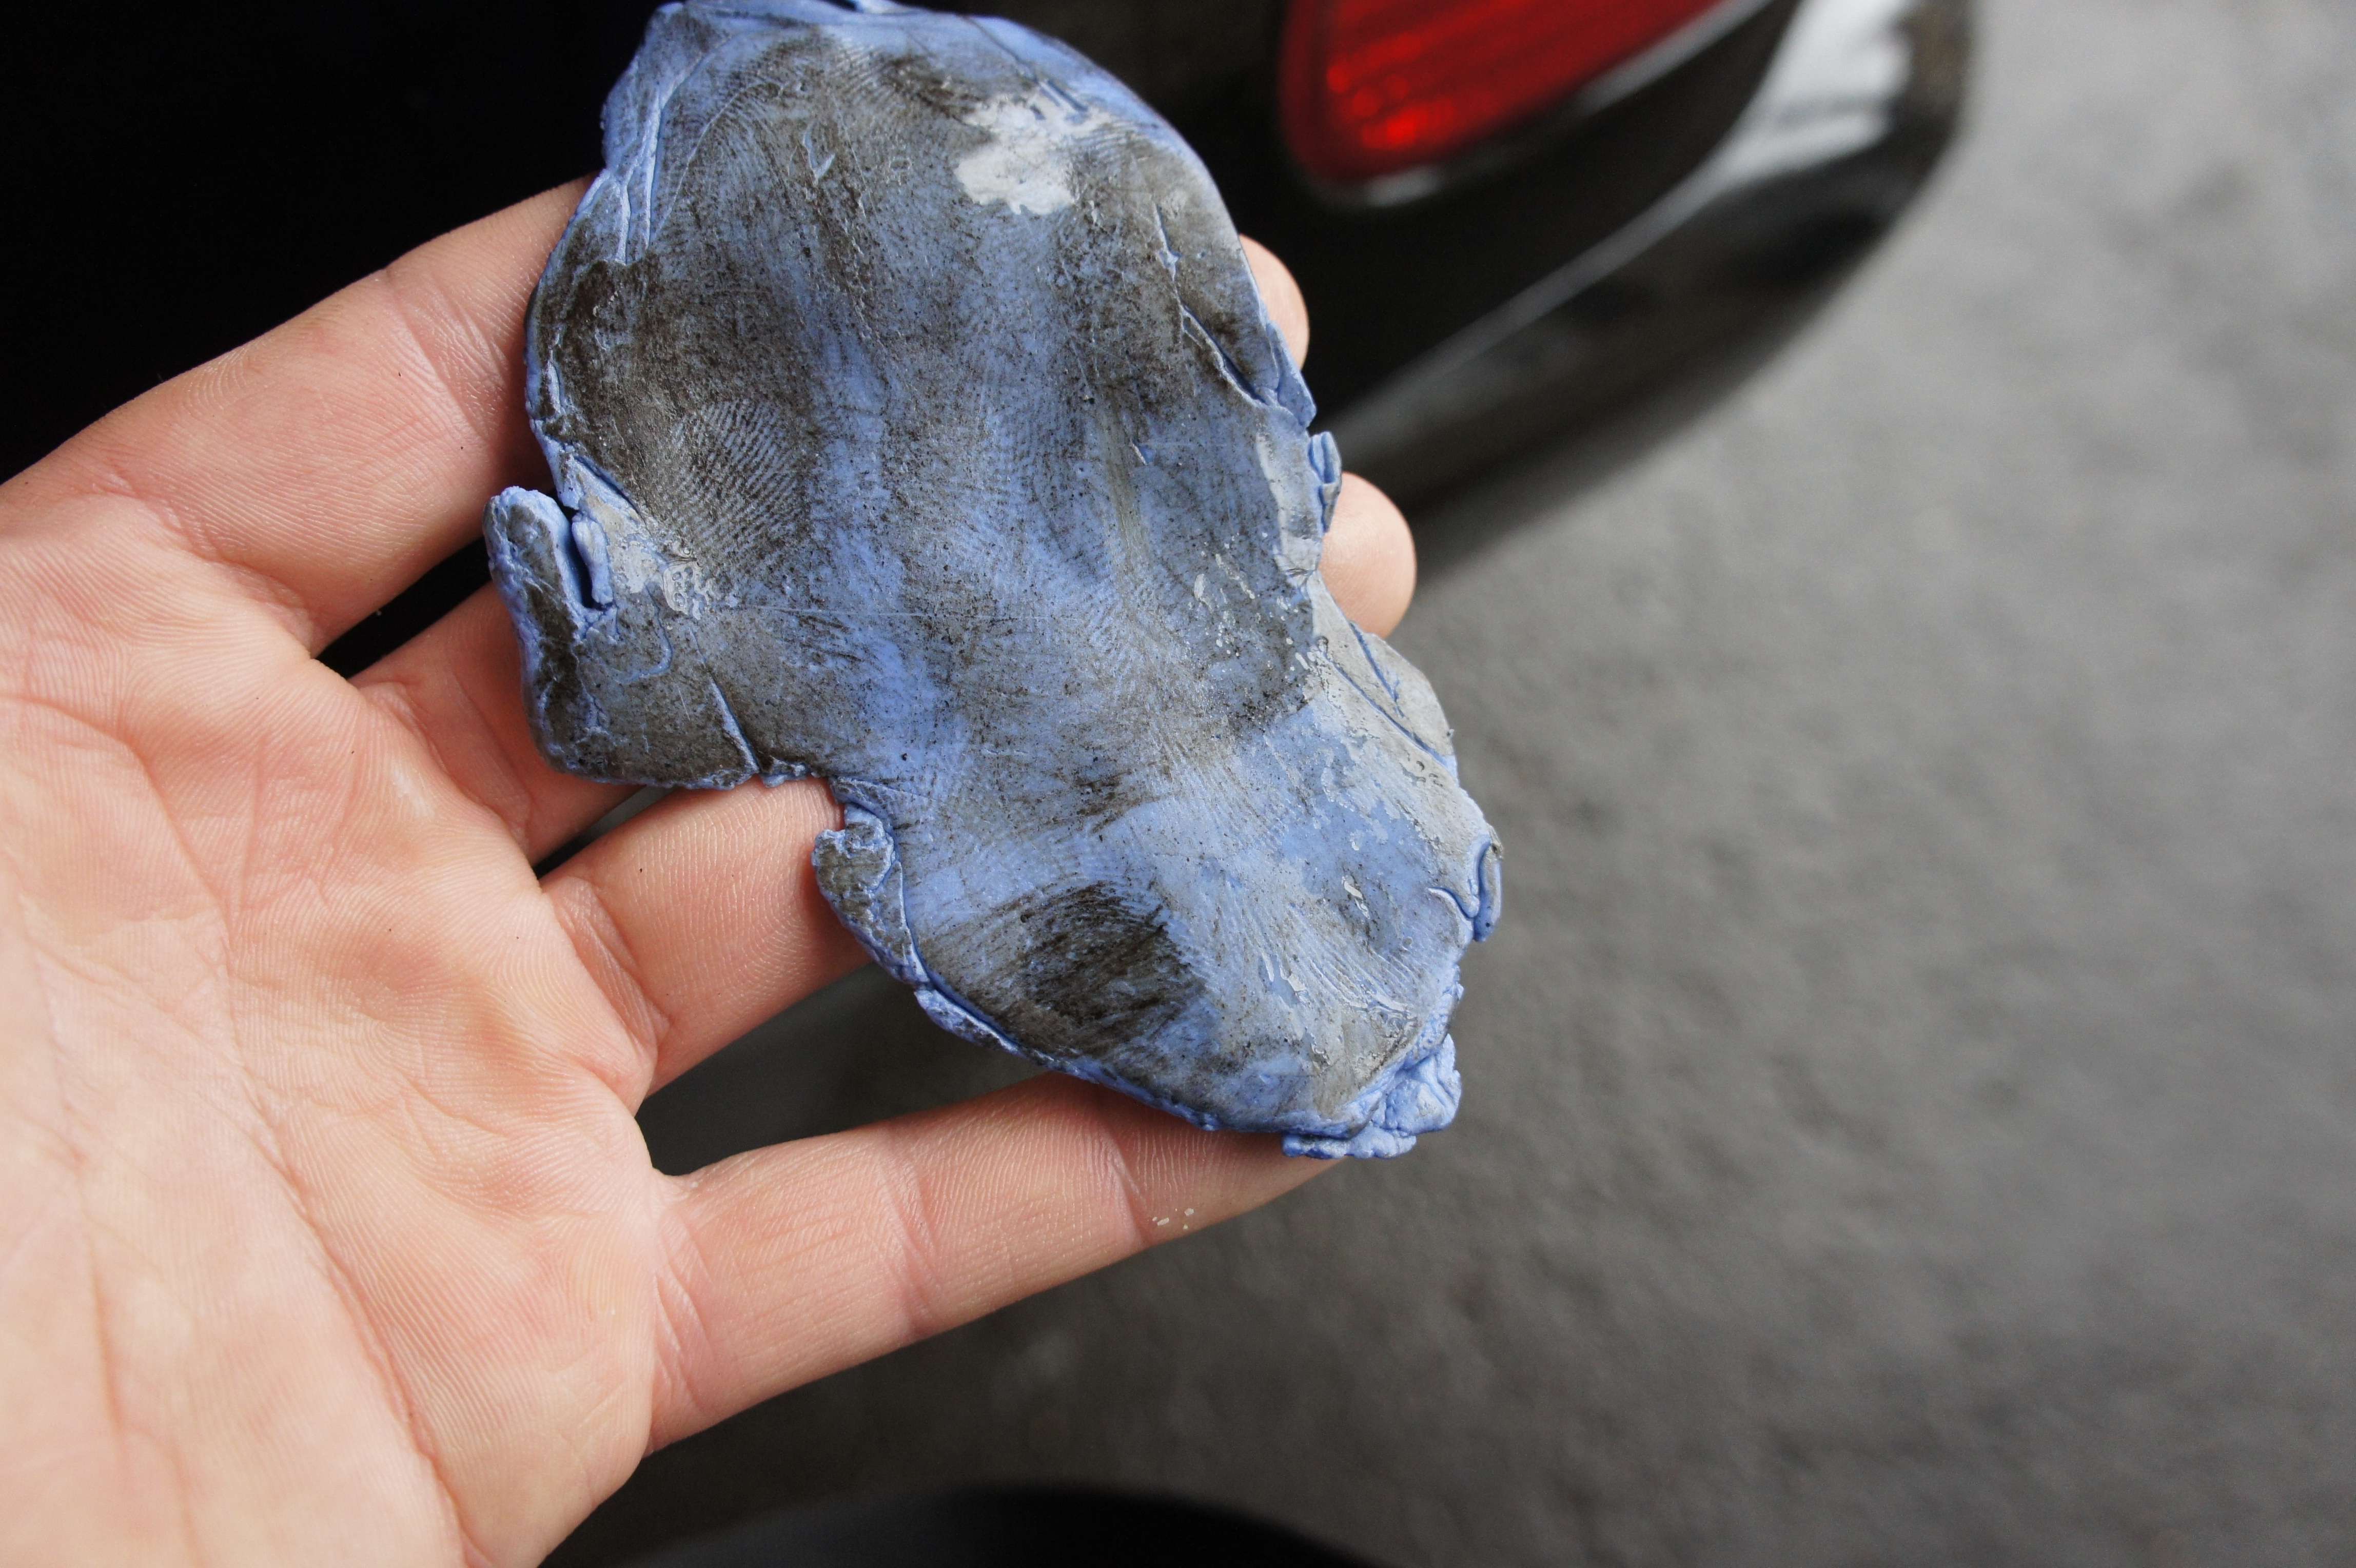
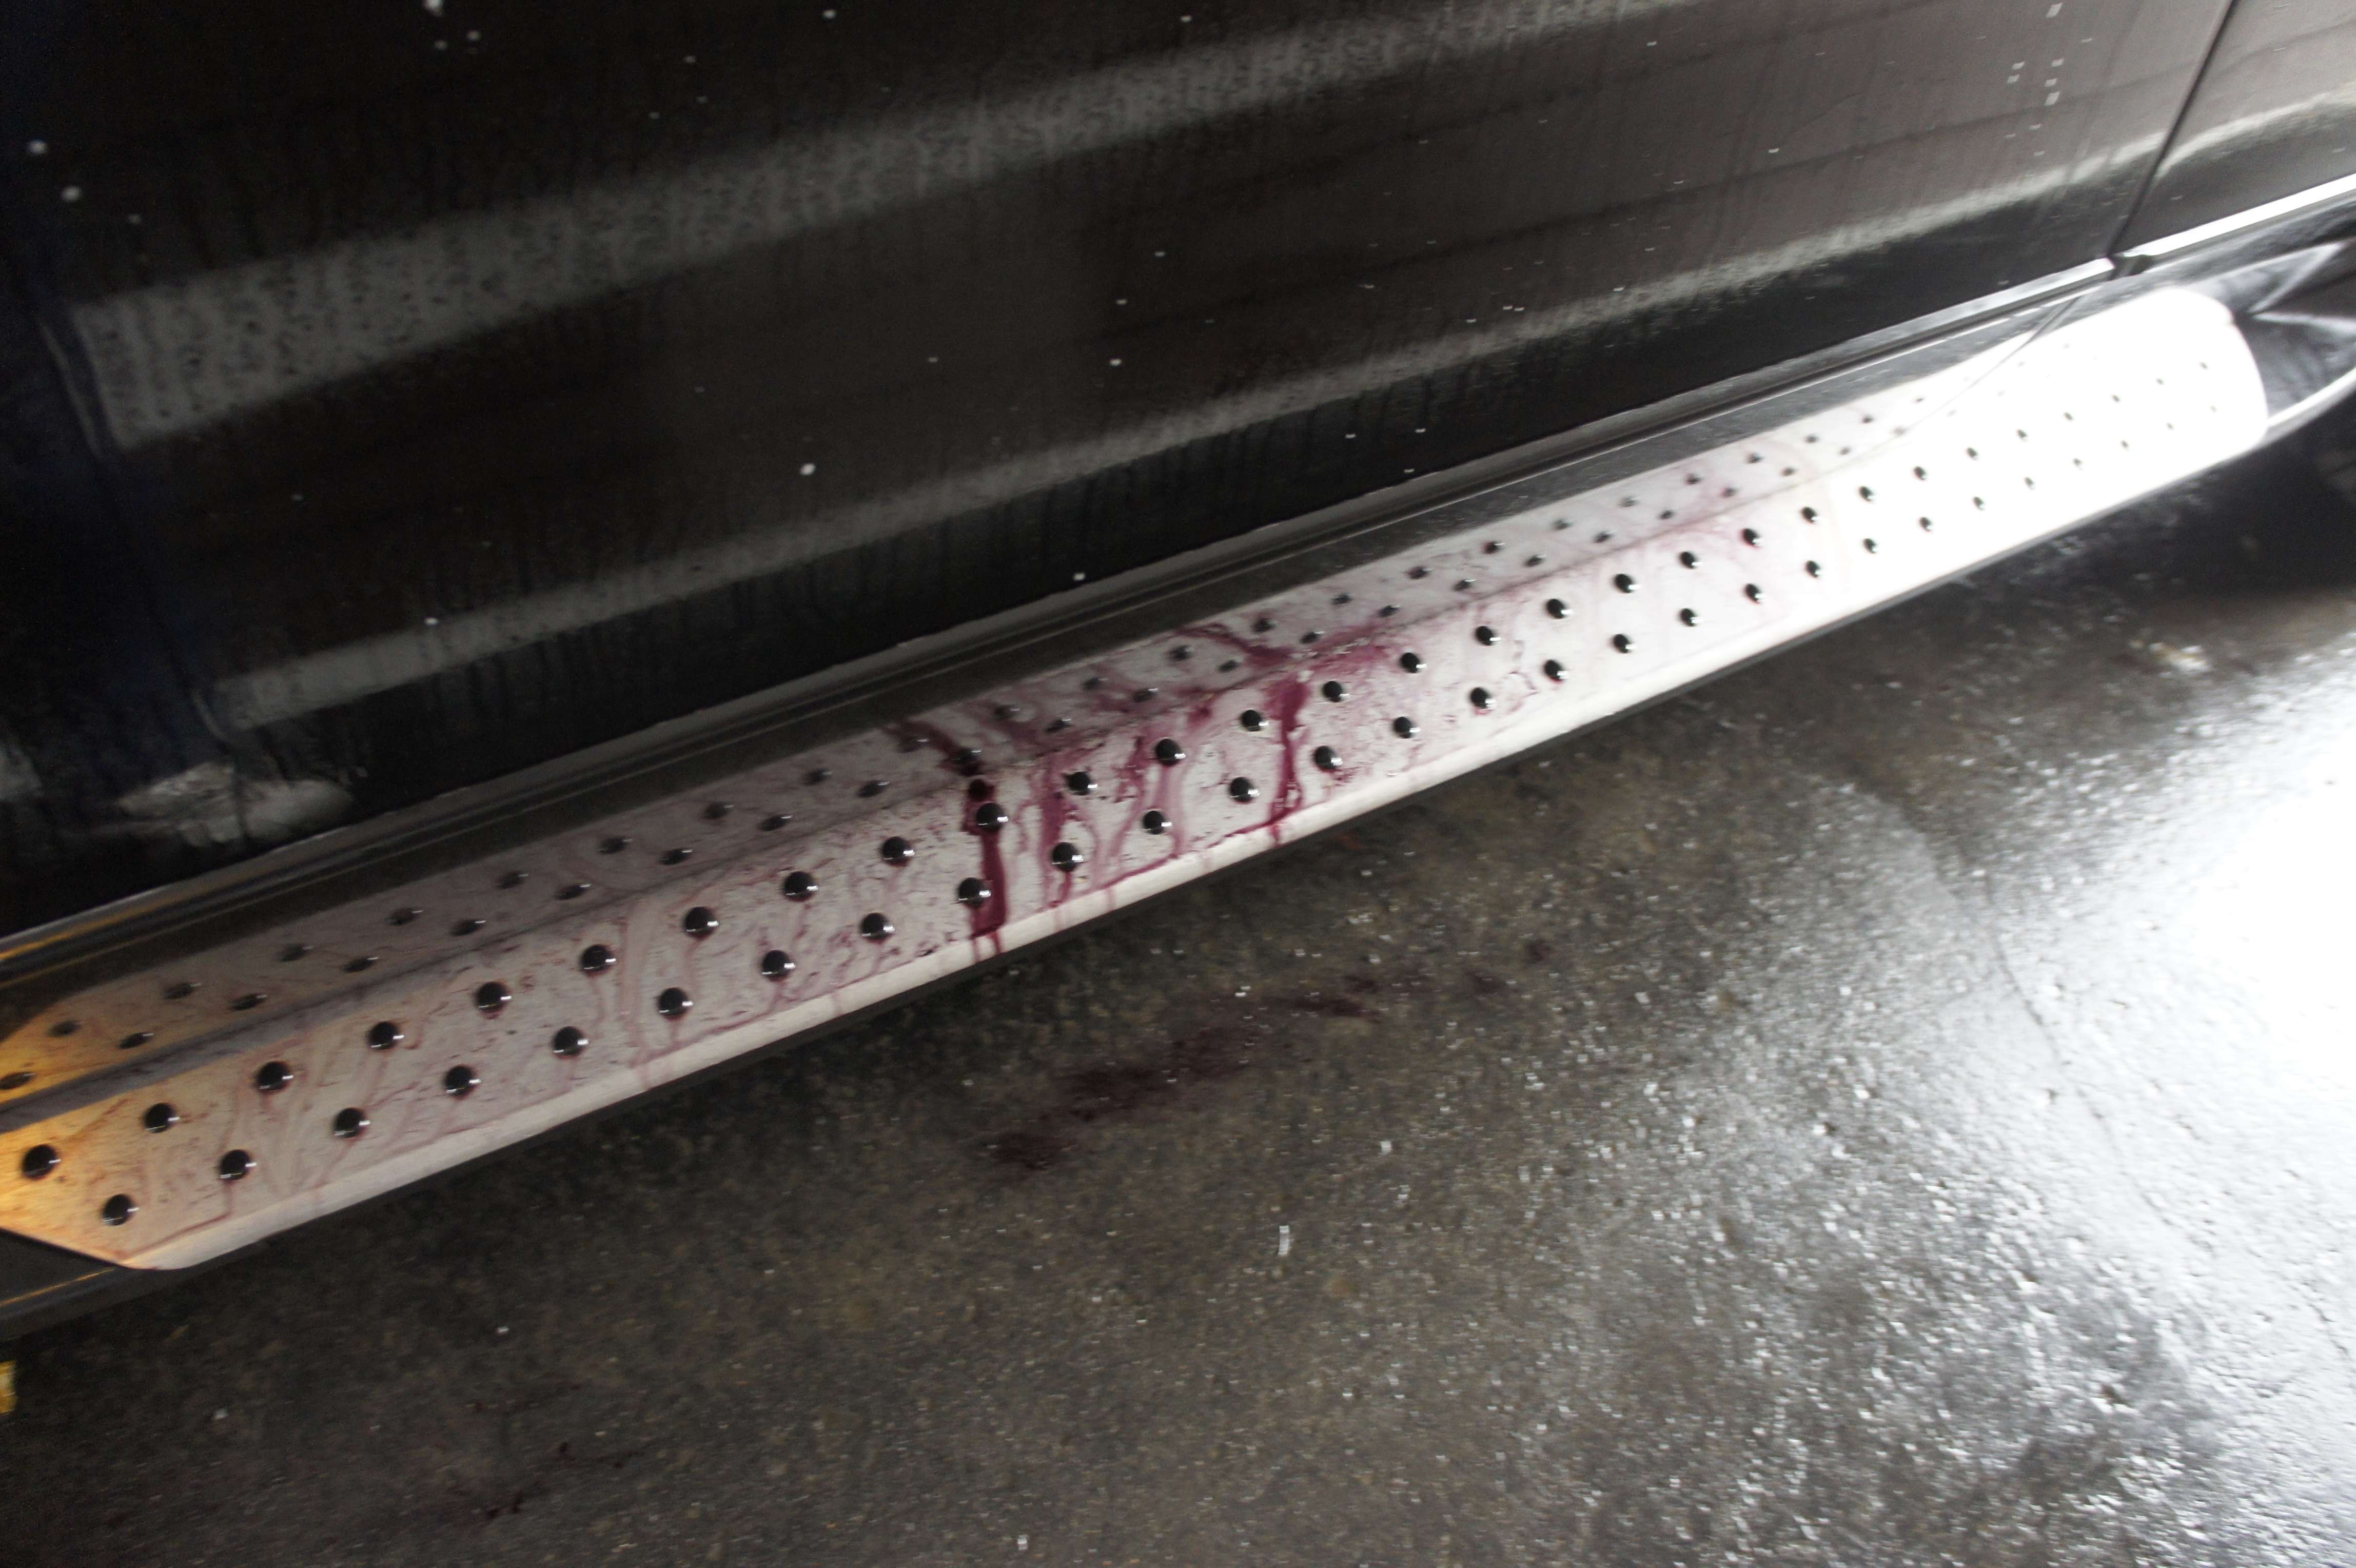
8. I then use a chemical decontaminant. I let the stuff work for 5-10 minutes. In the meantime, I wash the wheels.
It’s working!

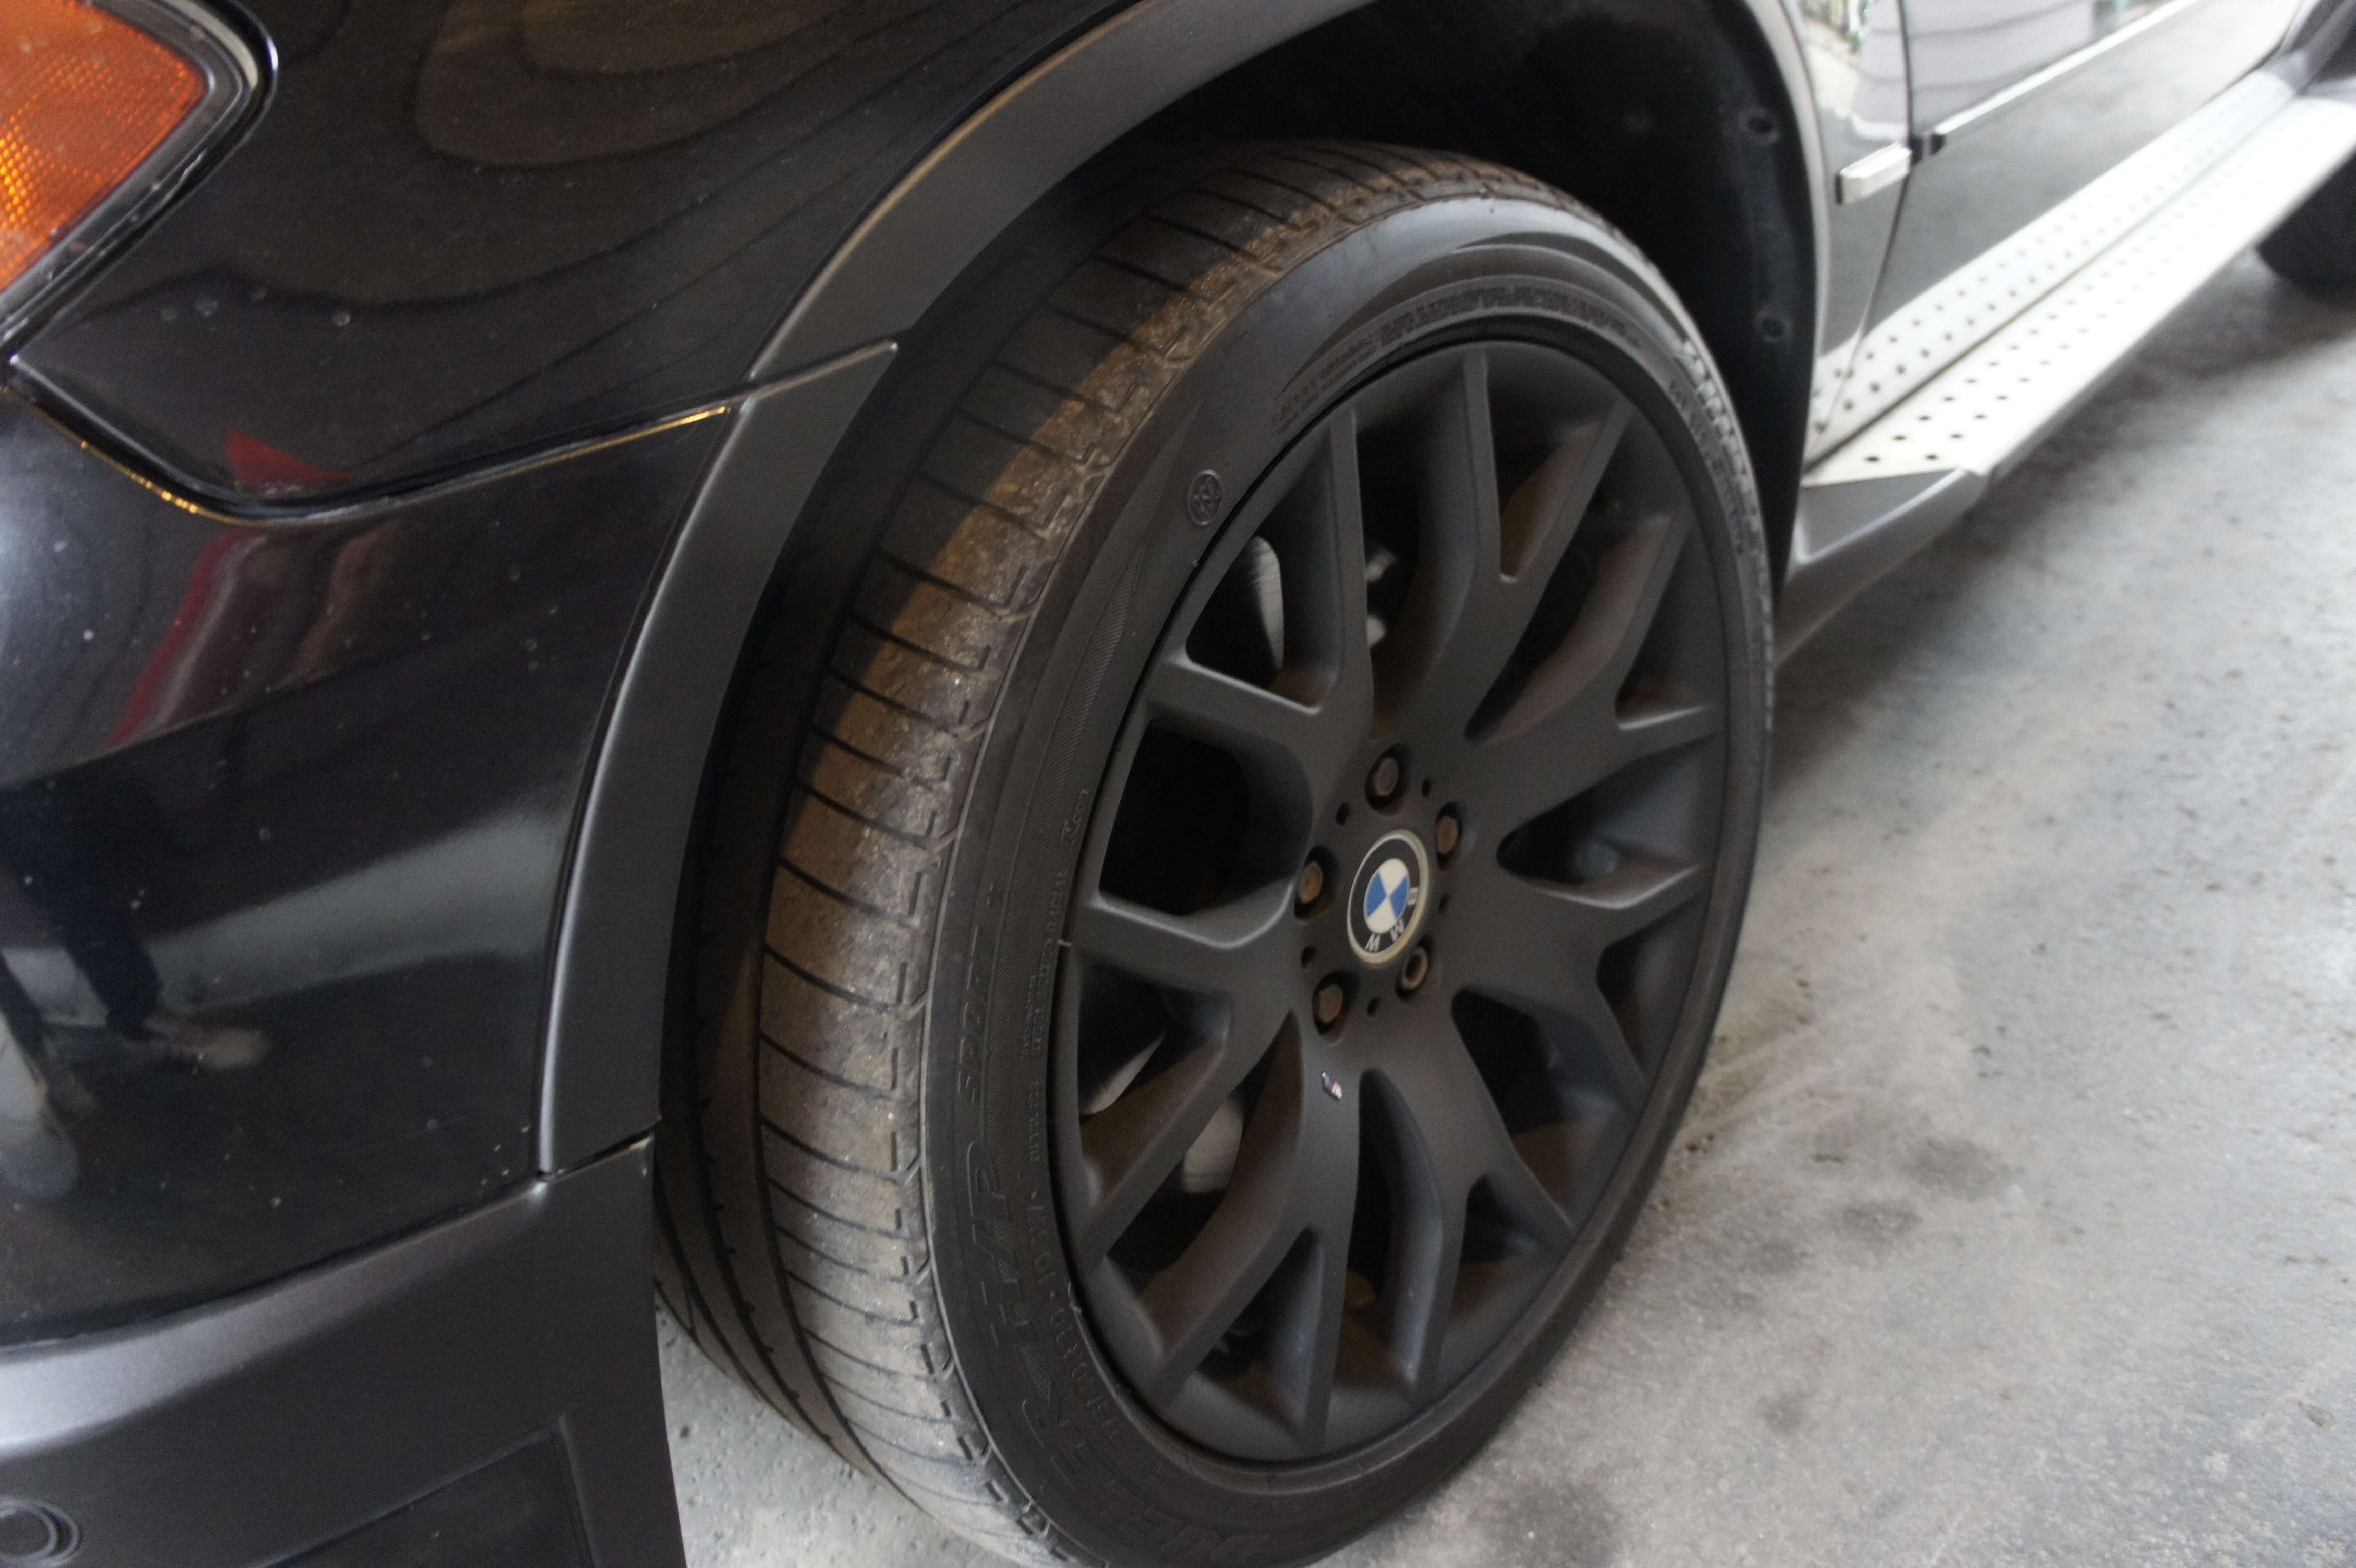
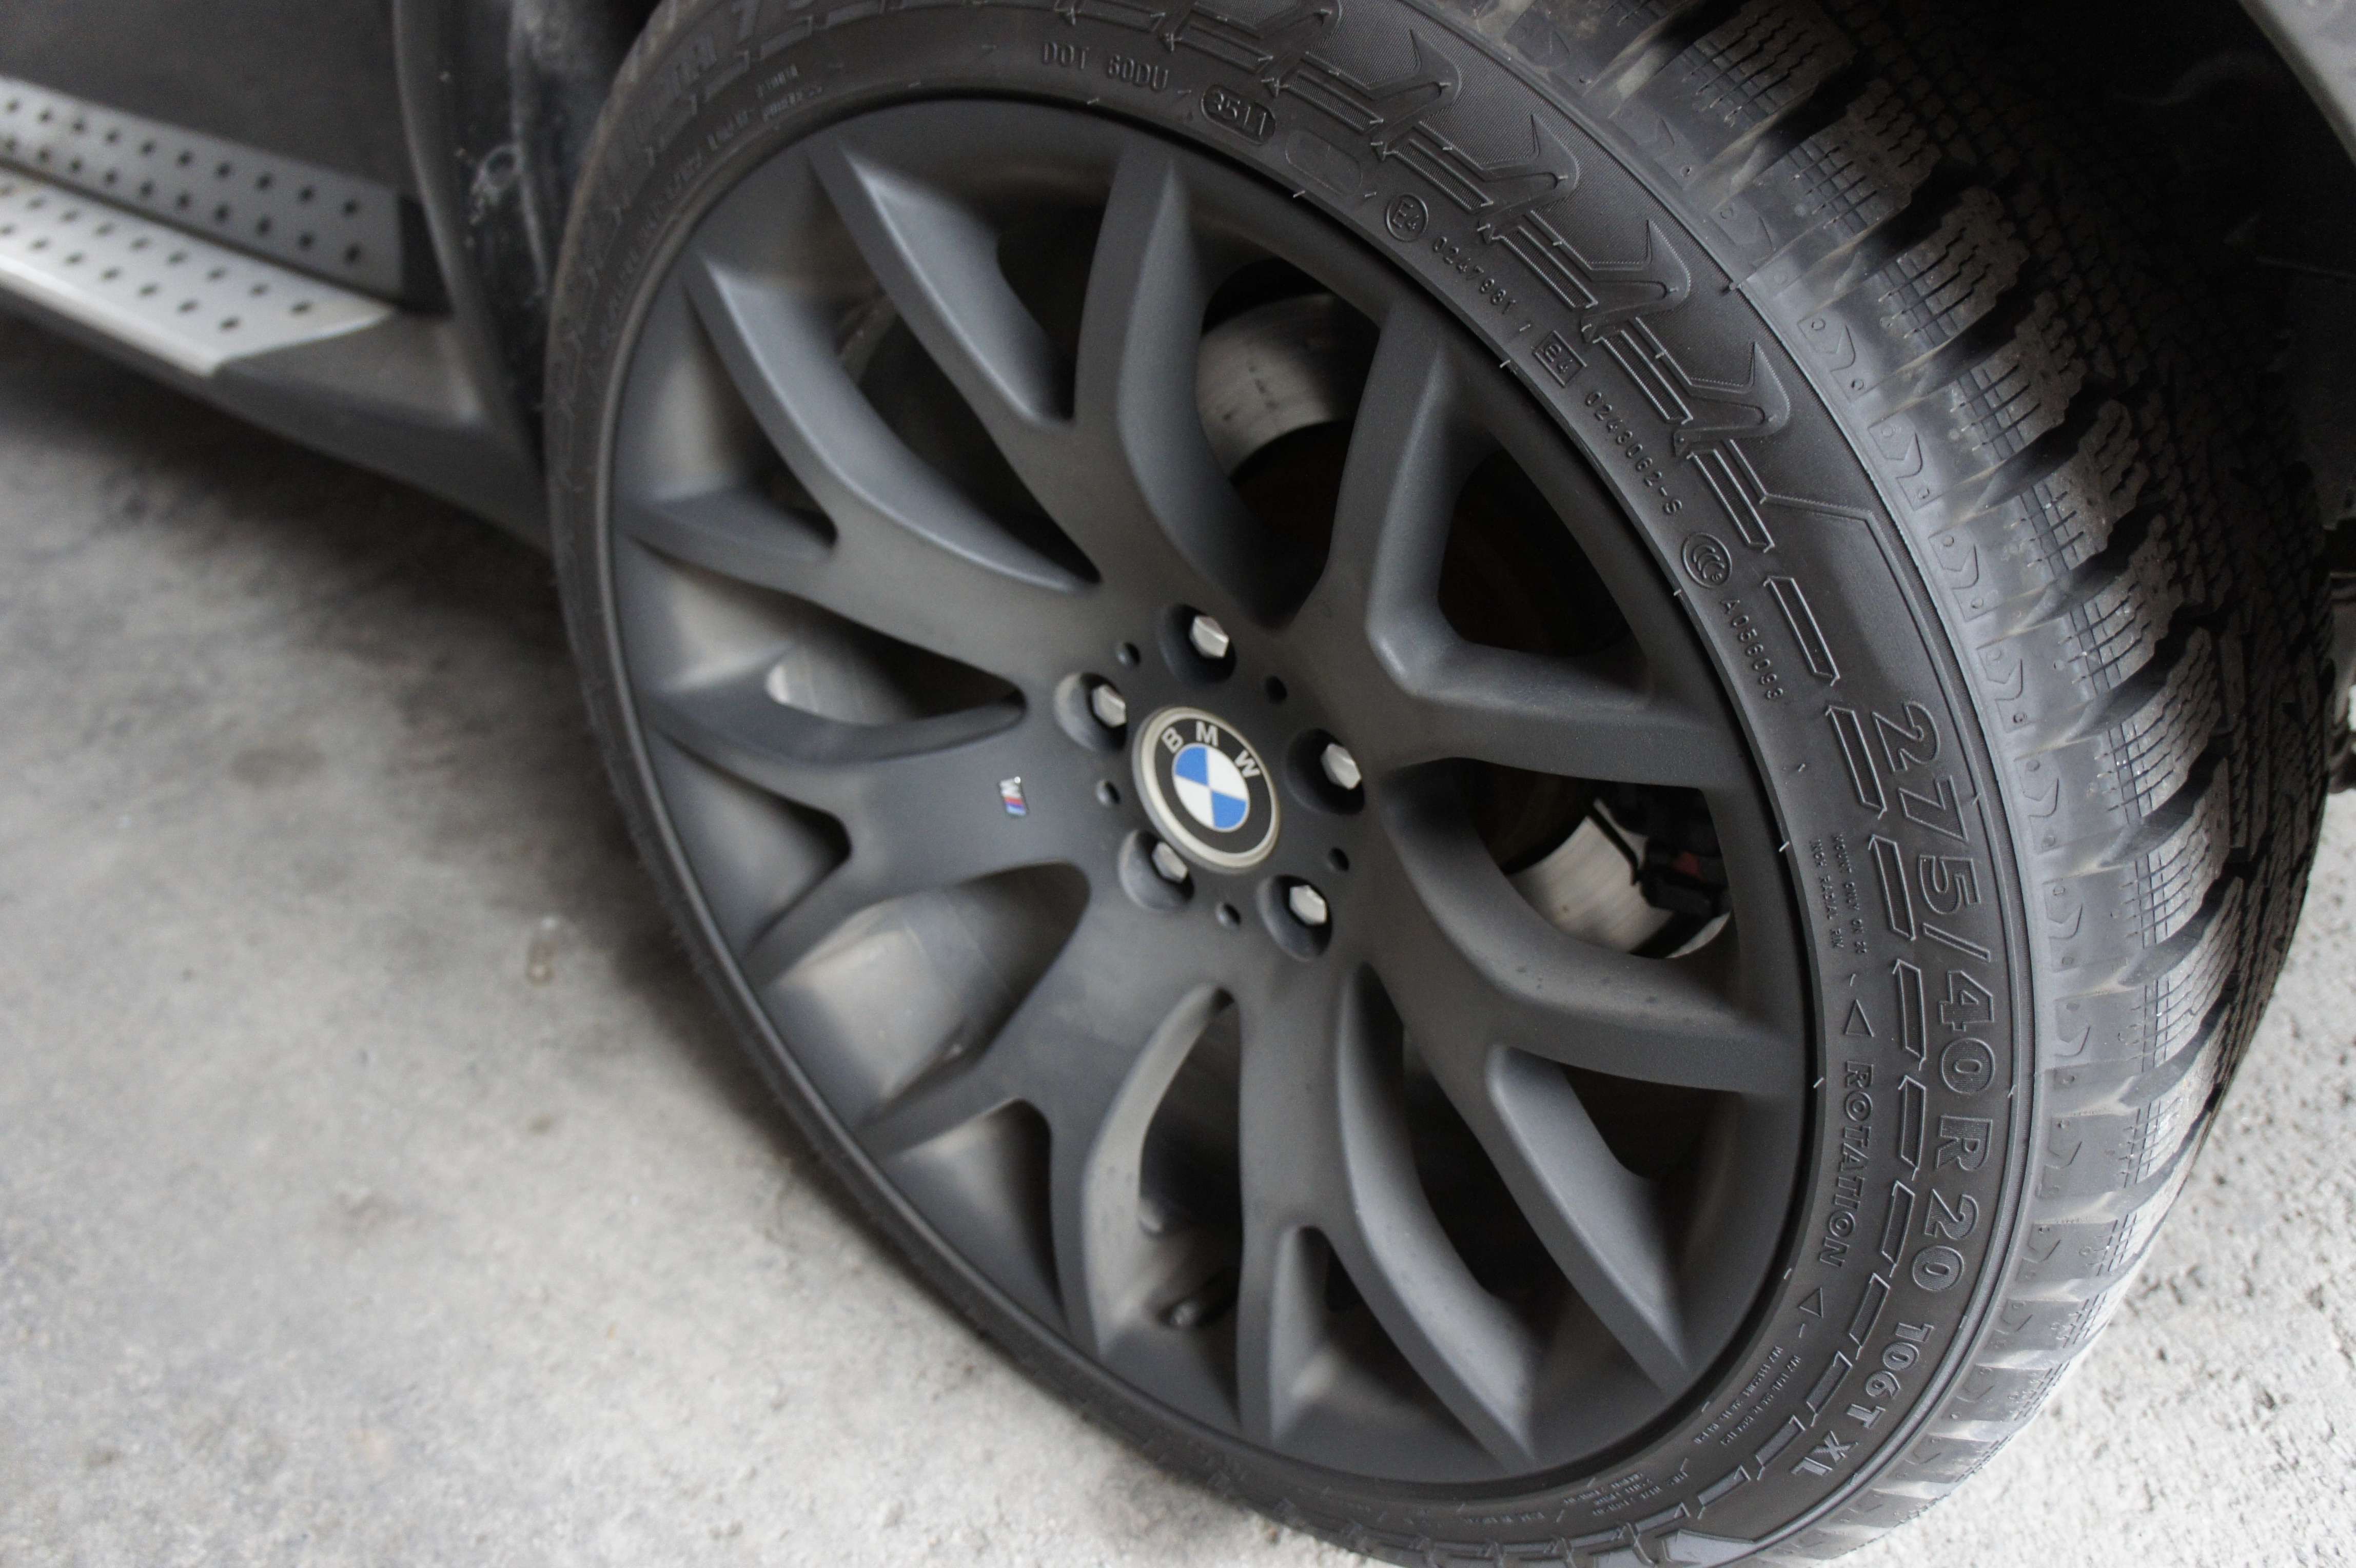
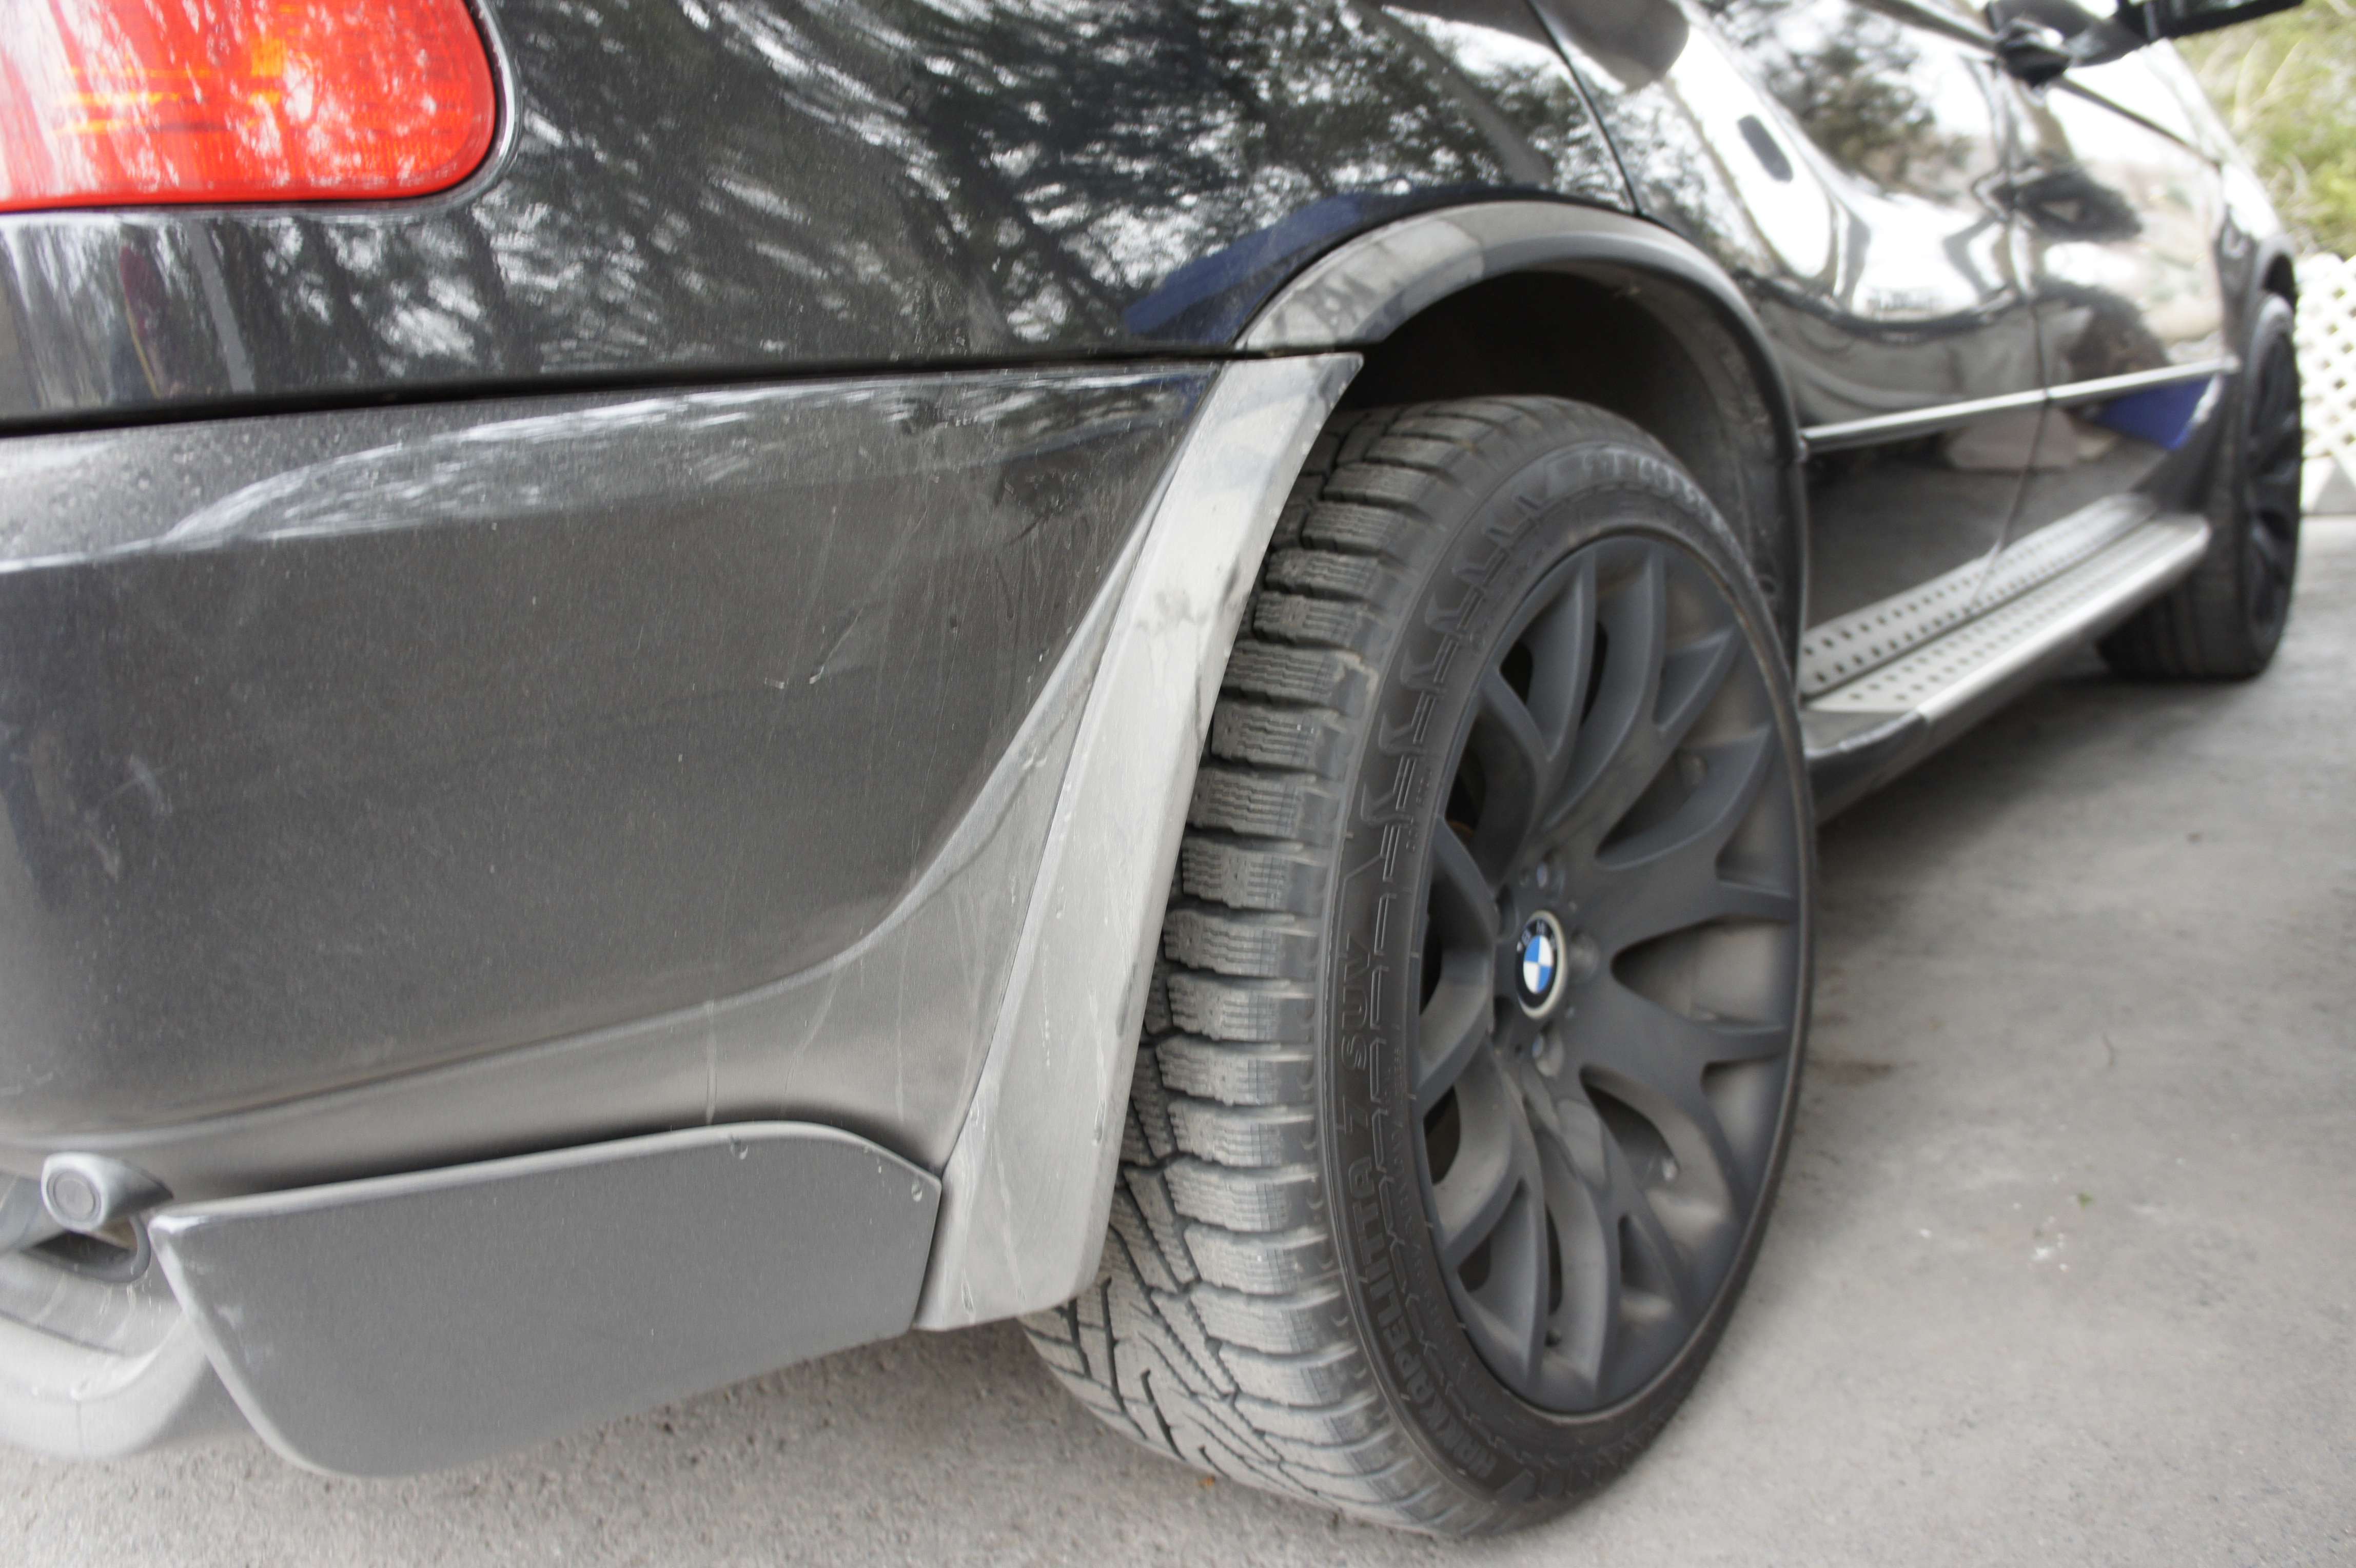
9. Washing wheels: Here’s some tool I used
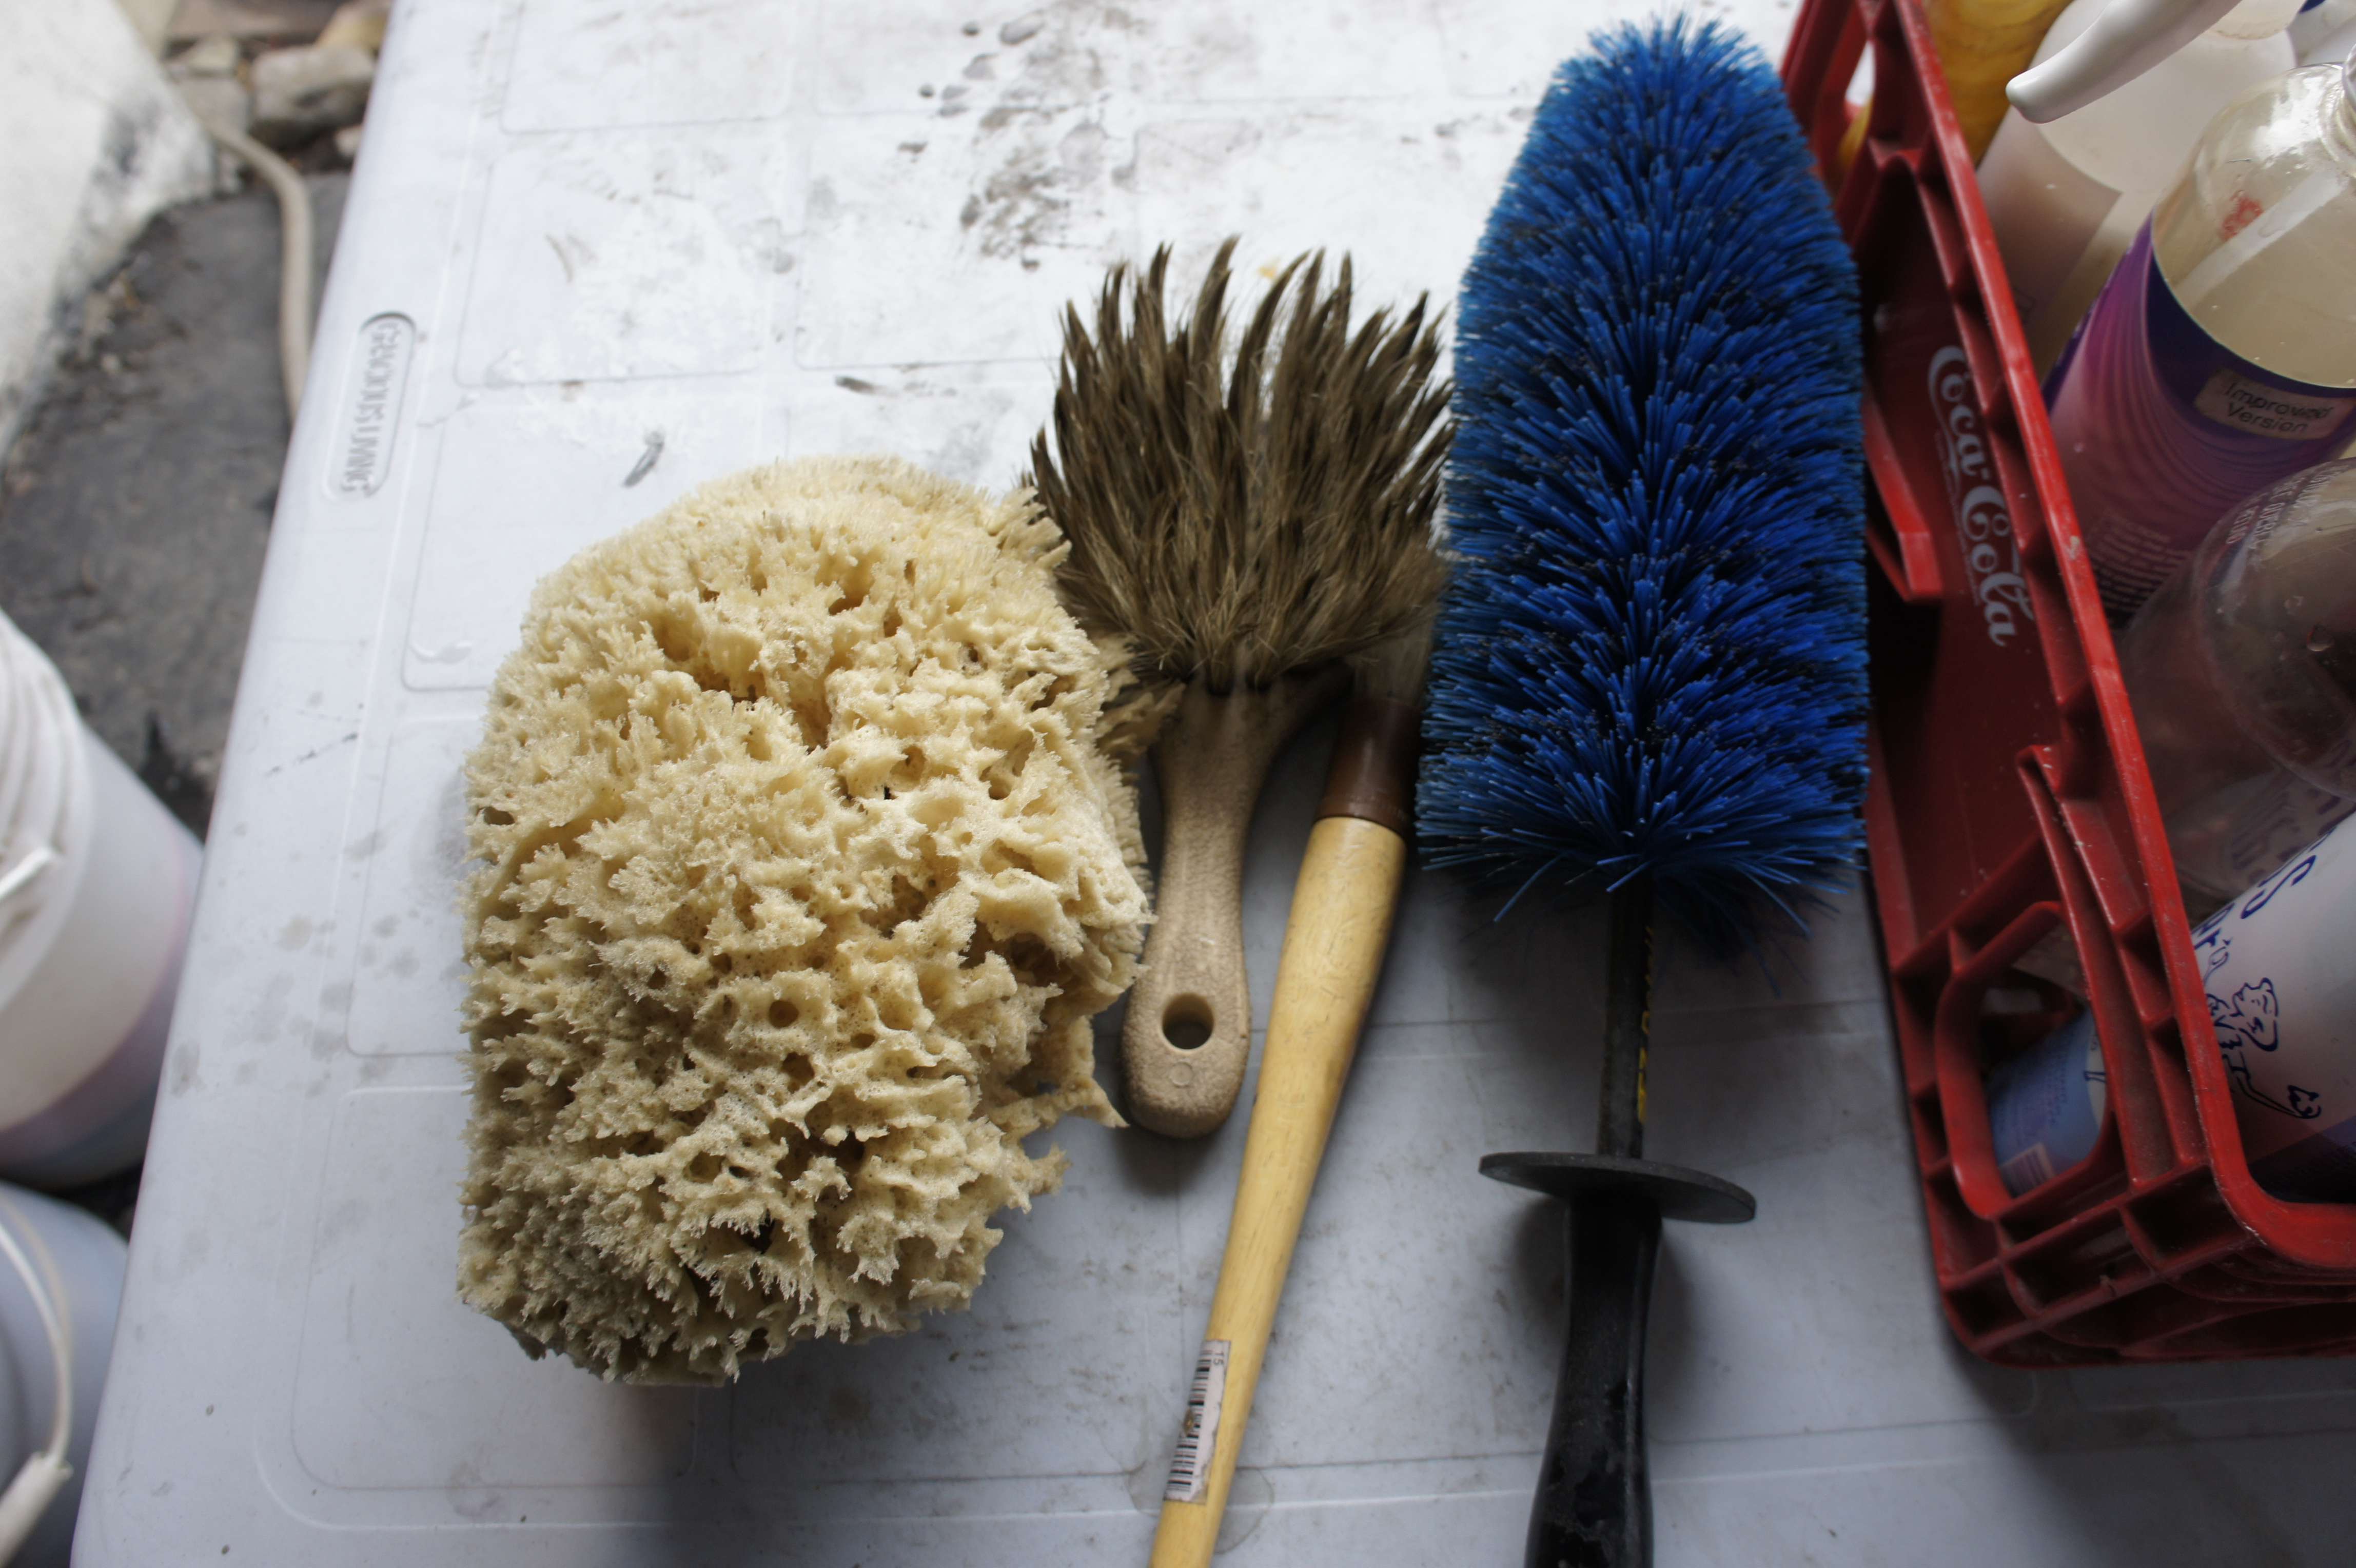
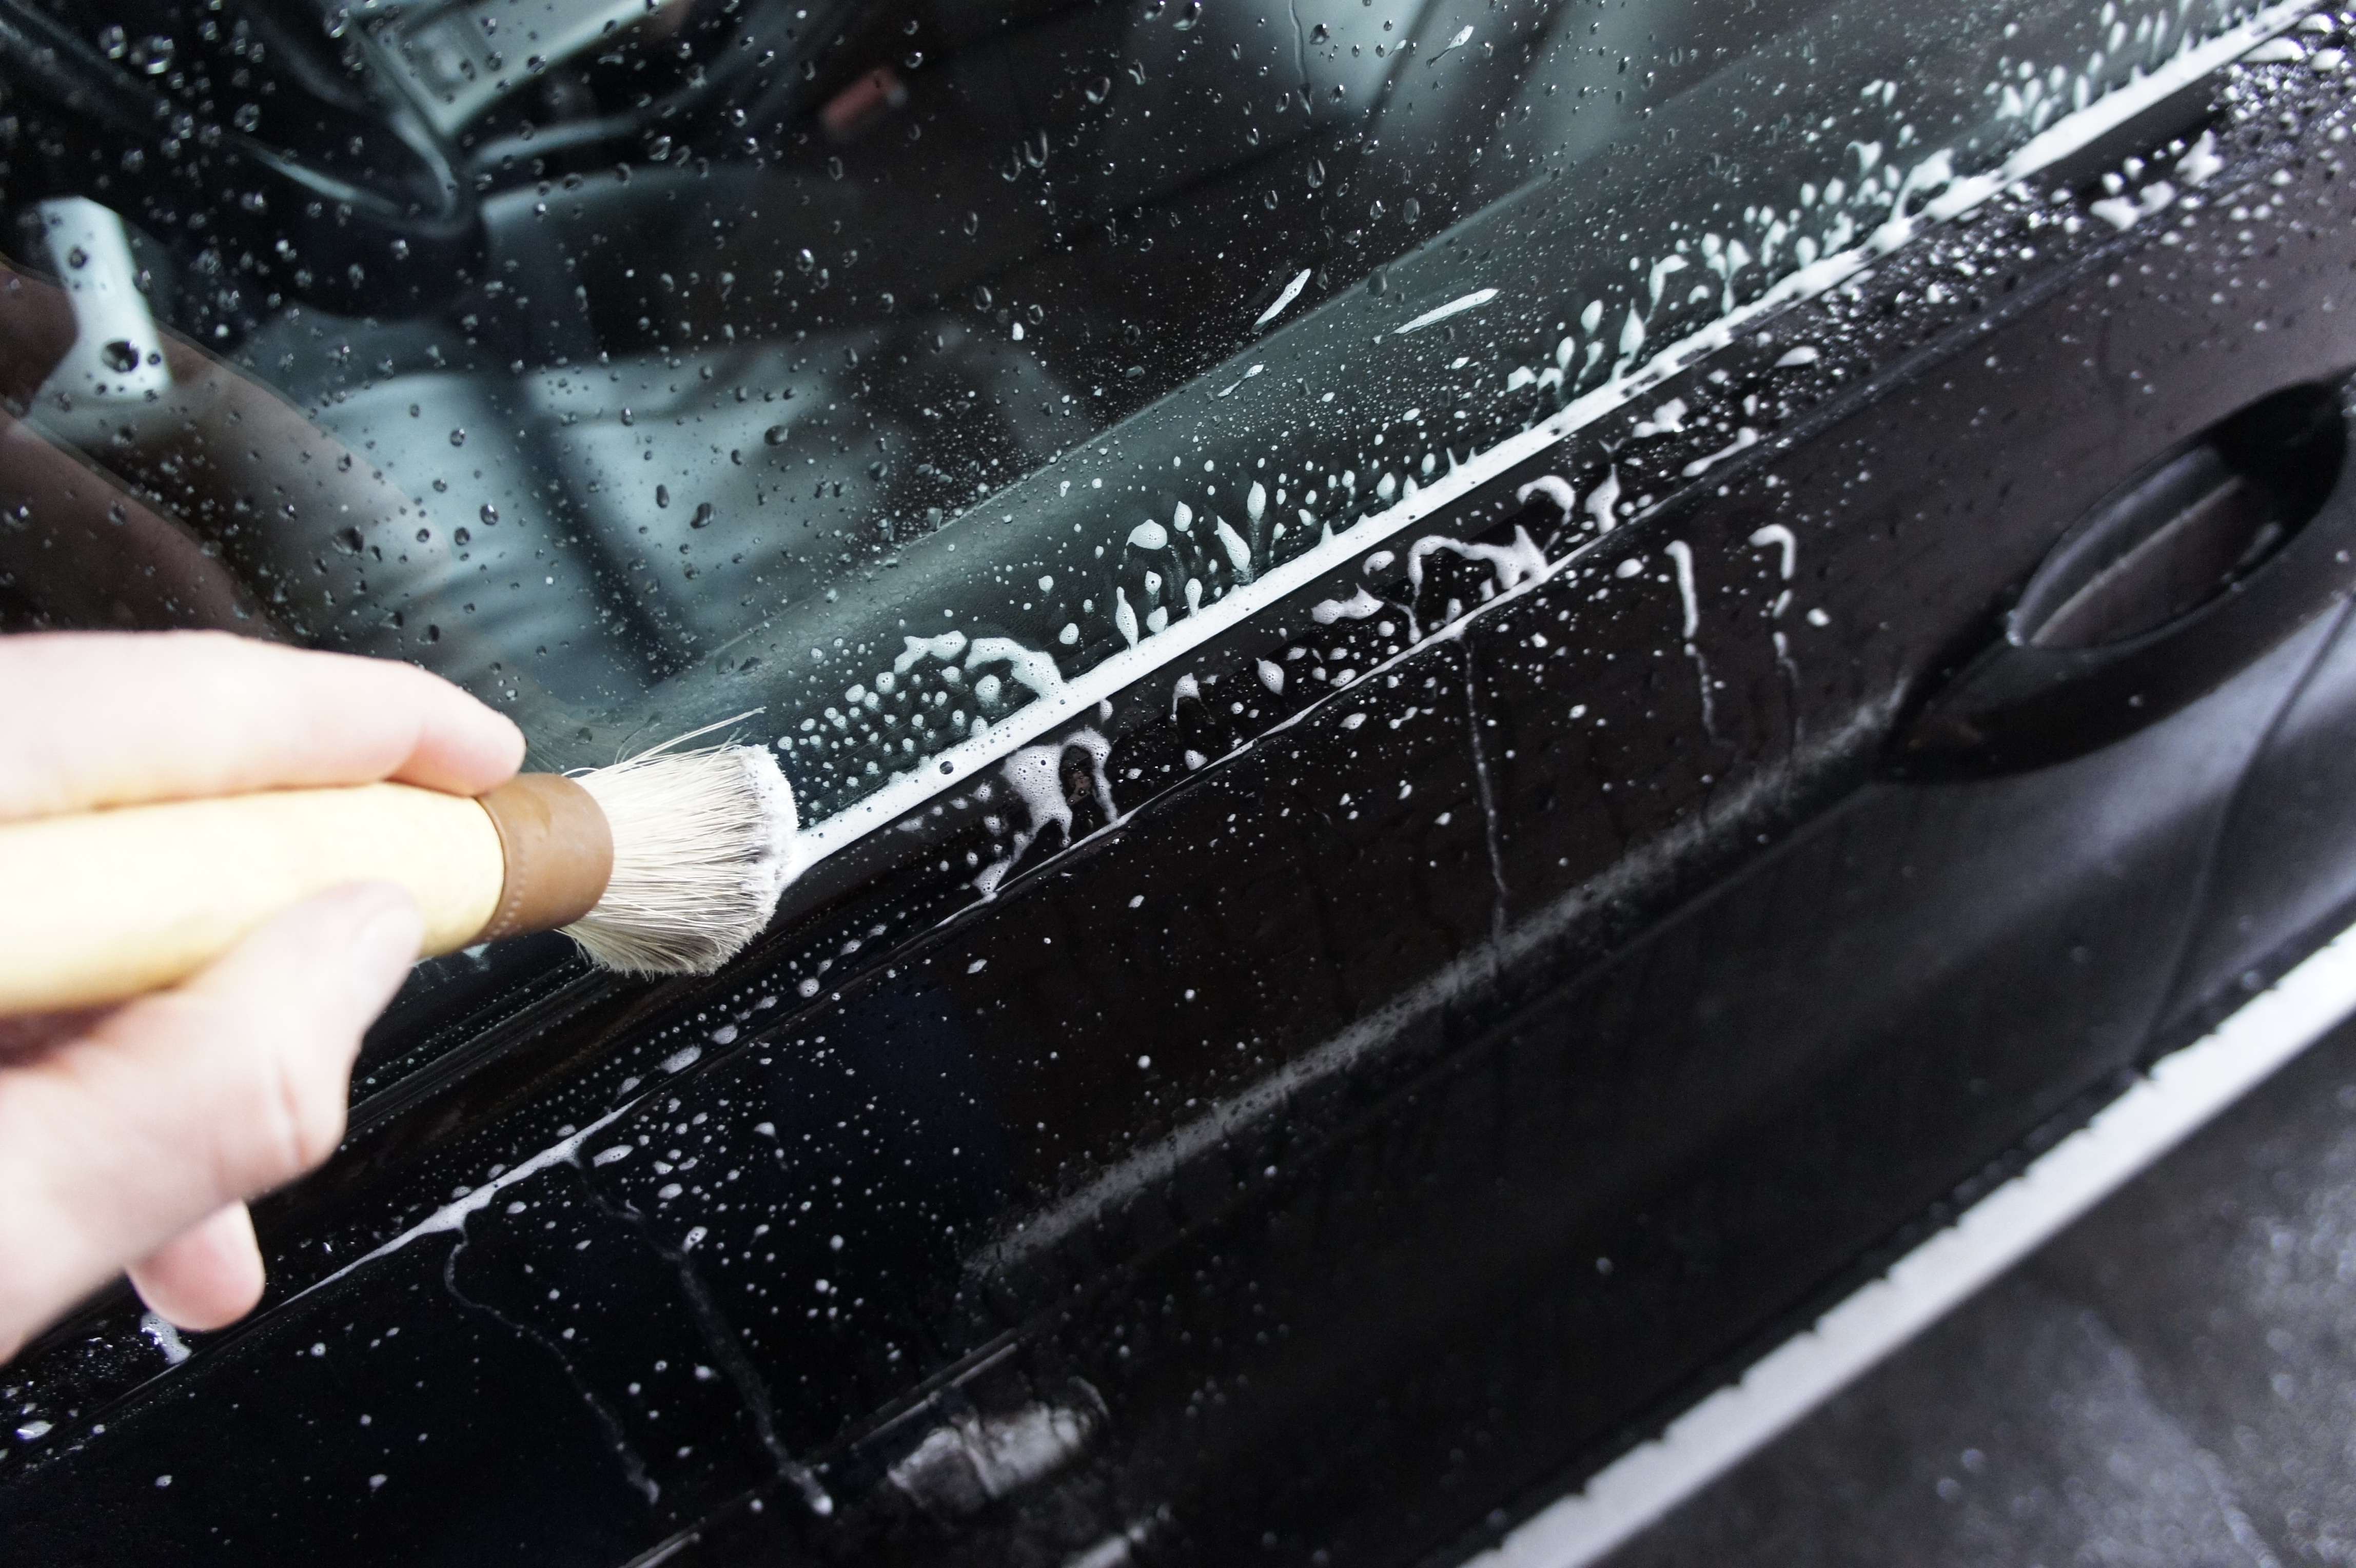
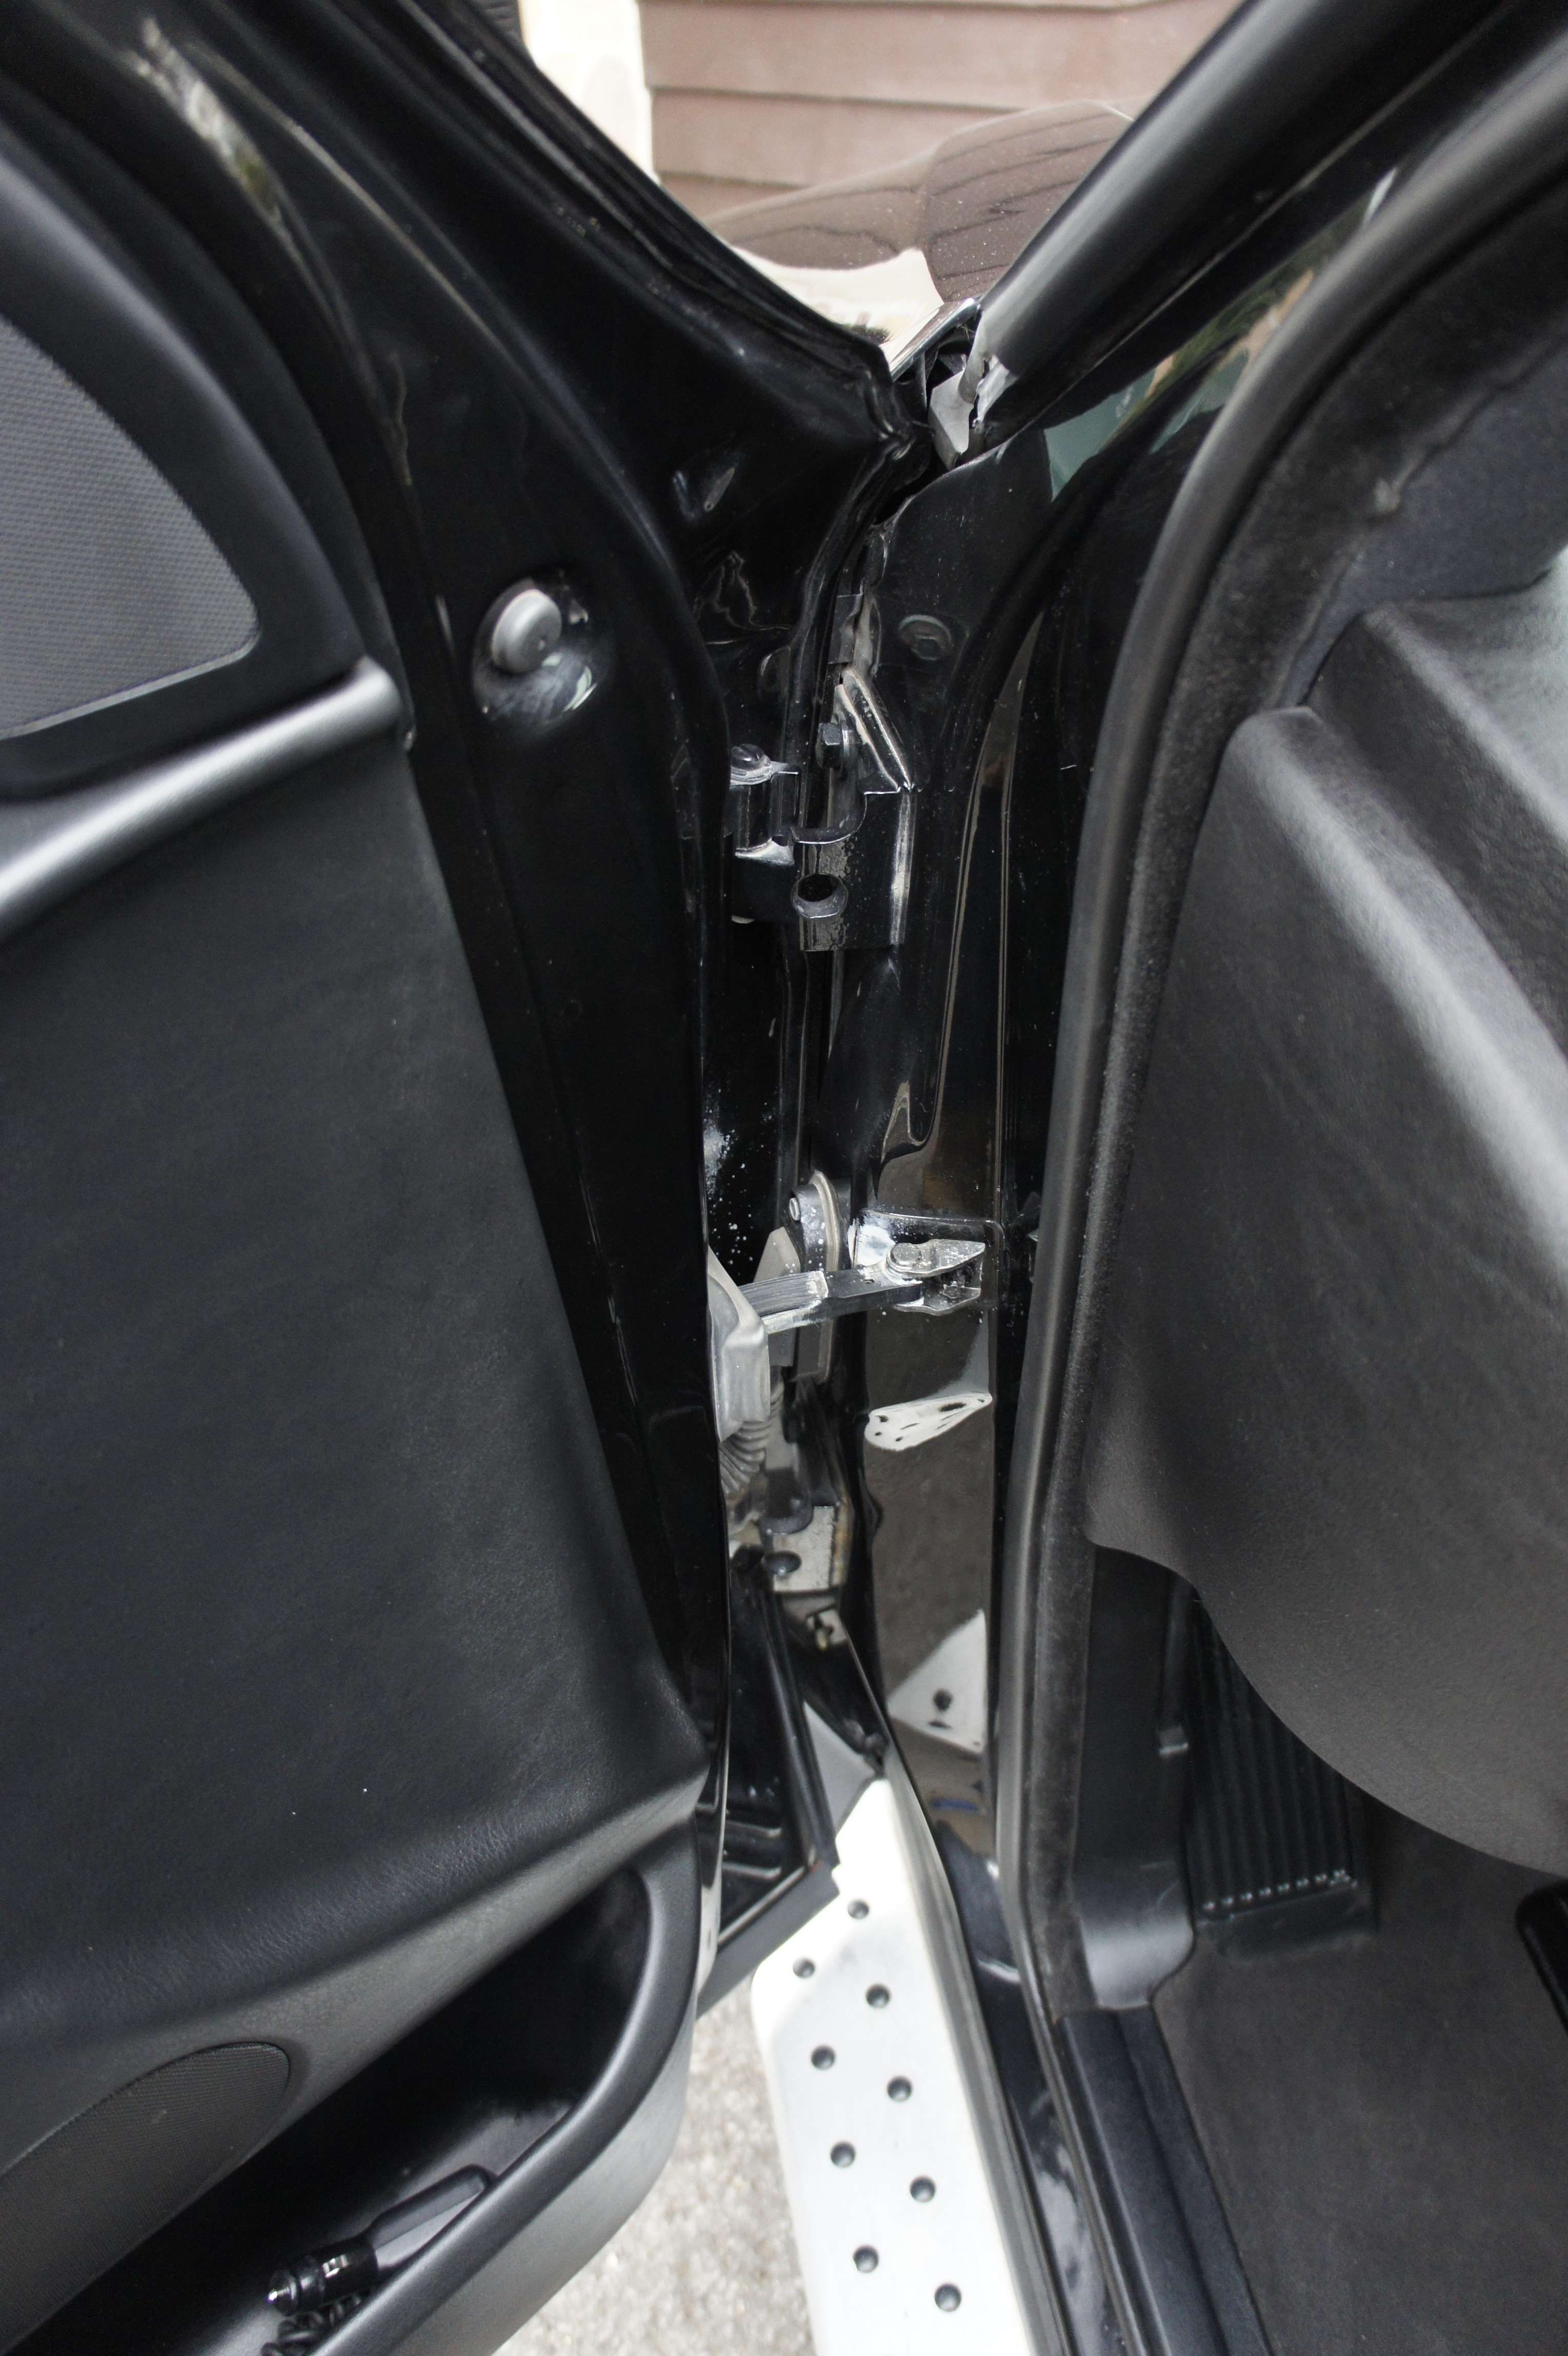
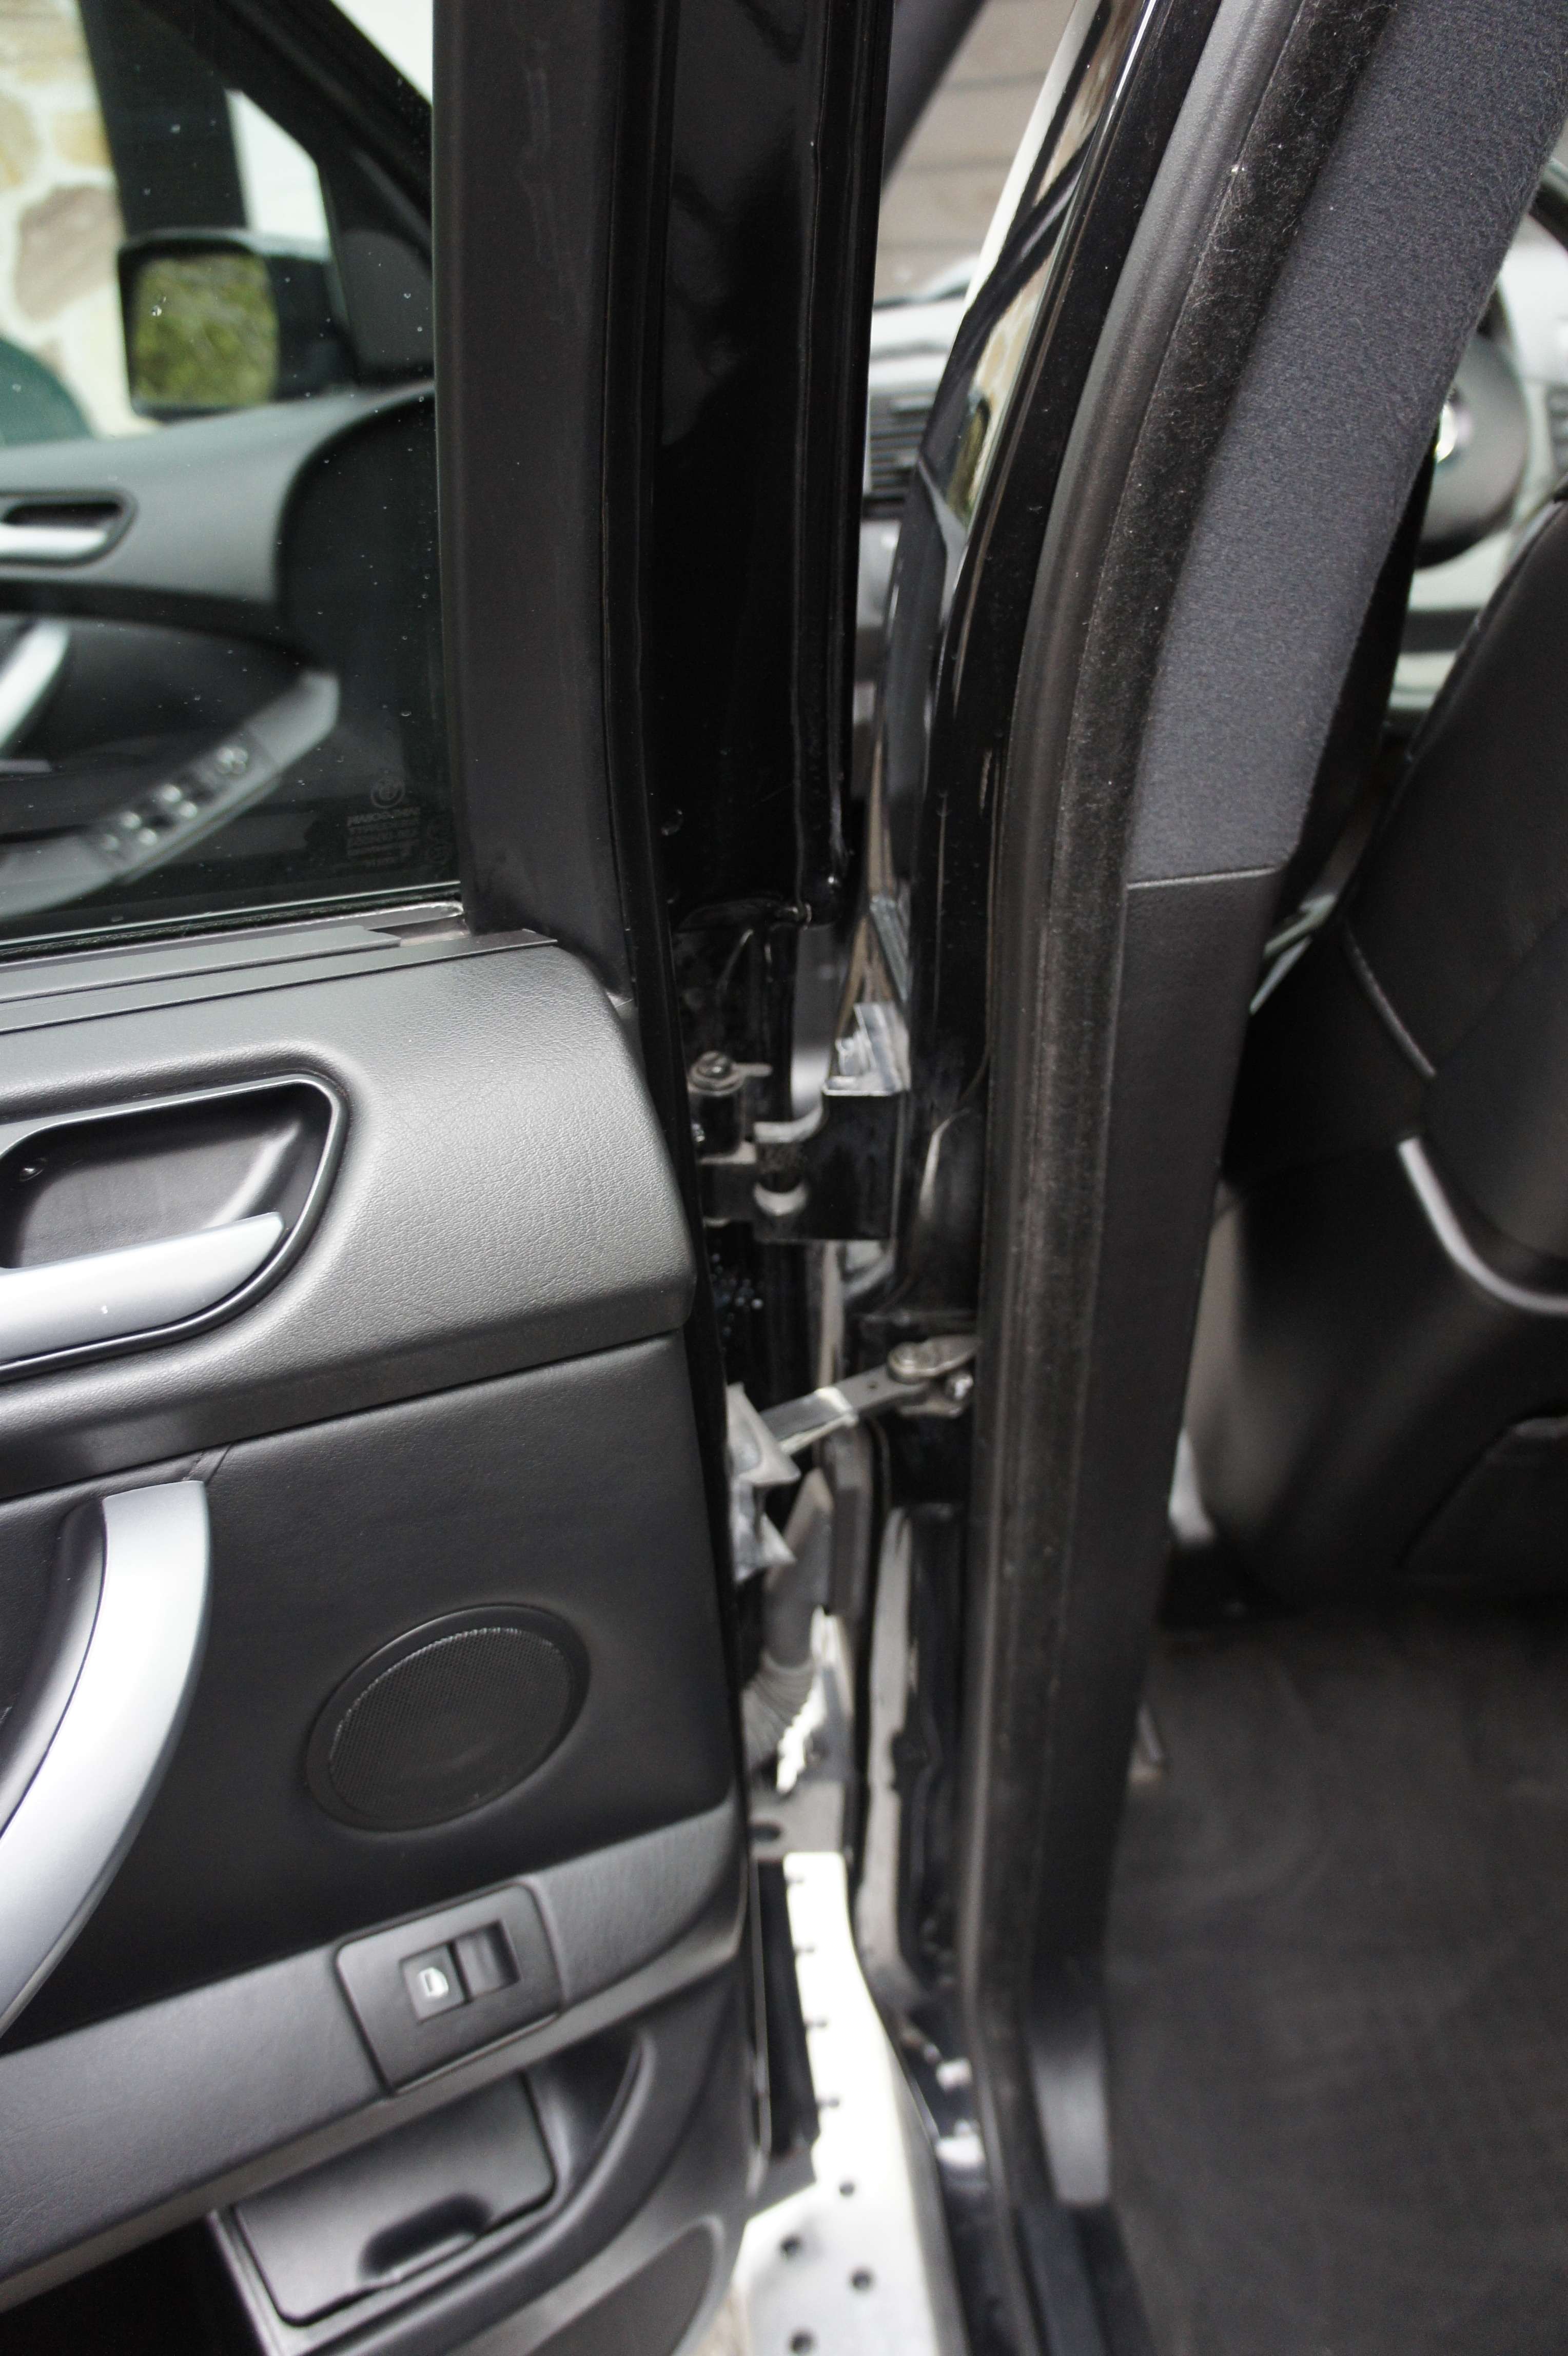
10. I also use my brush to clean crevice and door molding:
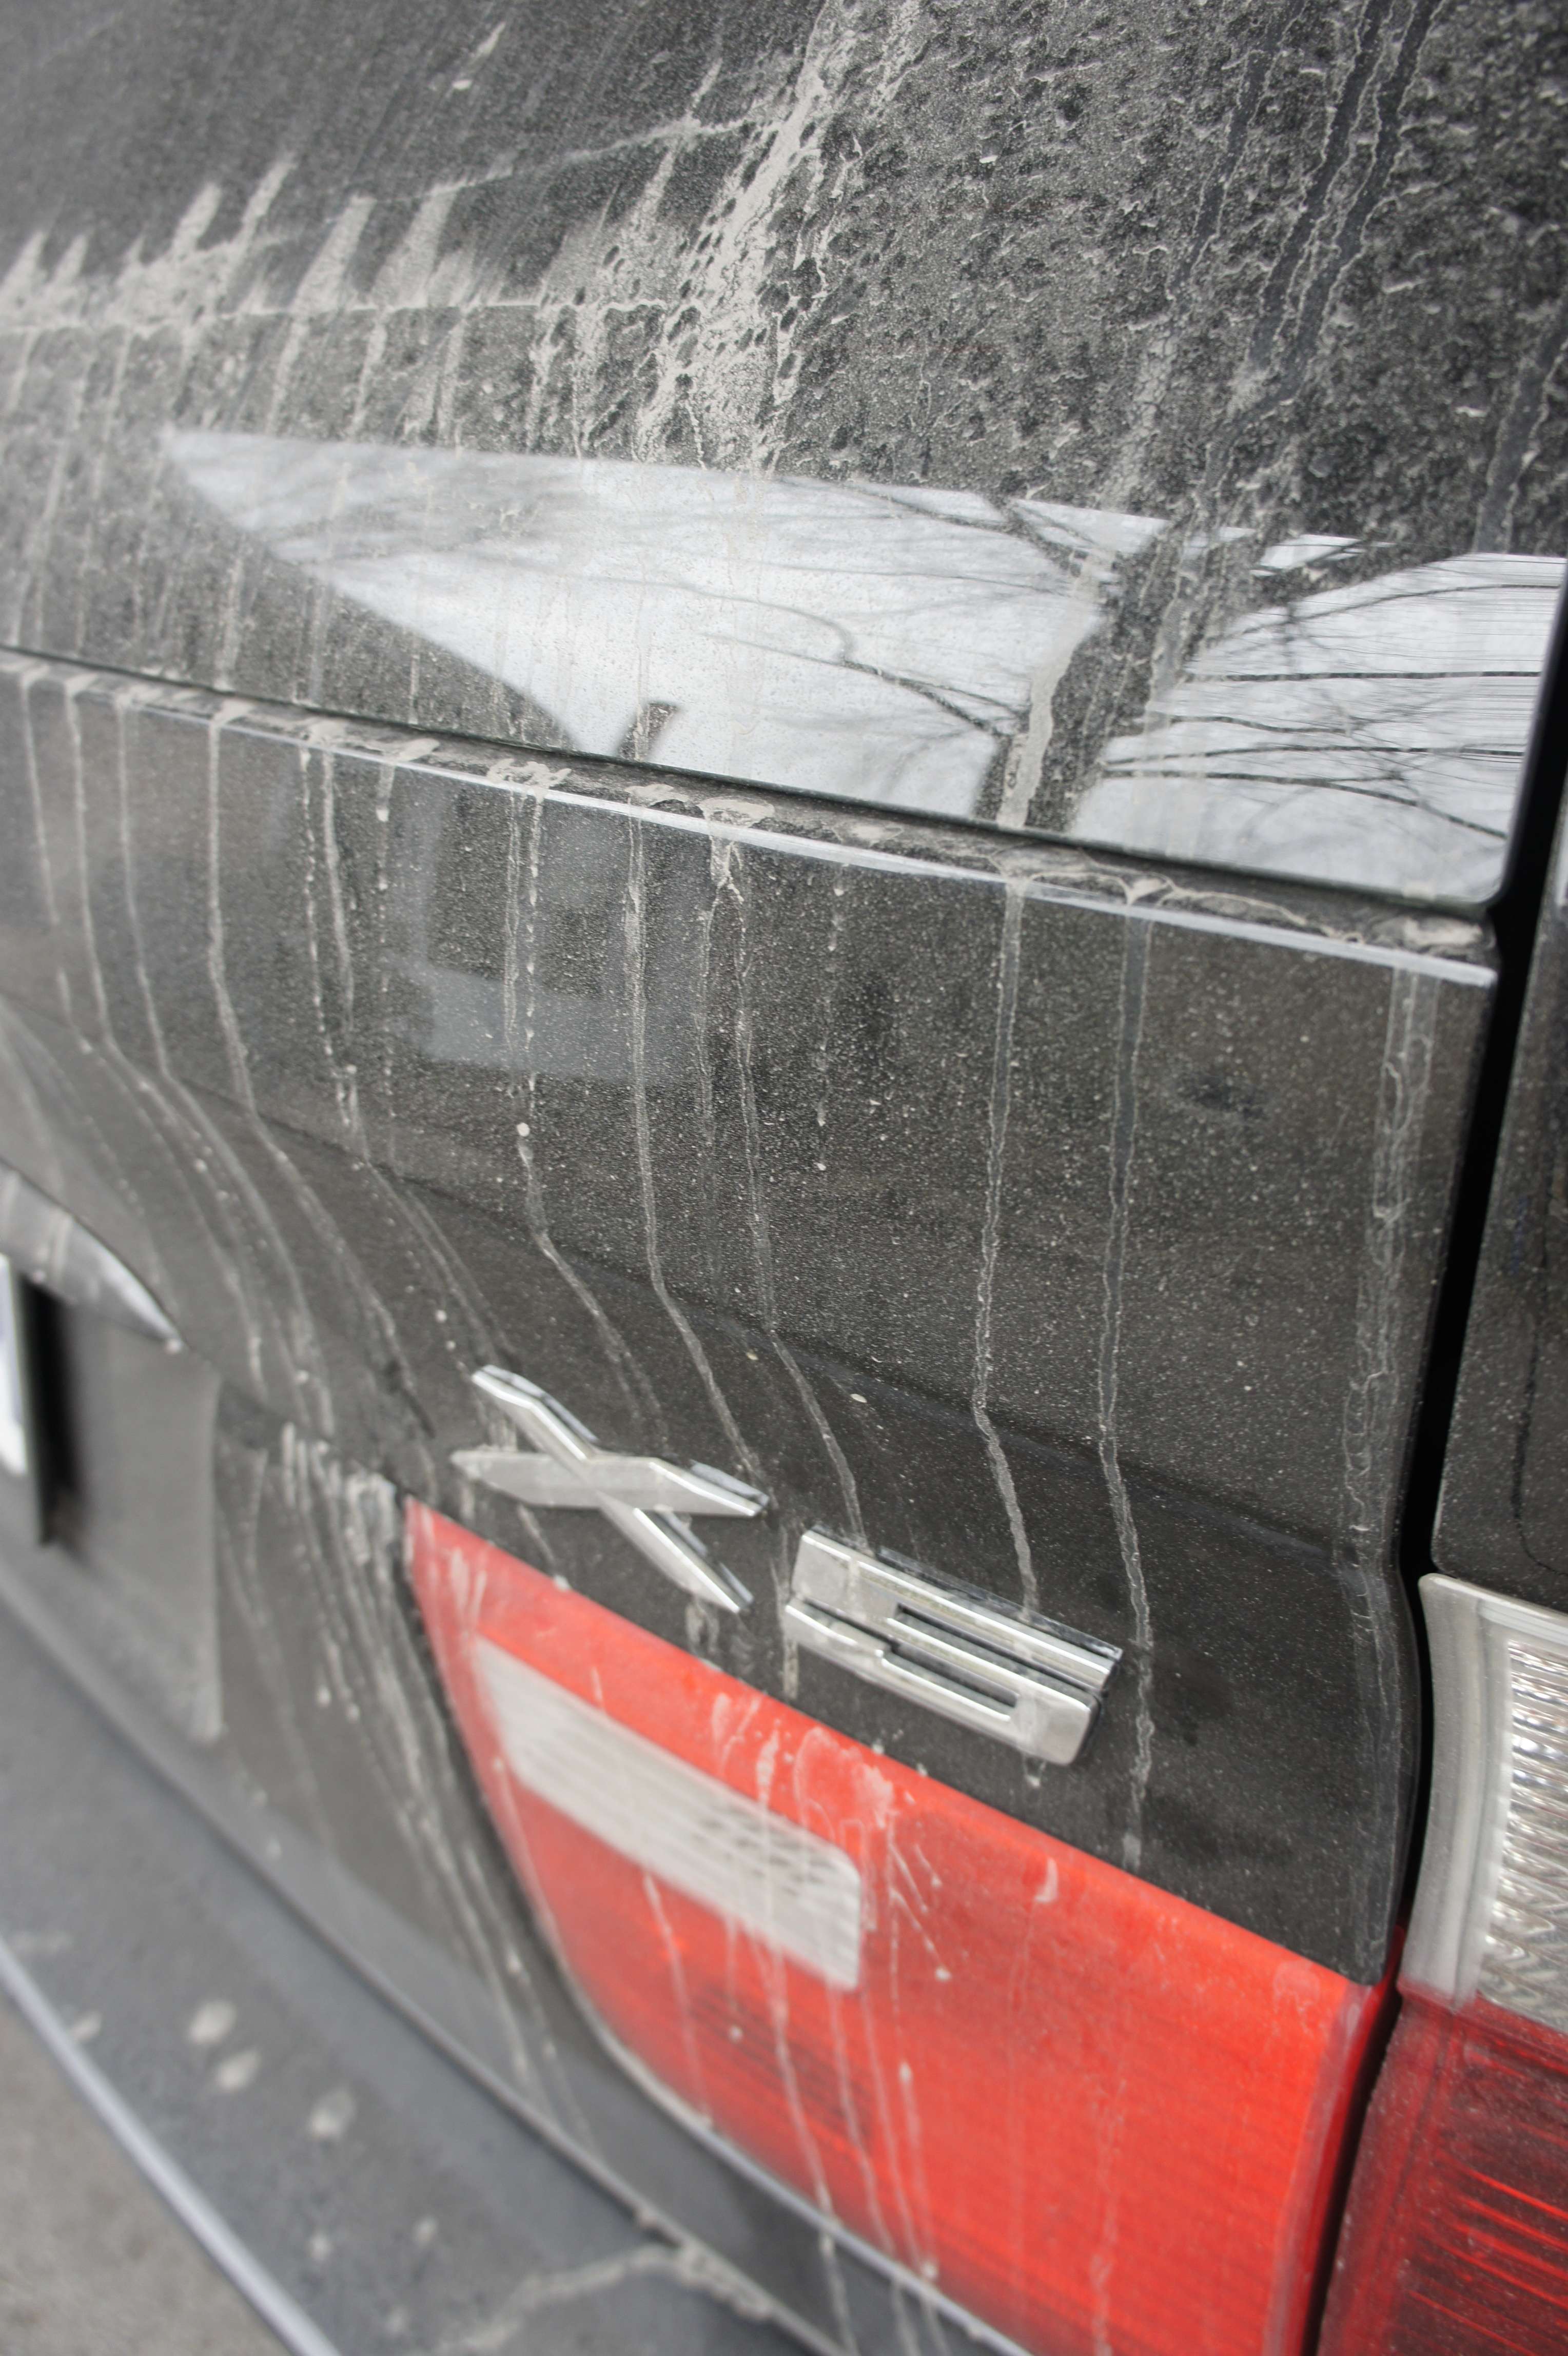
11. The owner asked me to remove the X5 badge, that was some hard work!

It’s now gone:
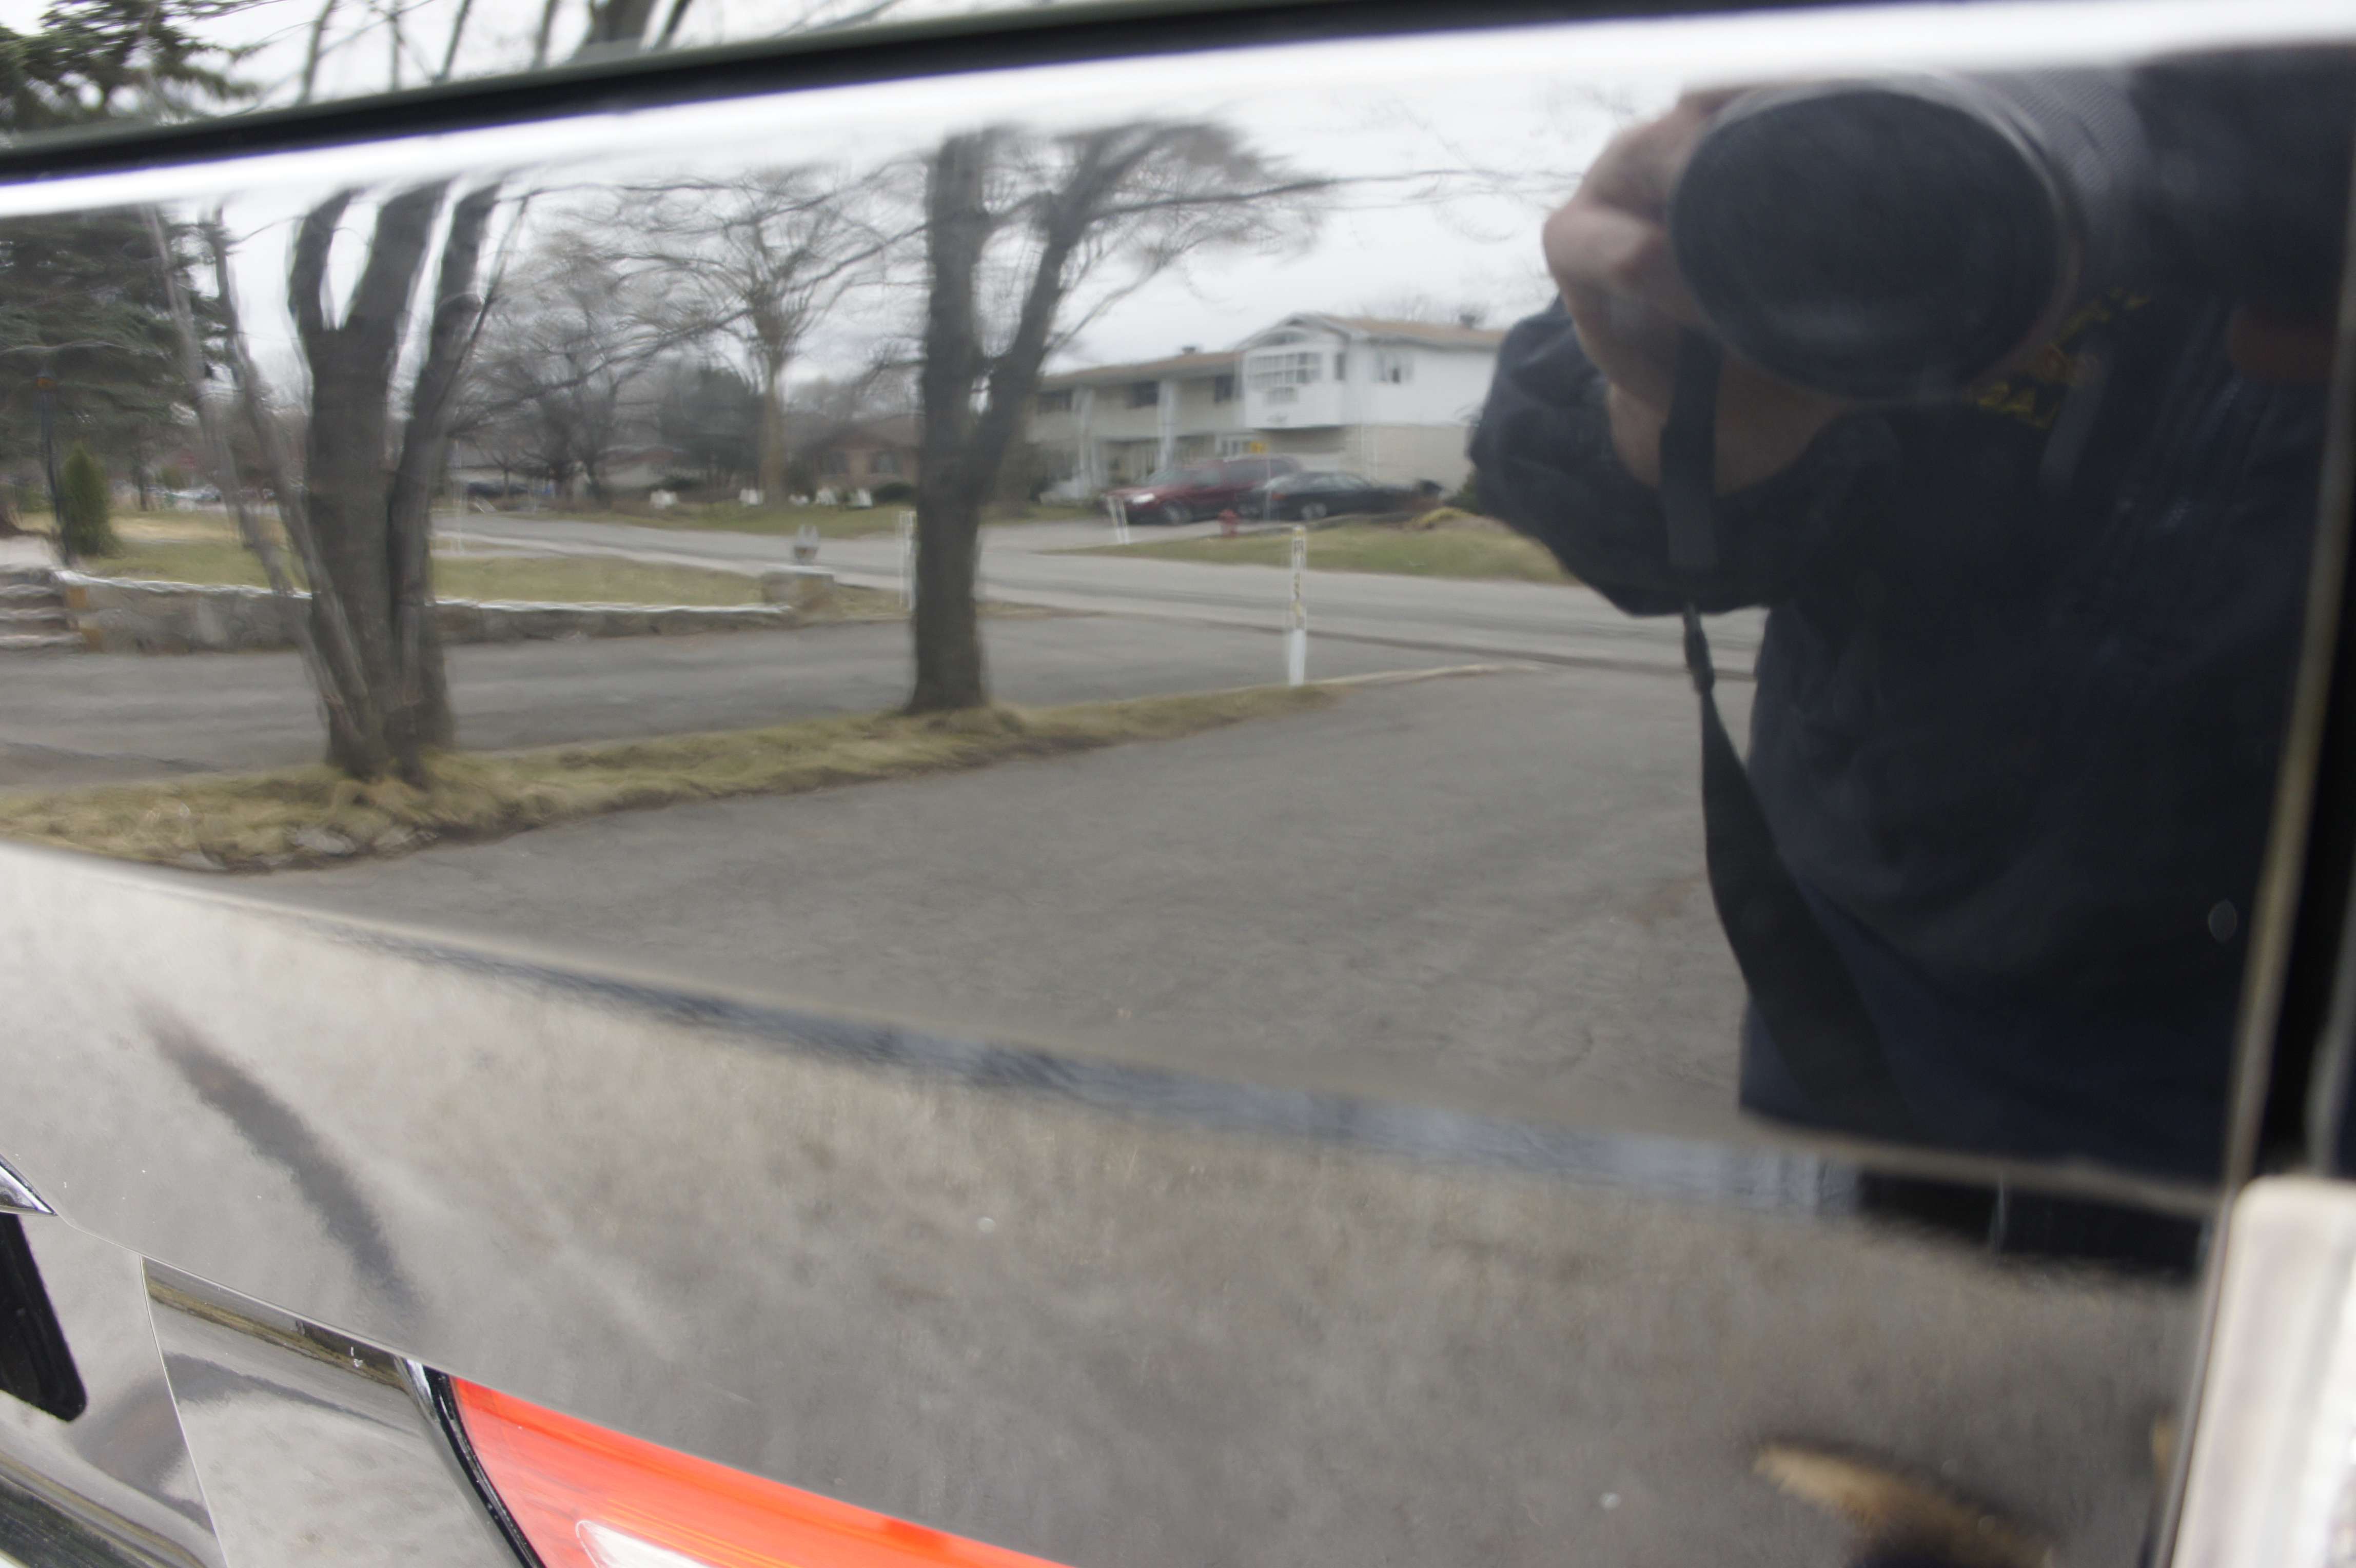
12. Okay so I think the vehicule is clean now.. let’s rinse it and dry it with a microfiber!
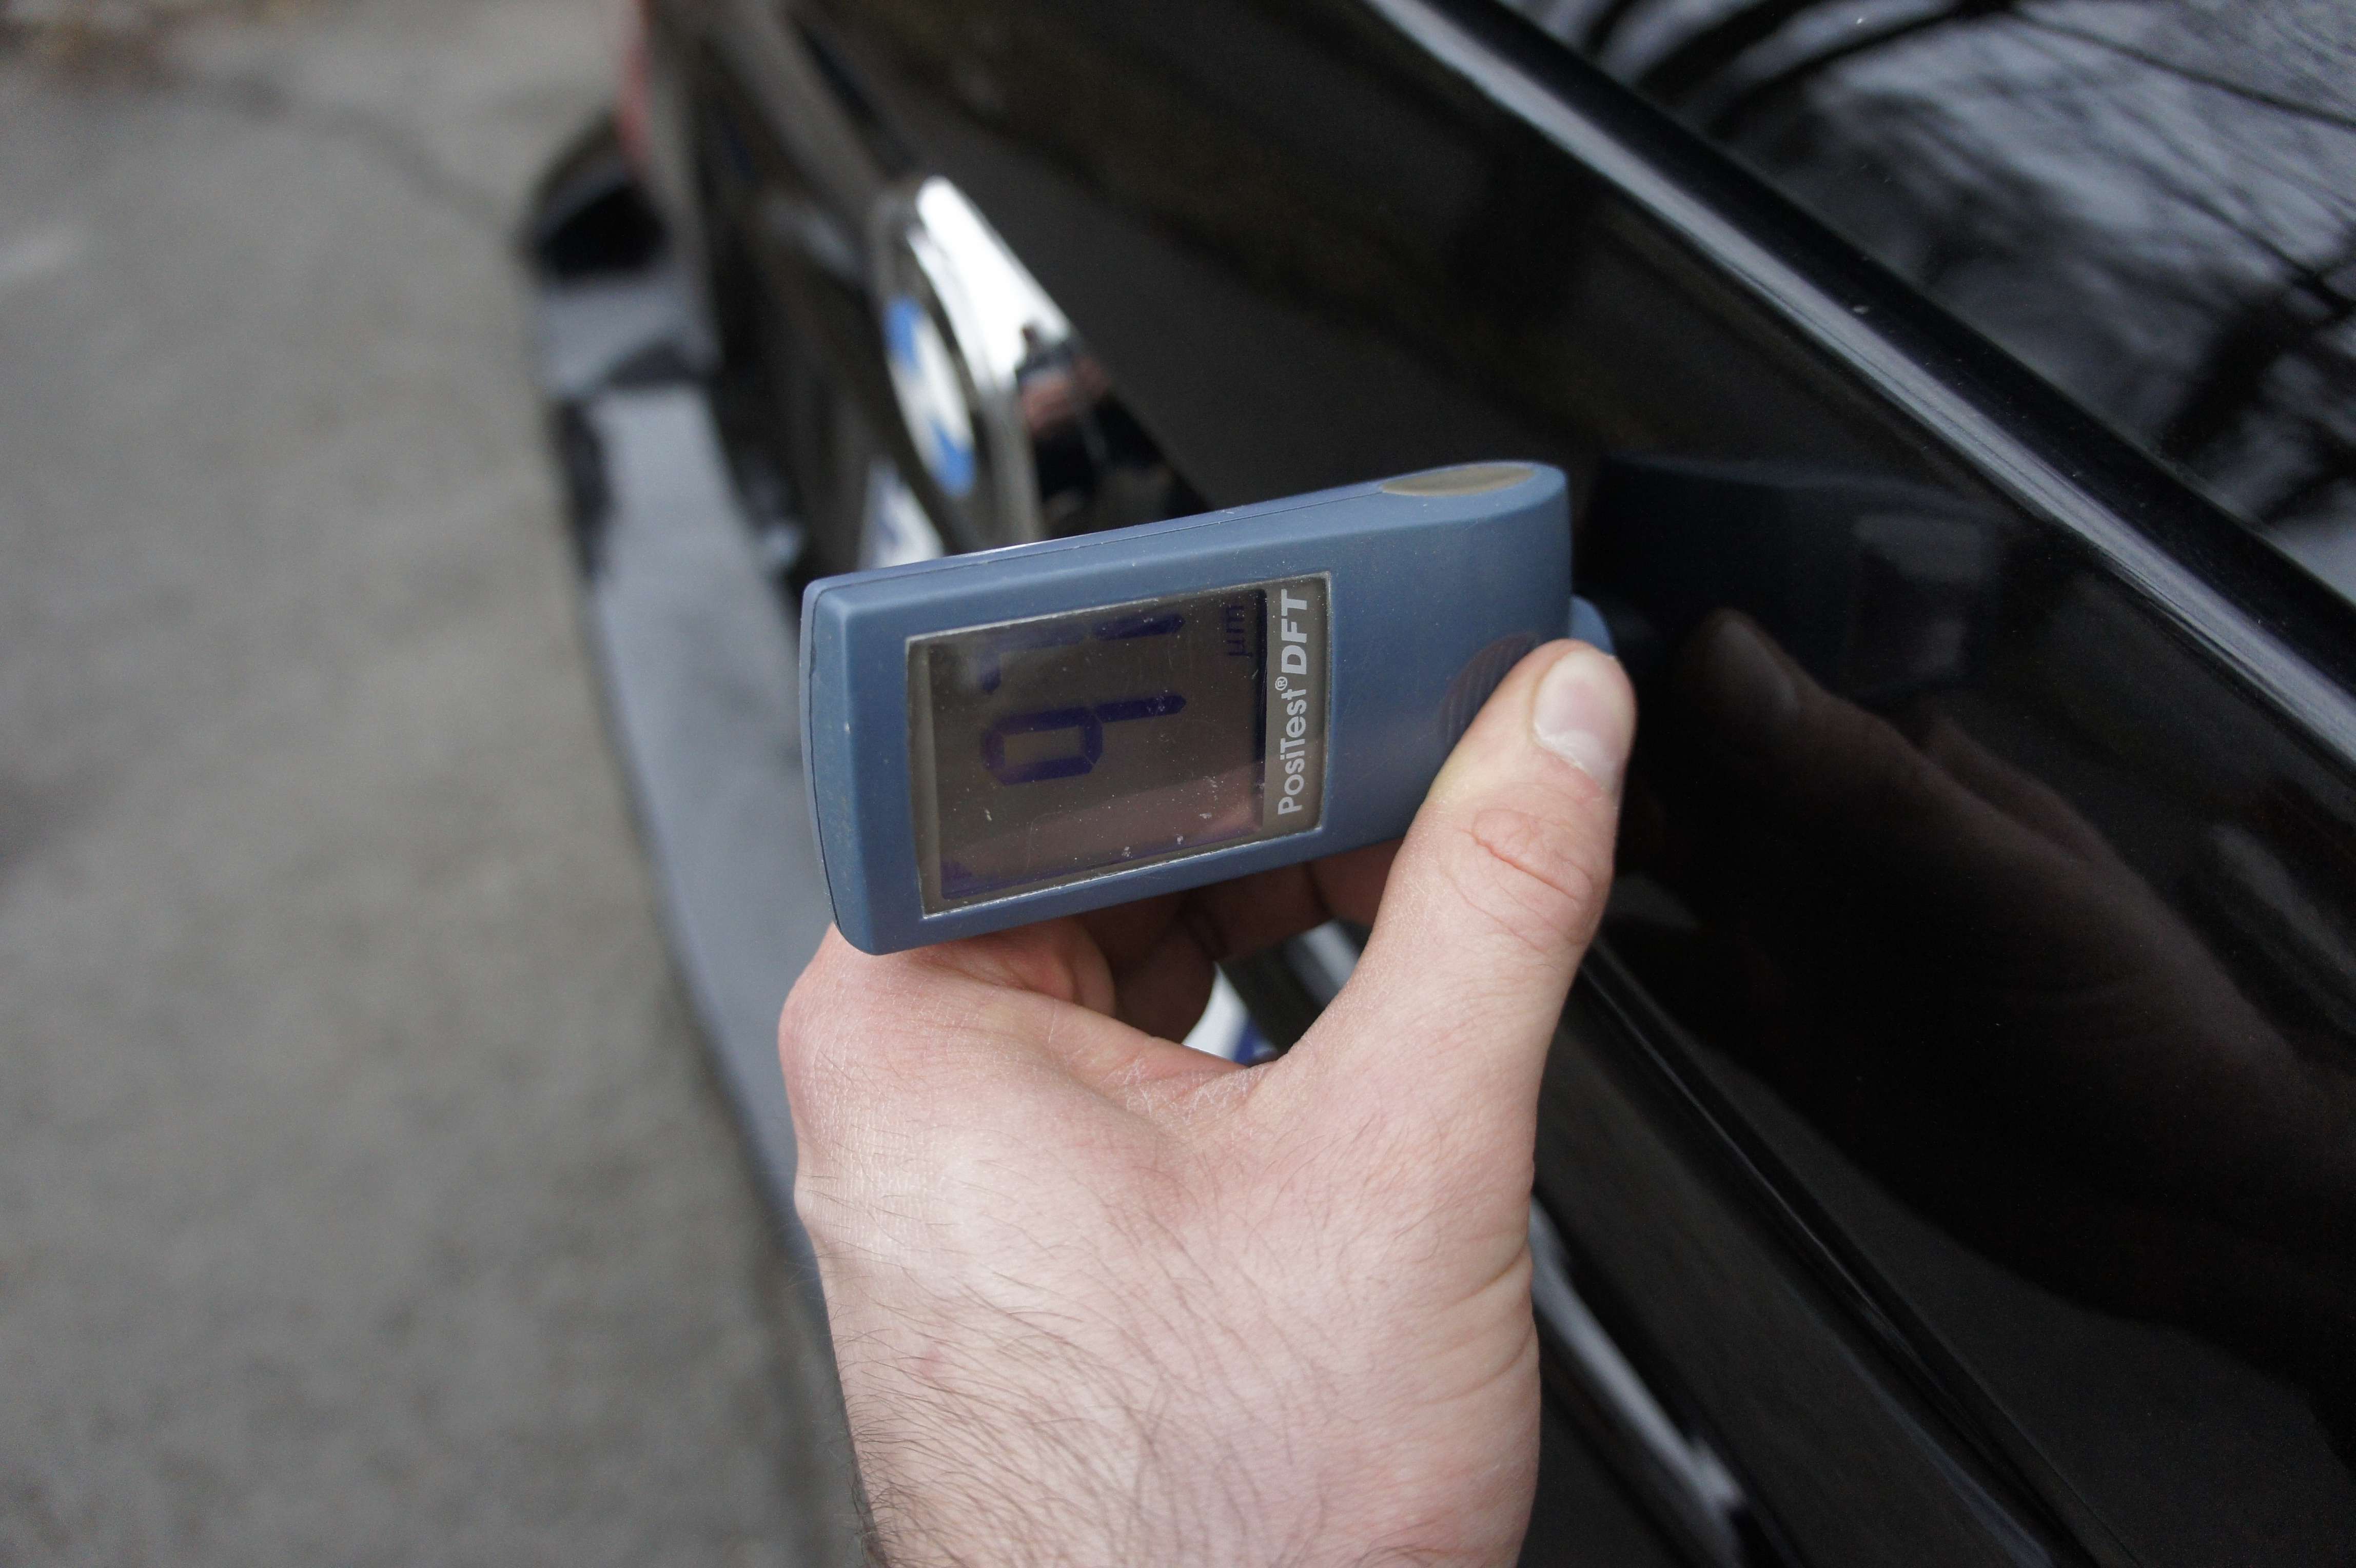
Now before I polish, I want to take some measure with my Defalsko paint gauge to make sure I can work without doing anything bad to the paint. This is excellent safety.
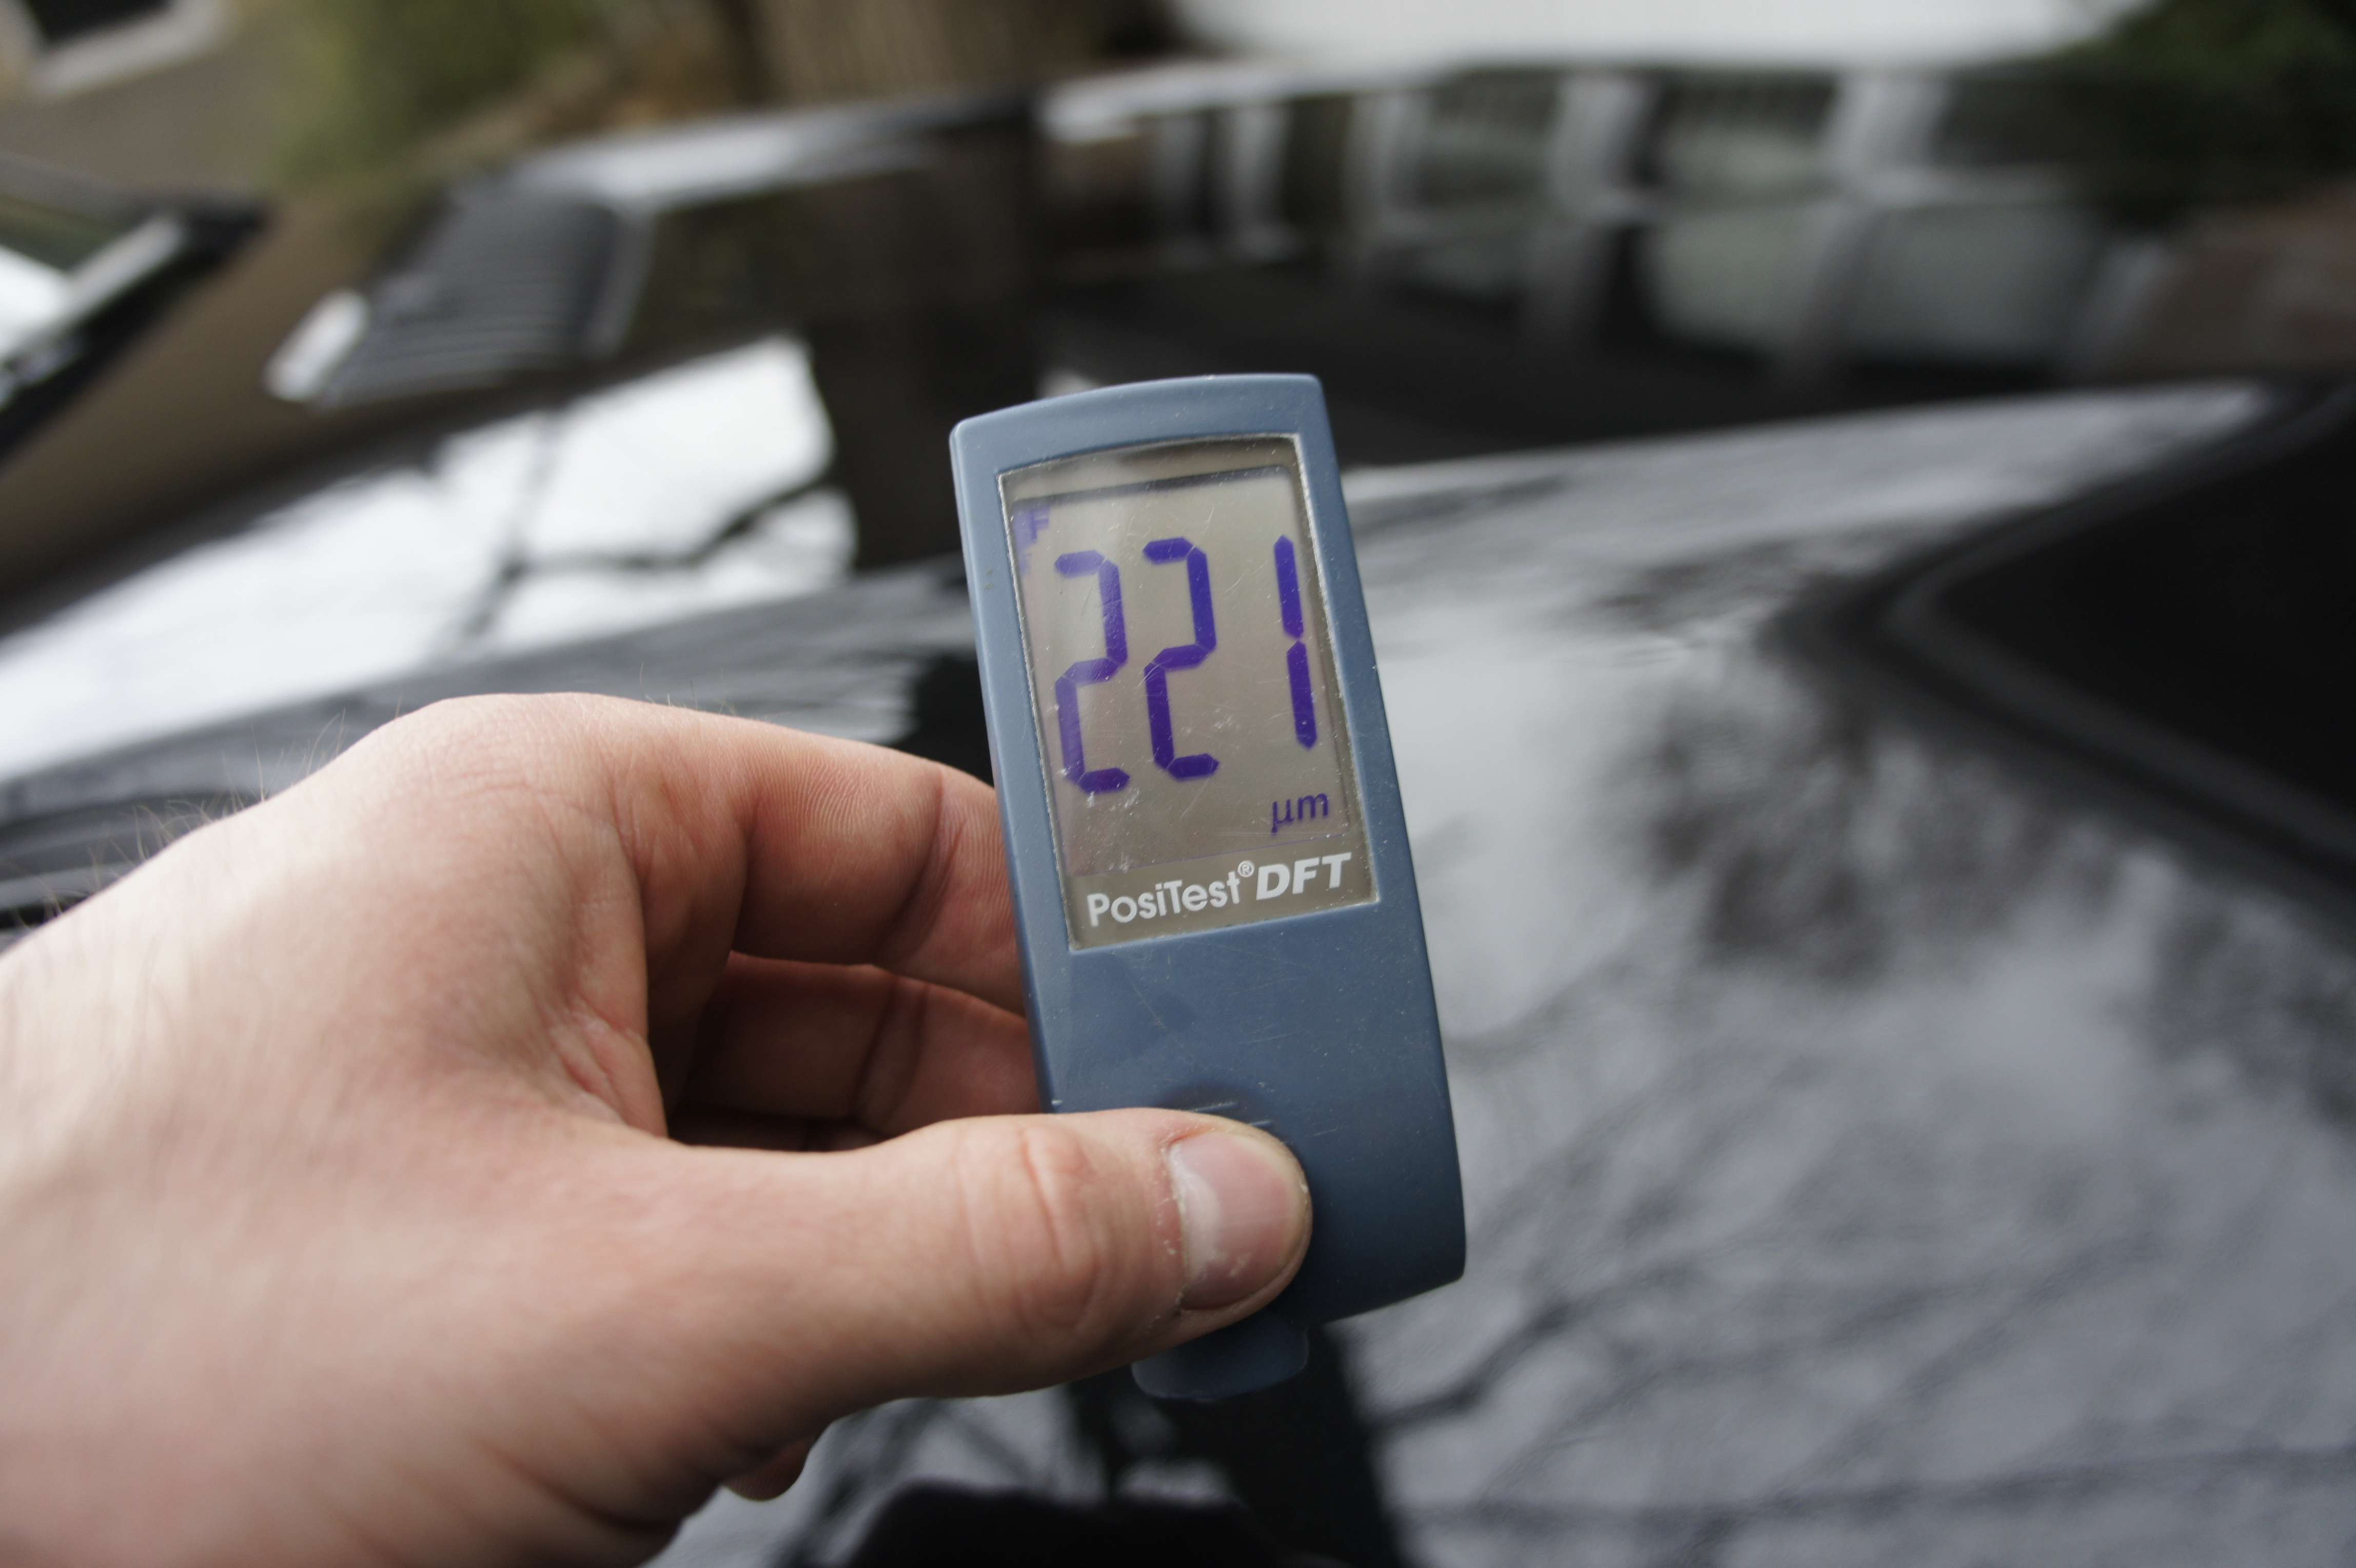
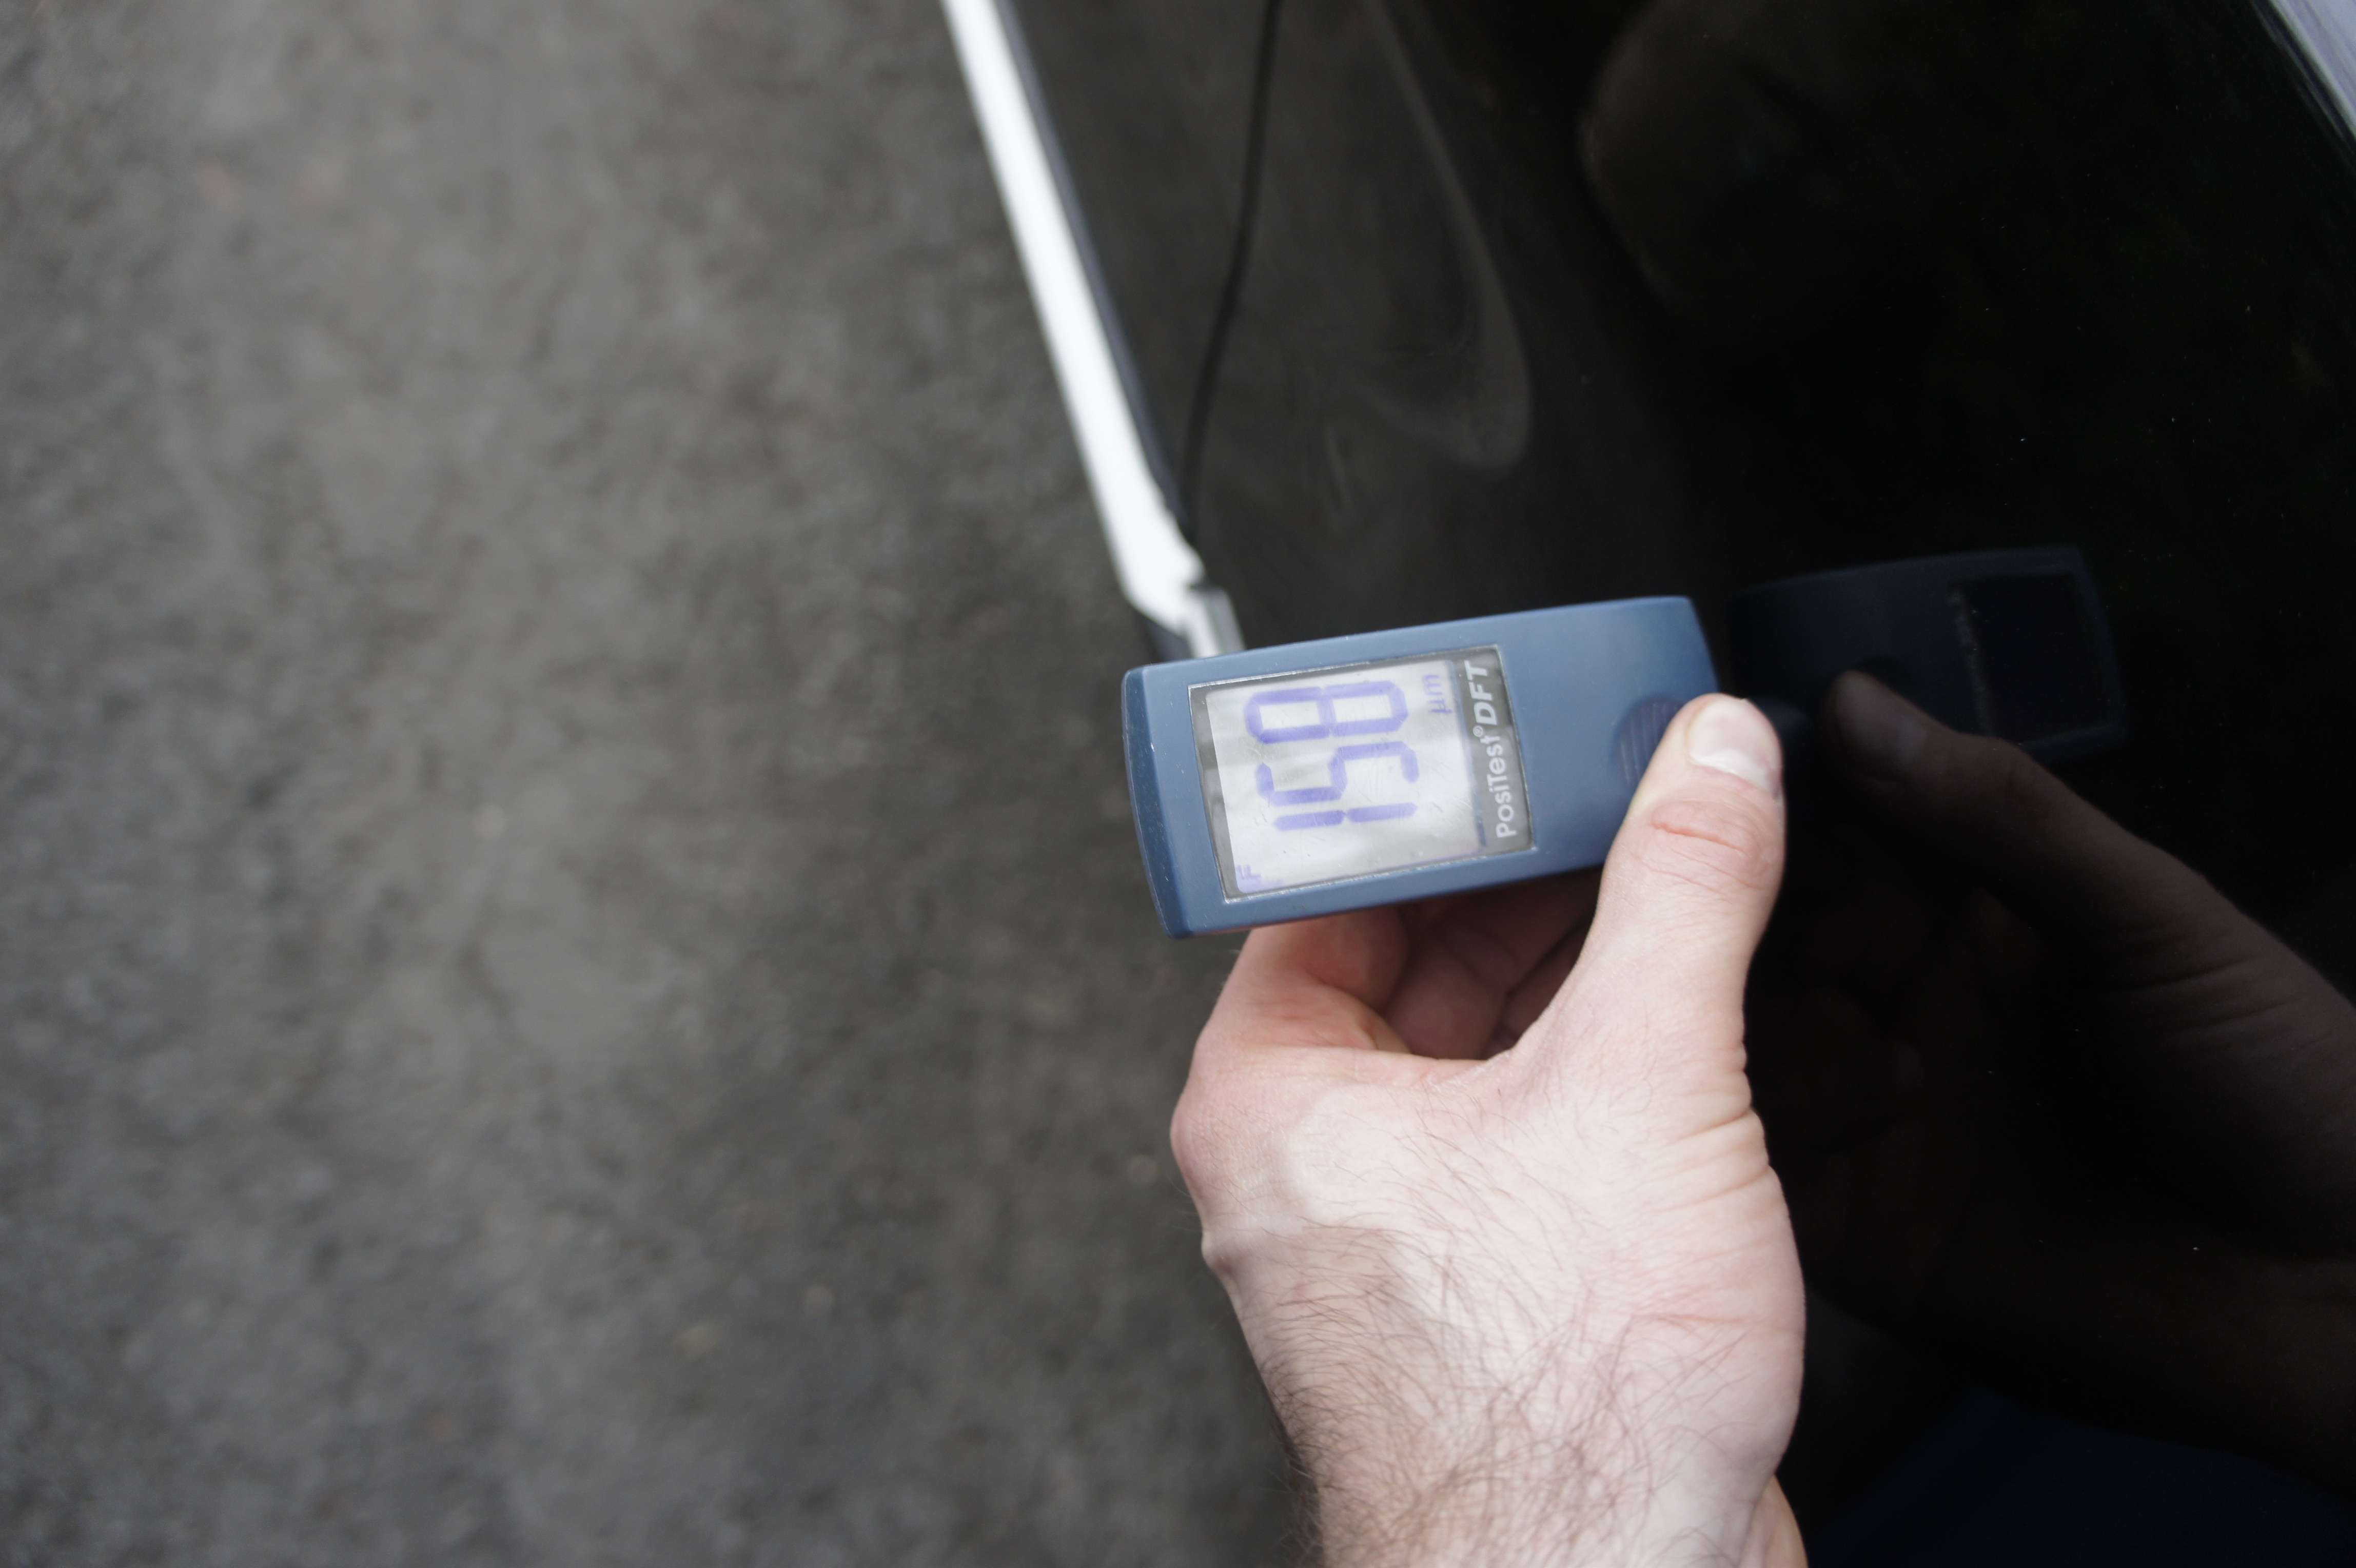
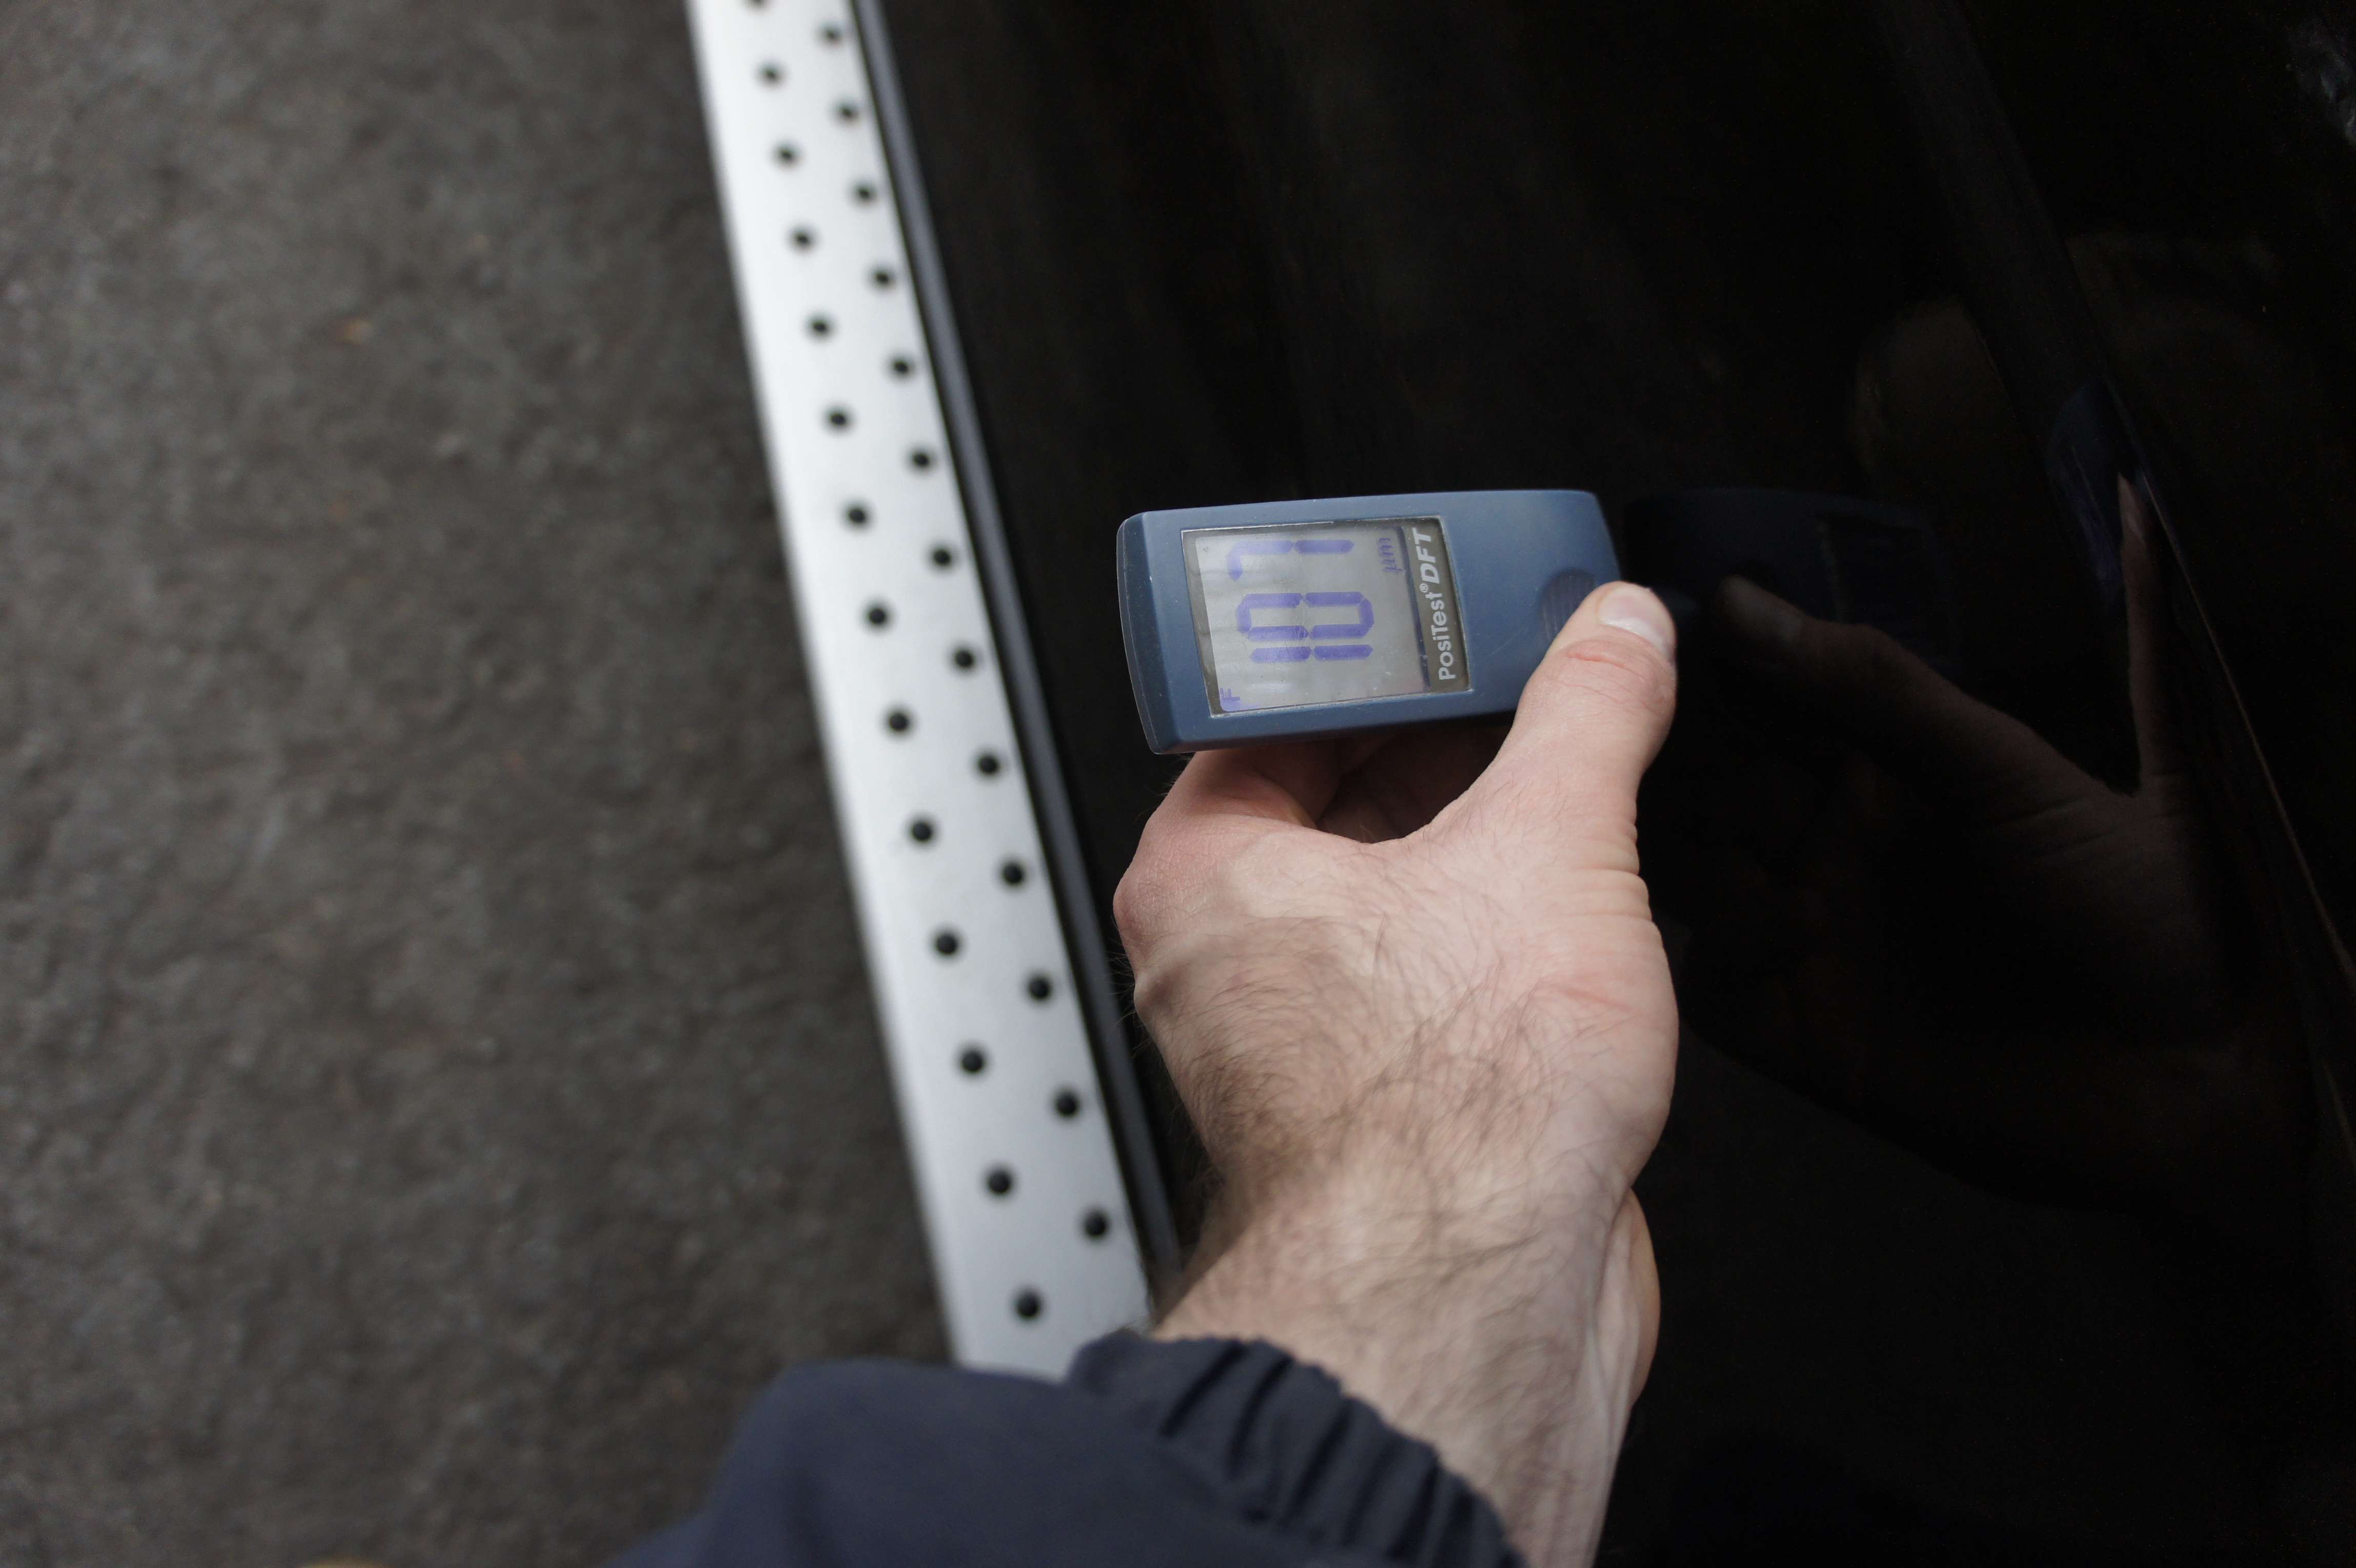
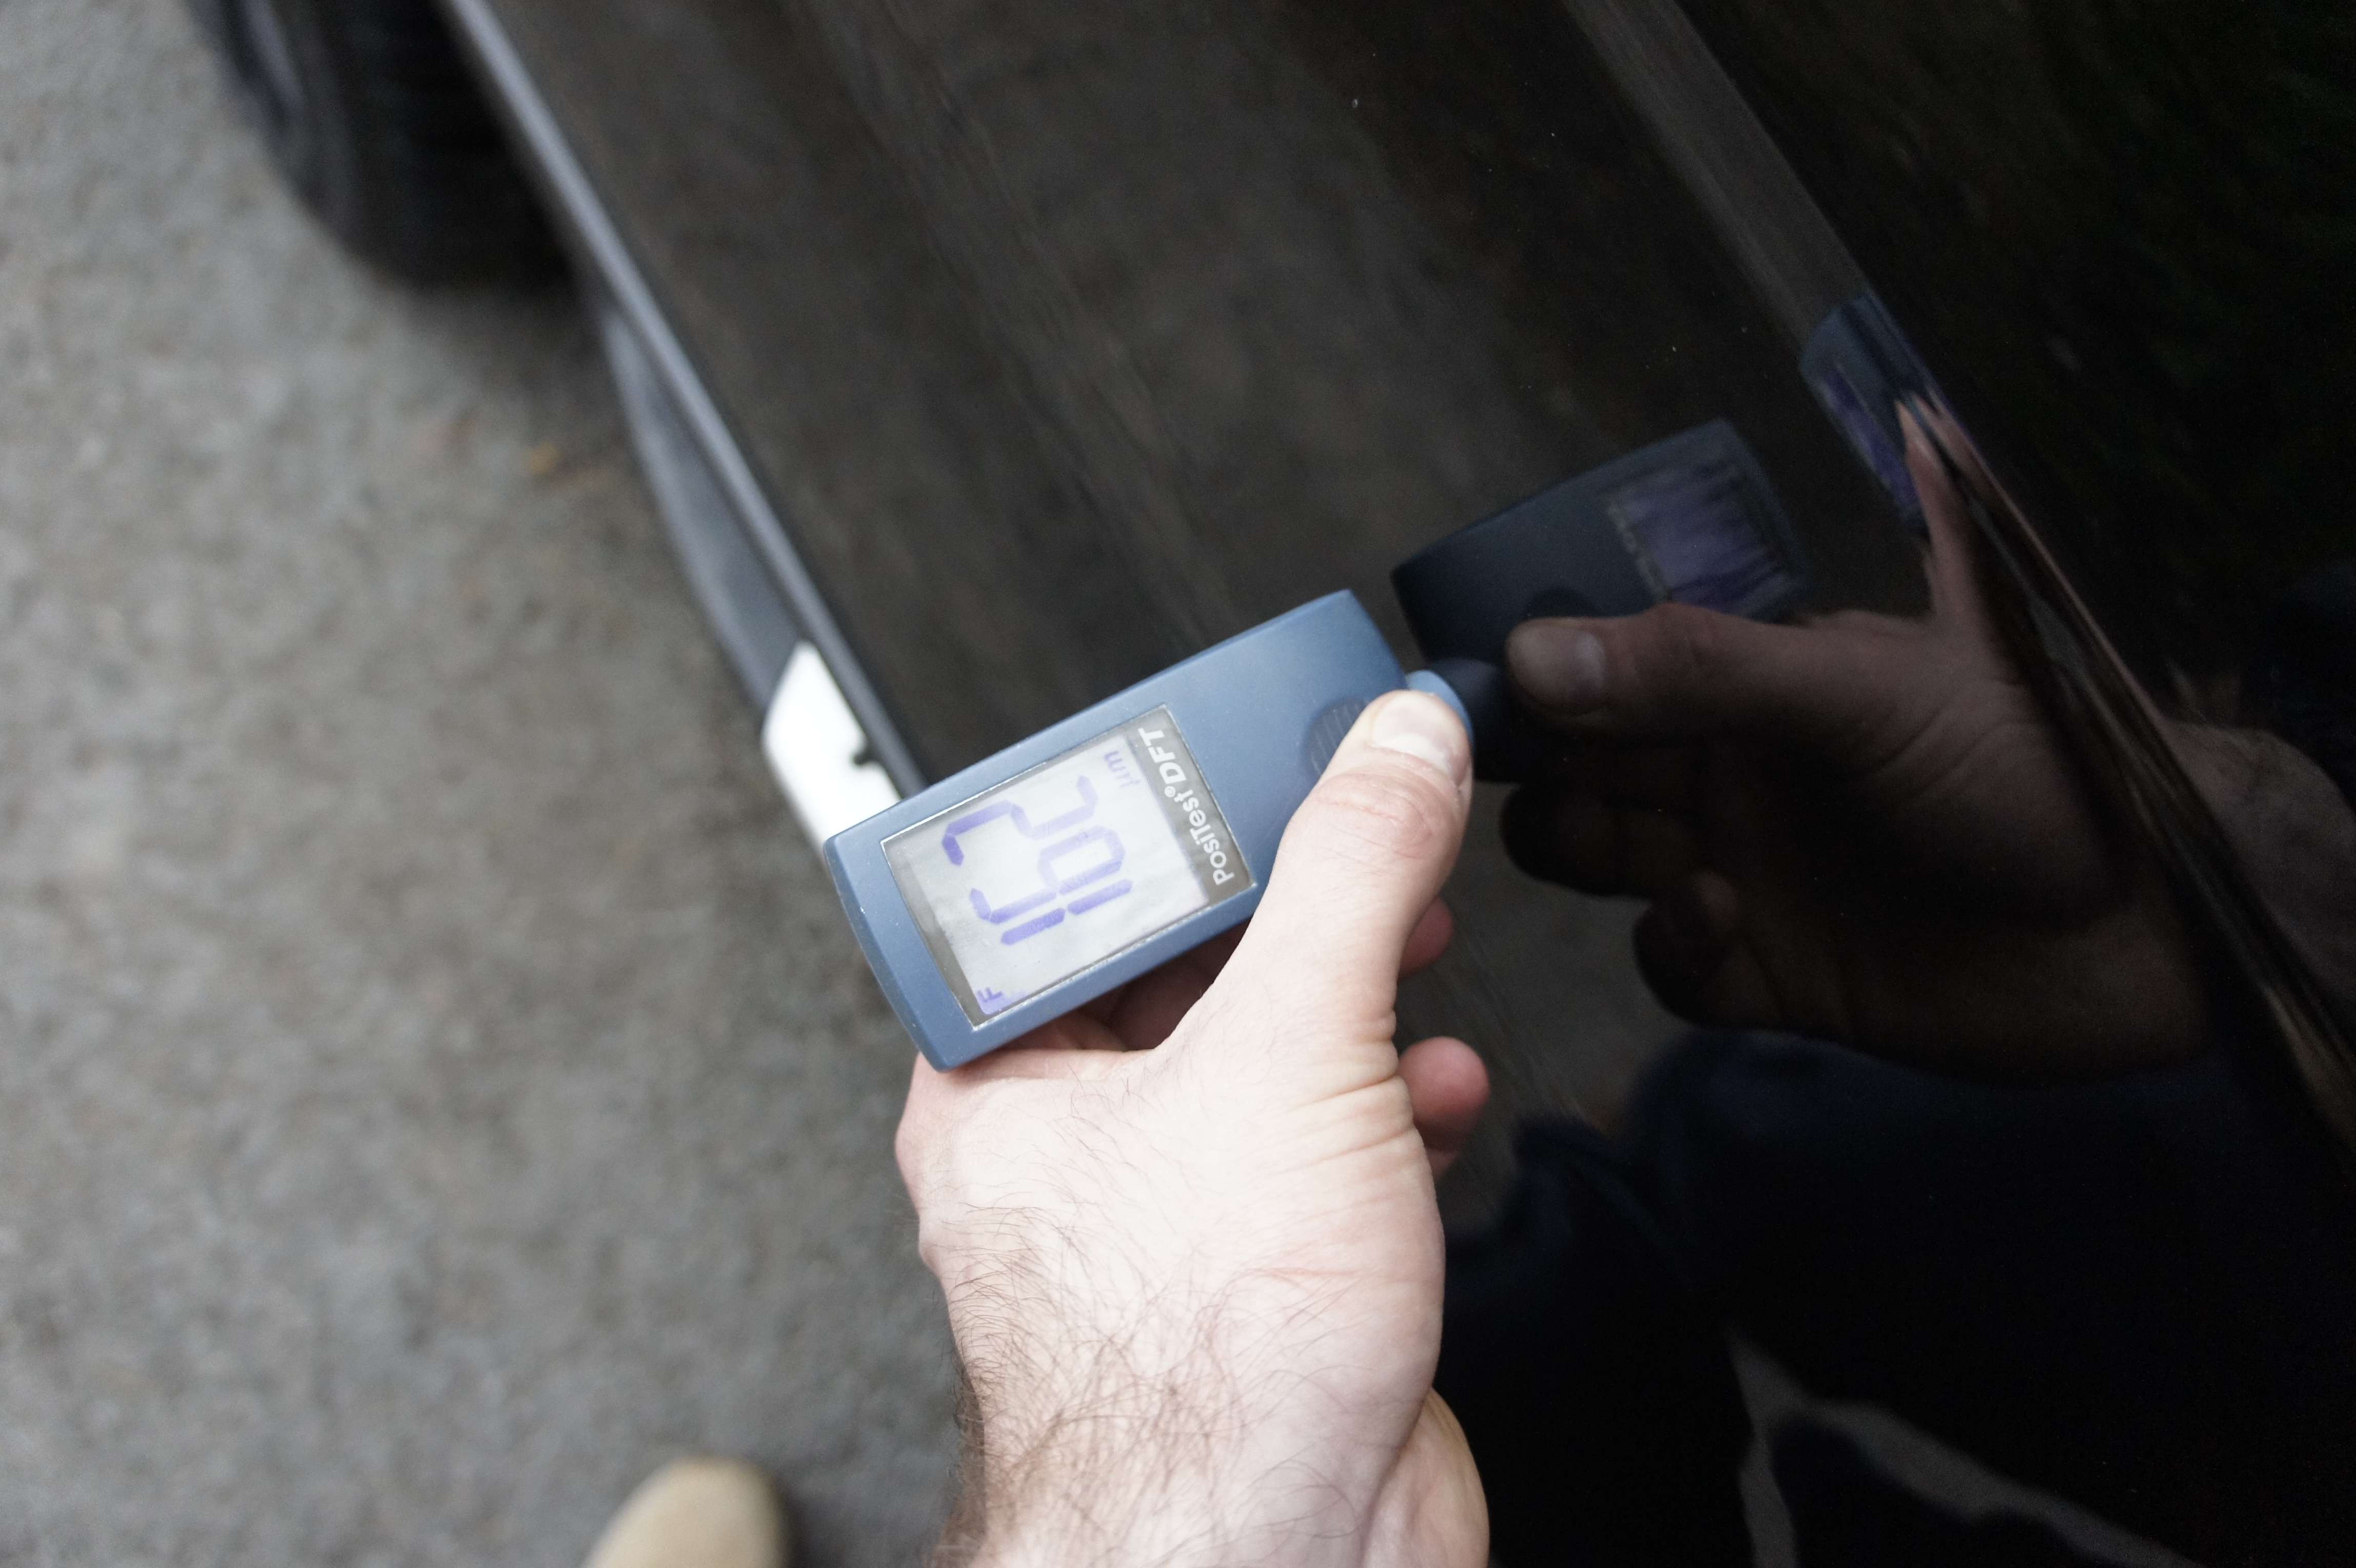
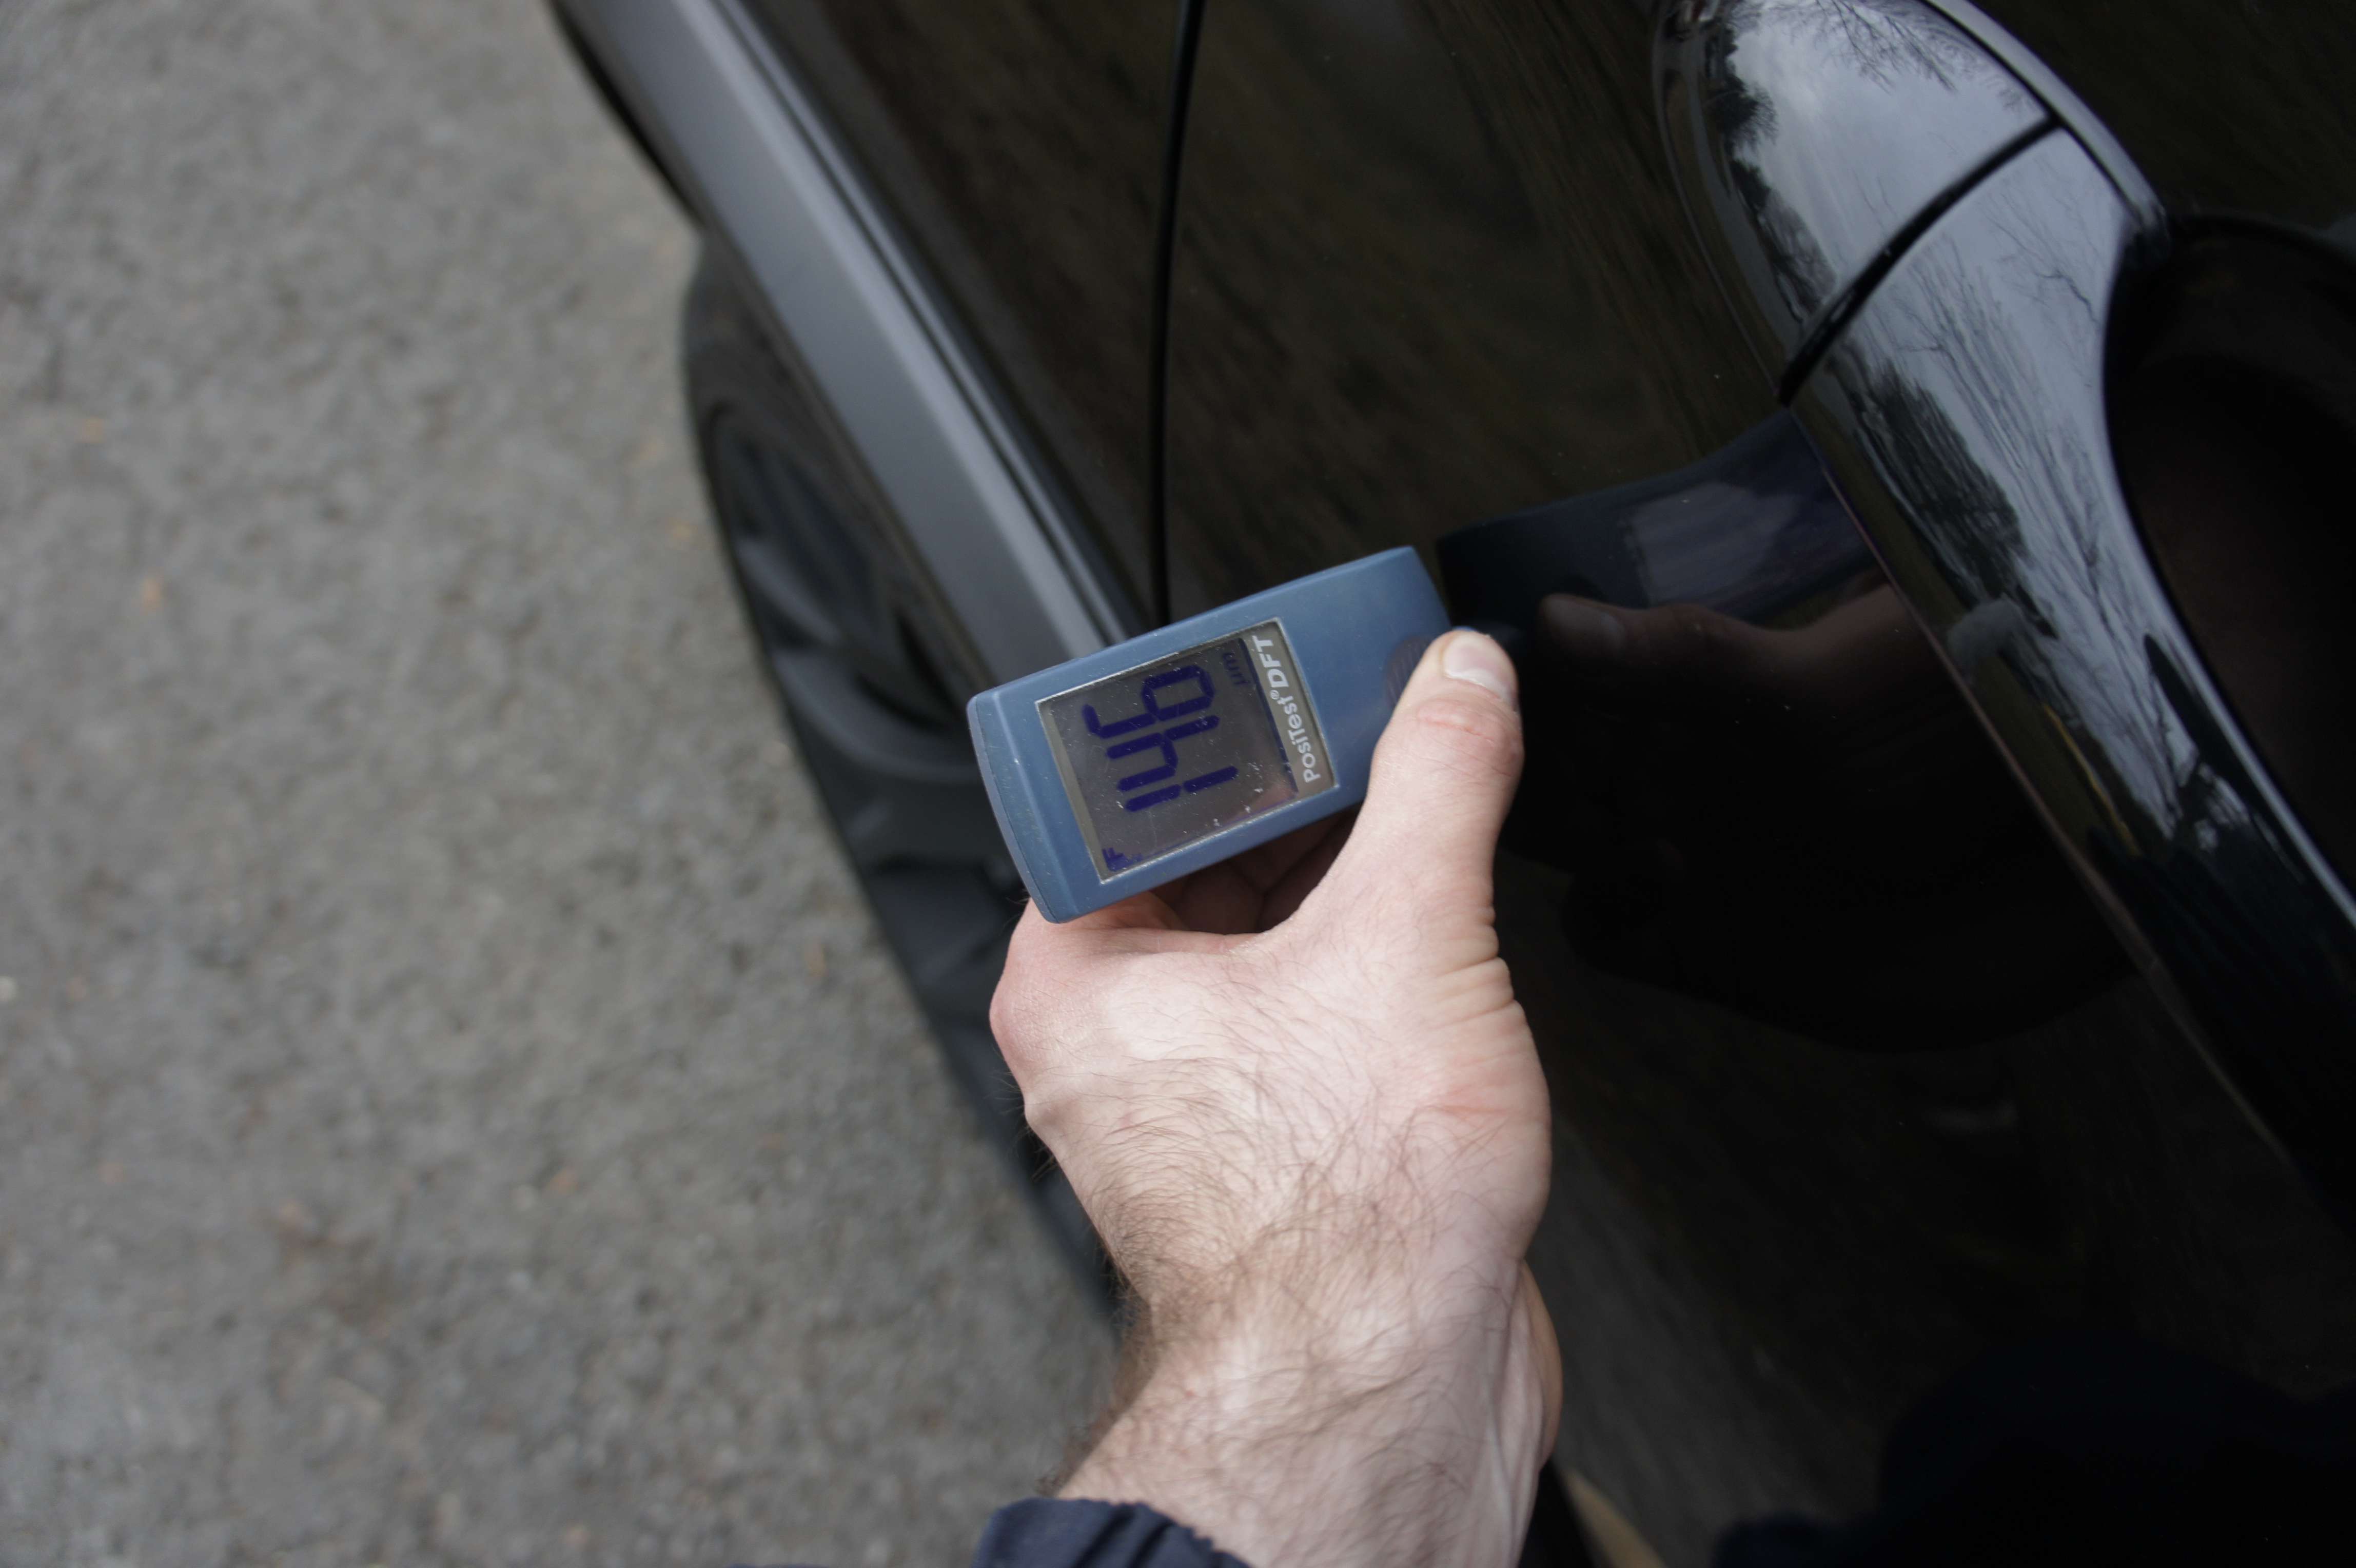
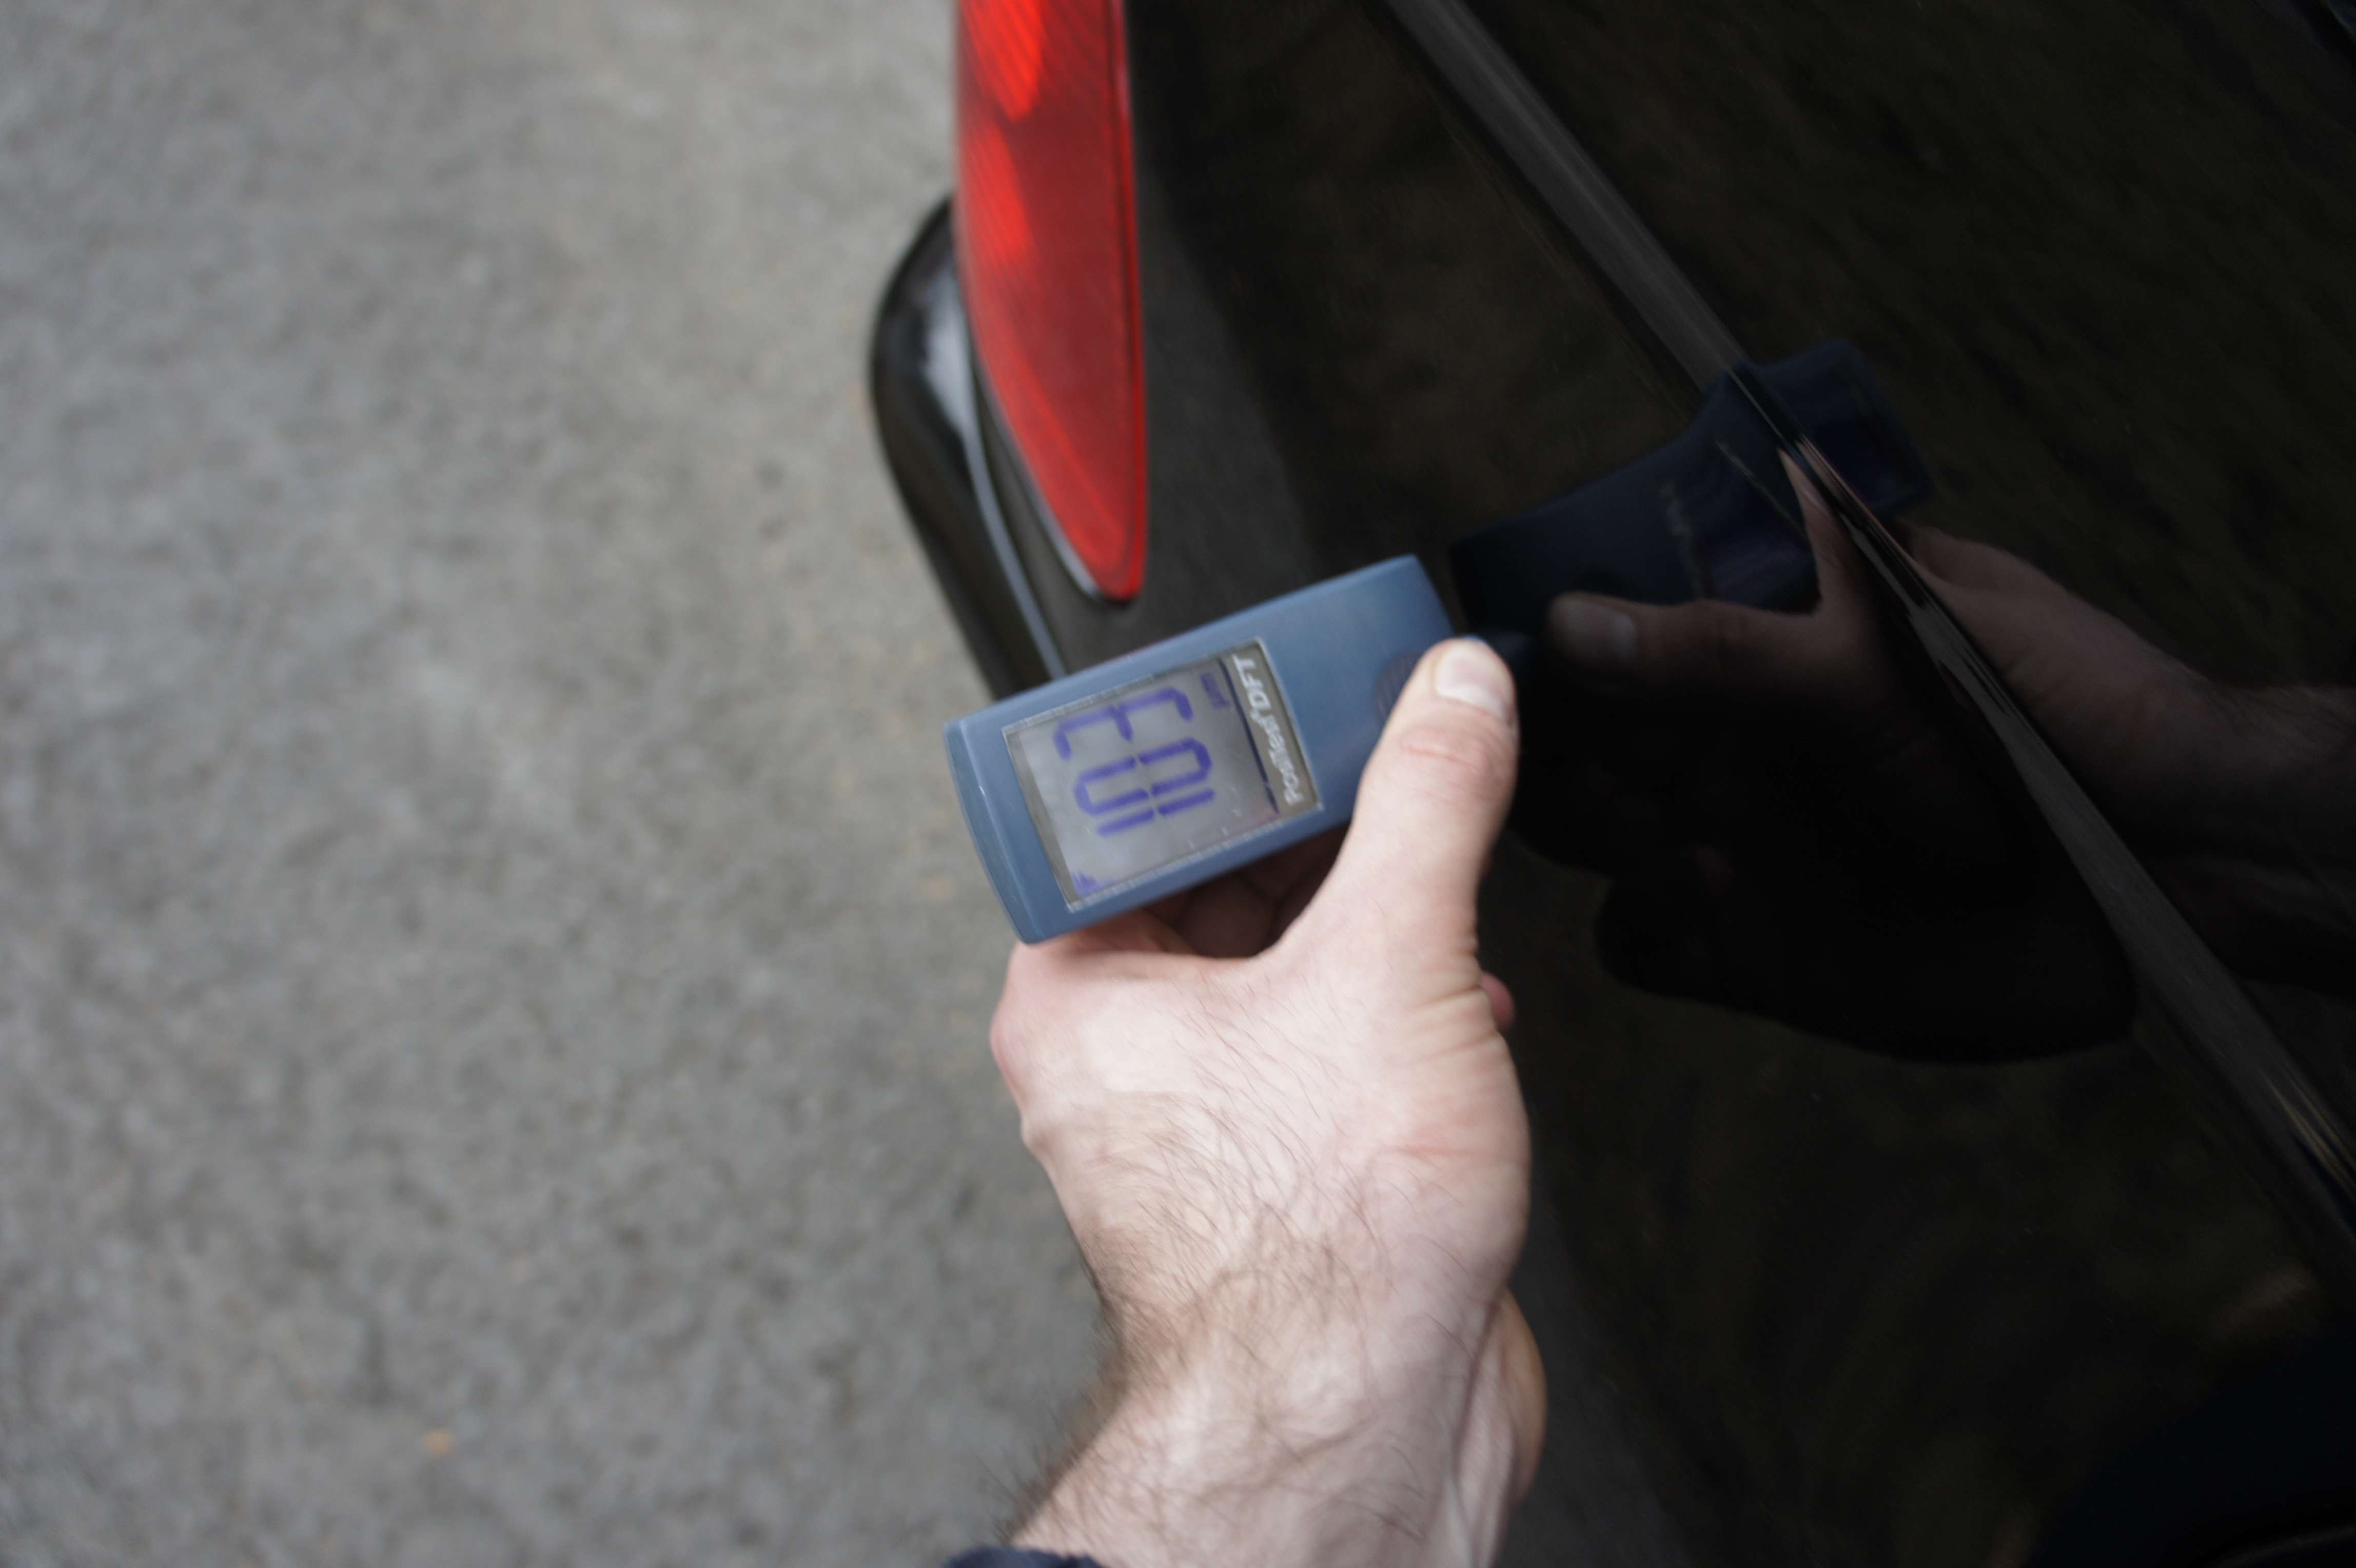
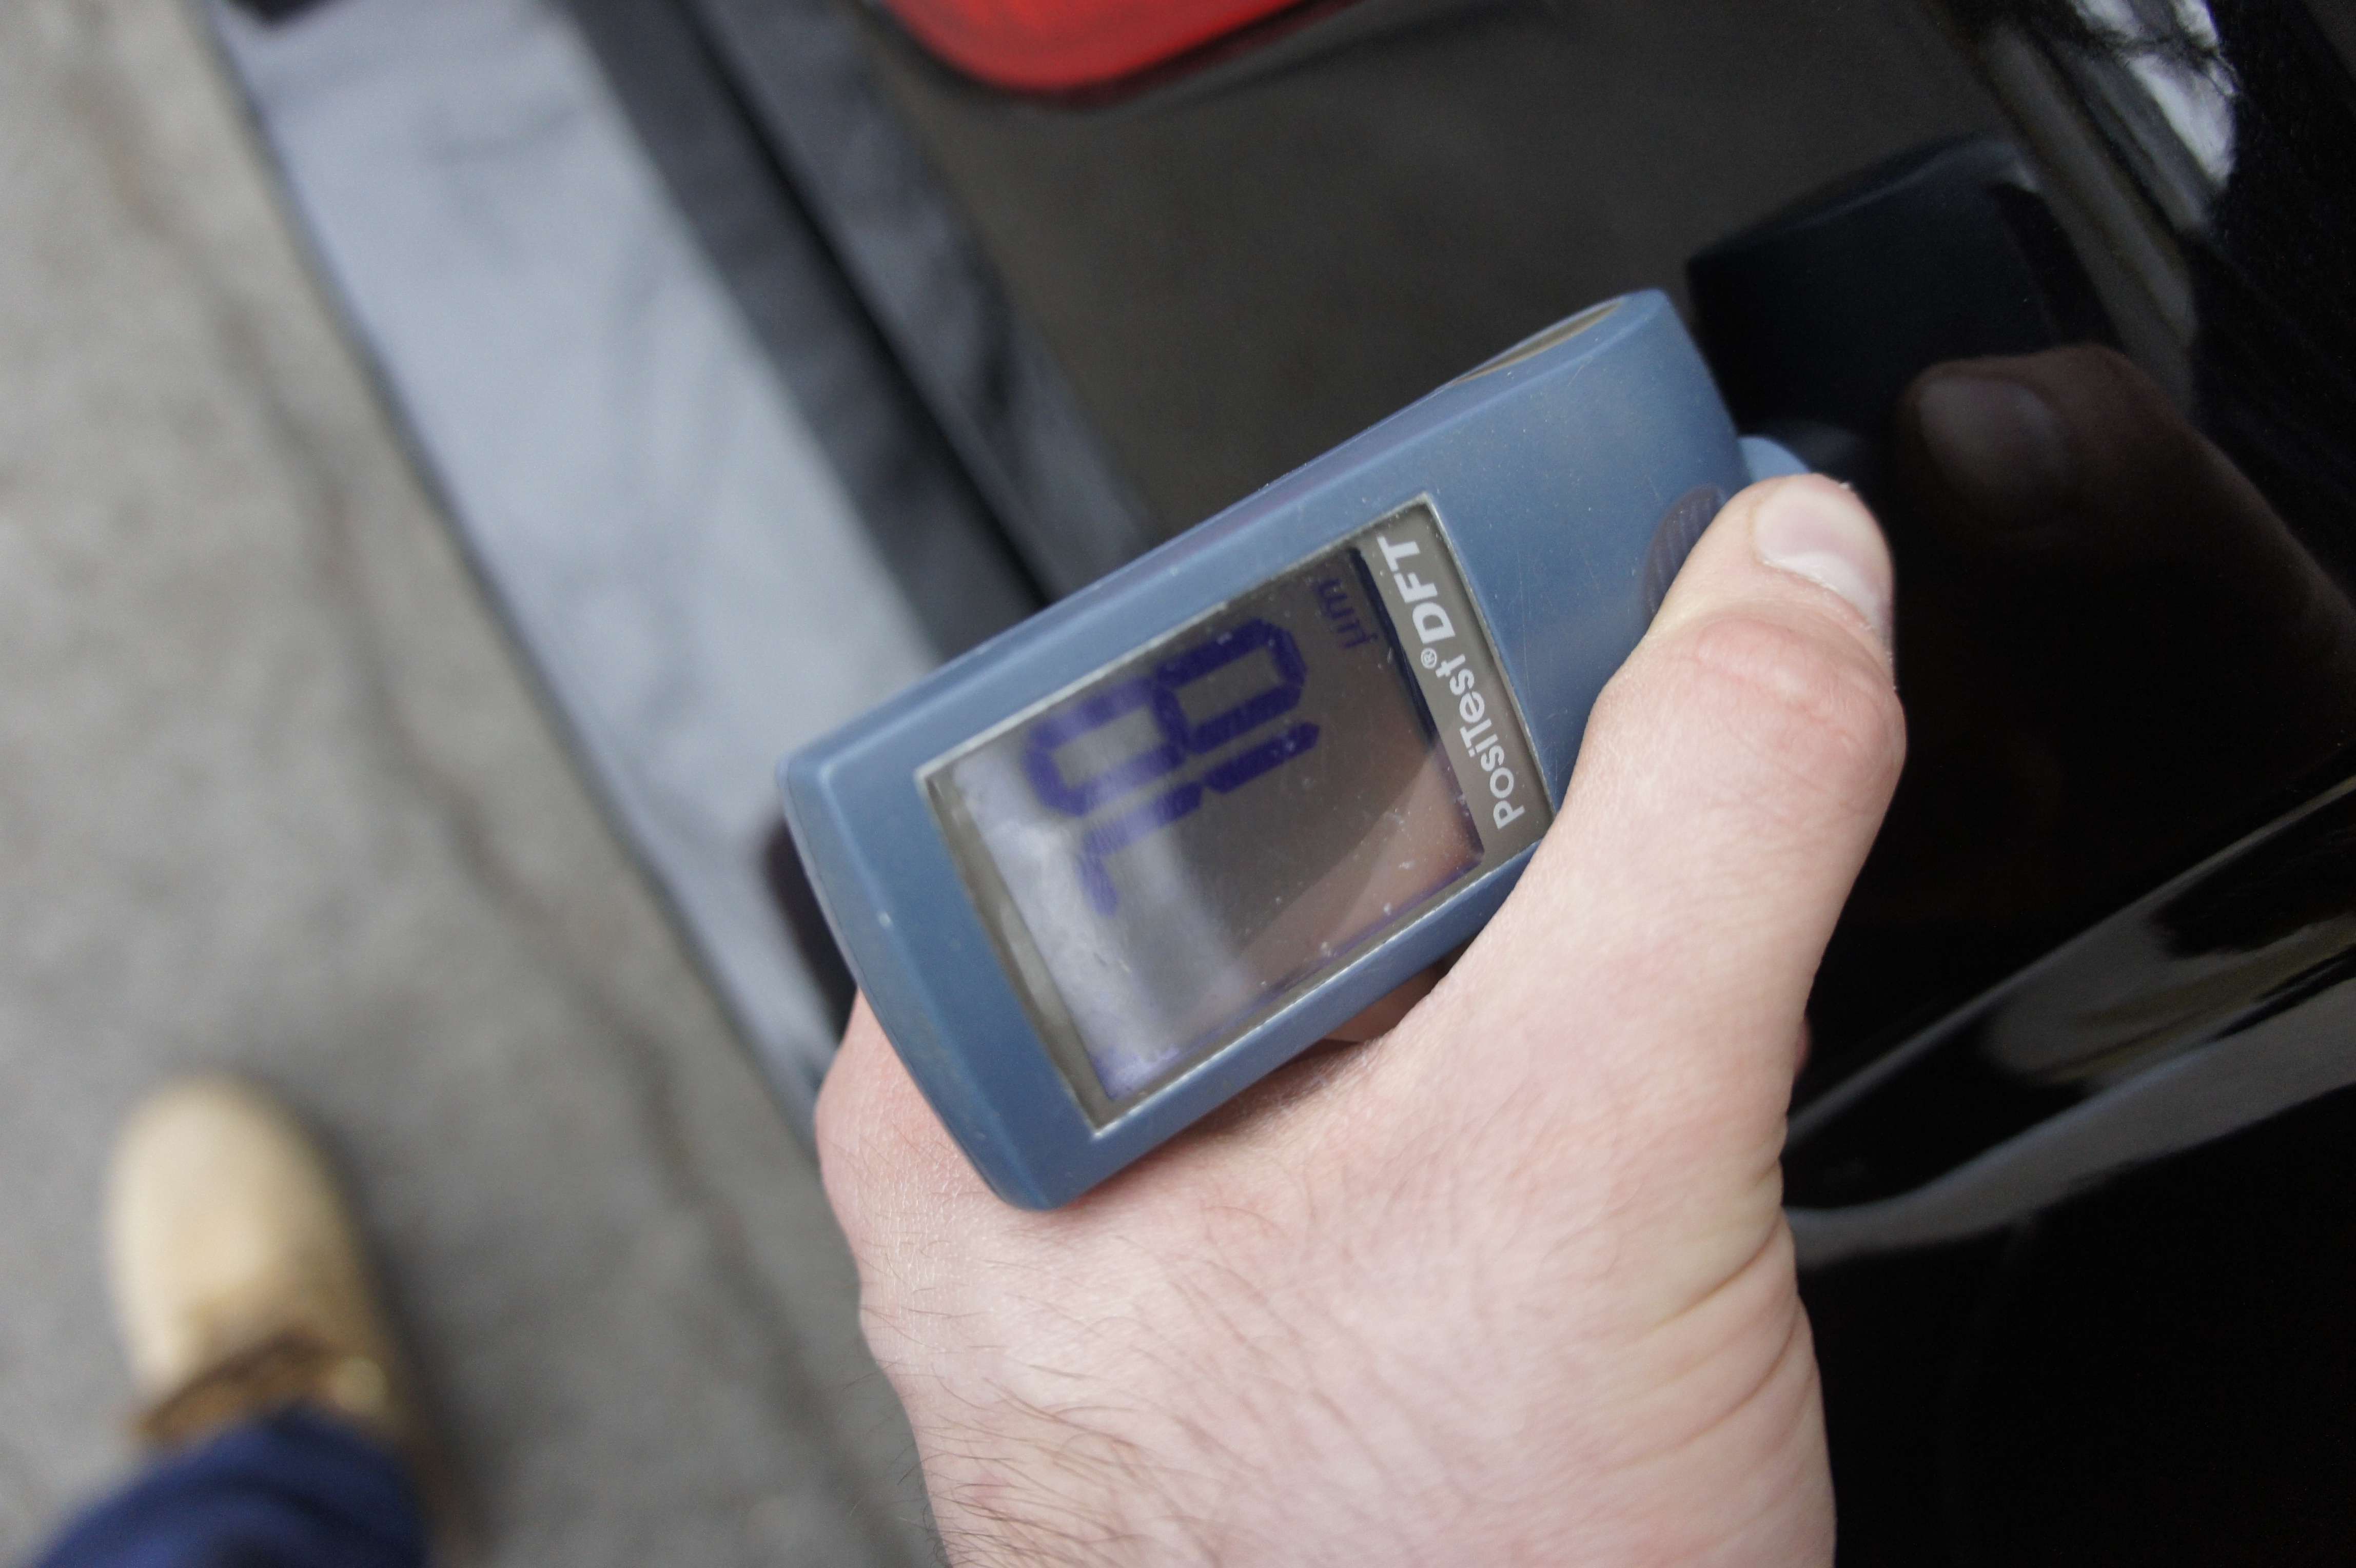
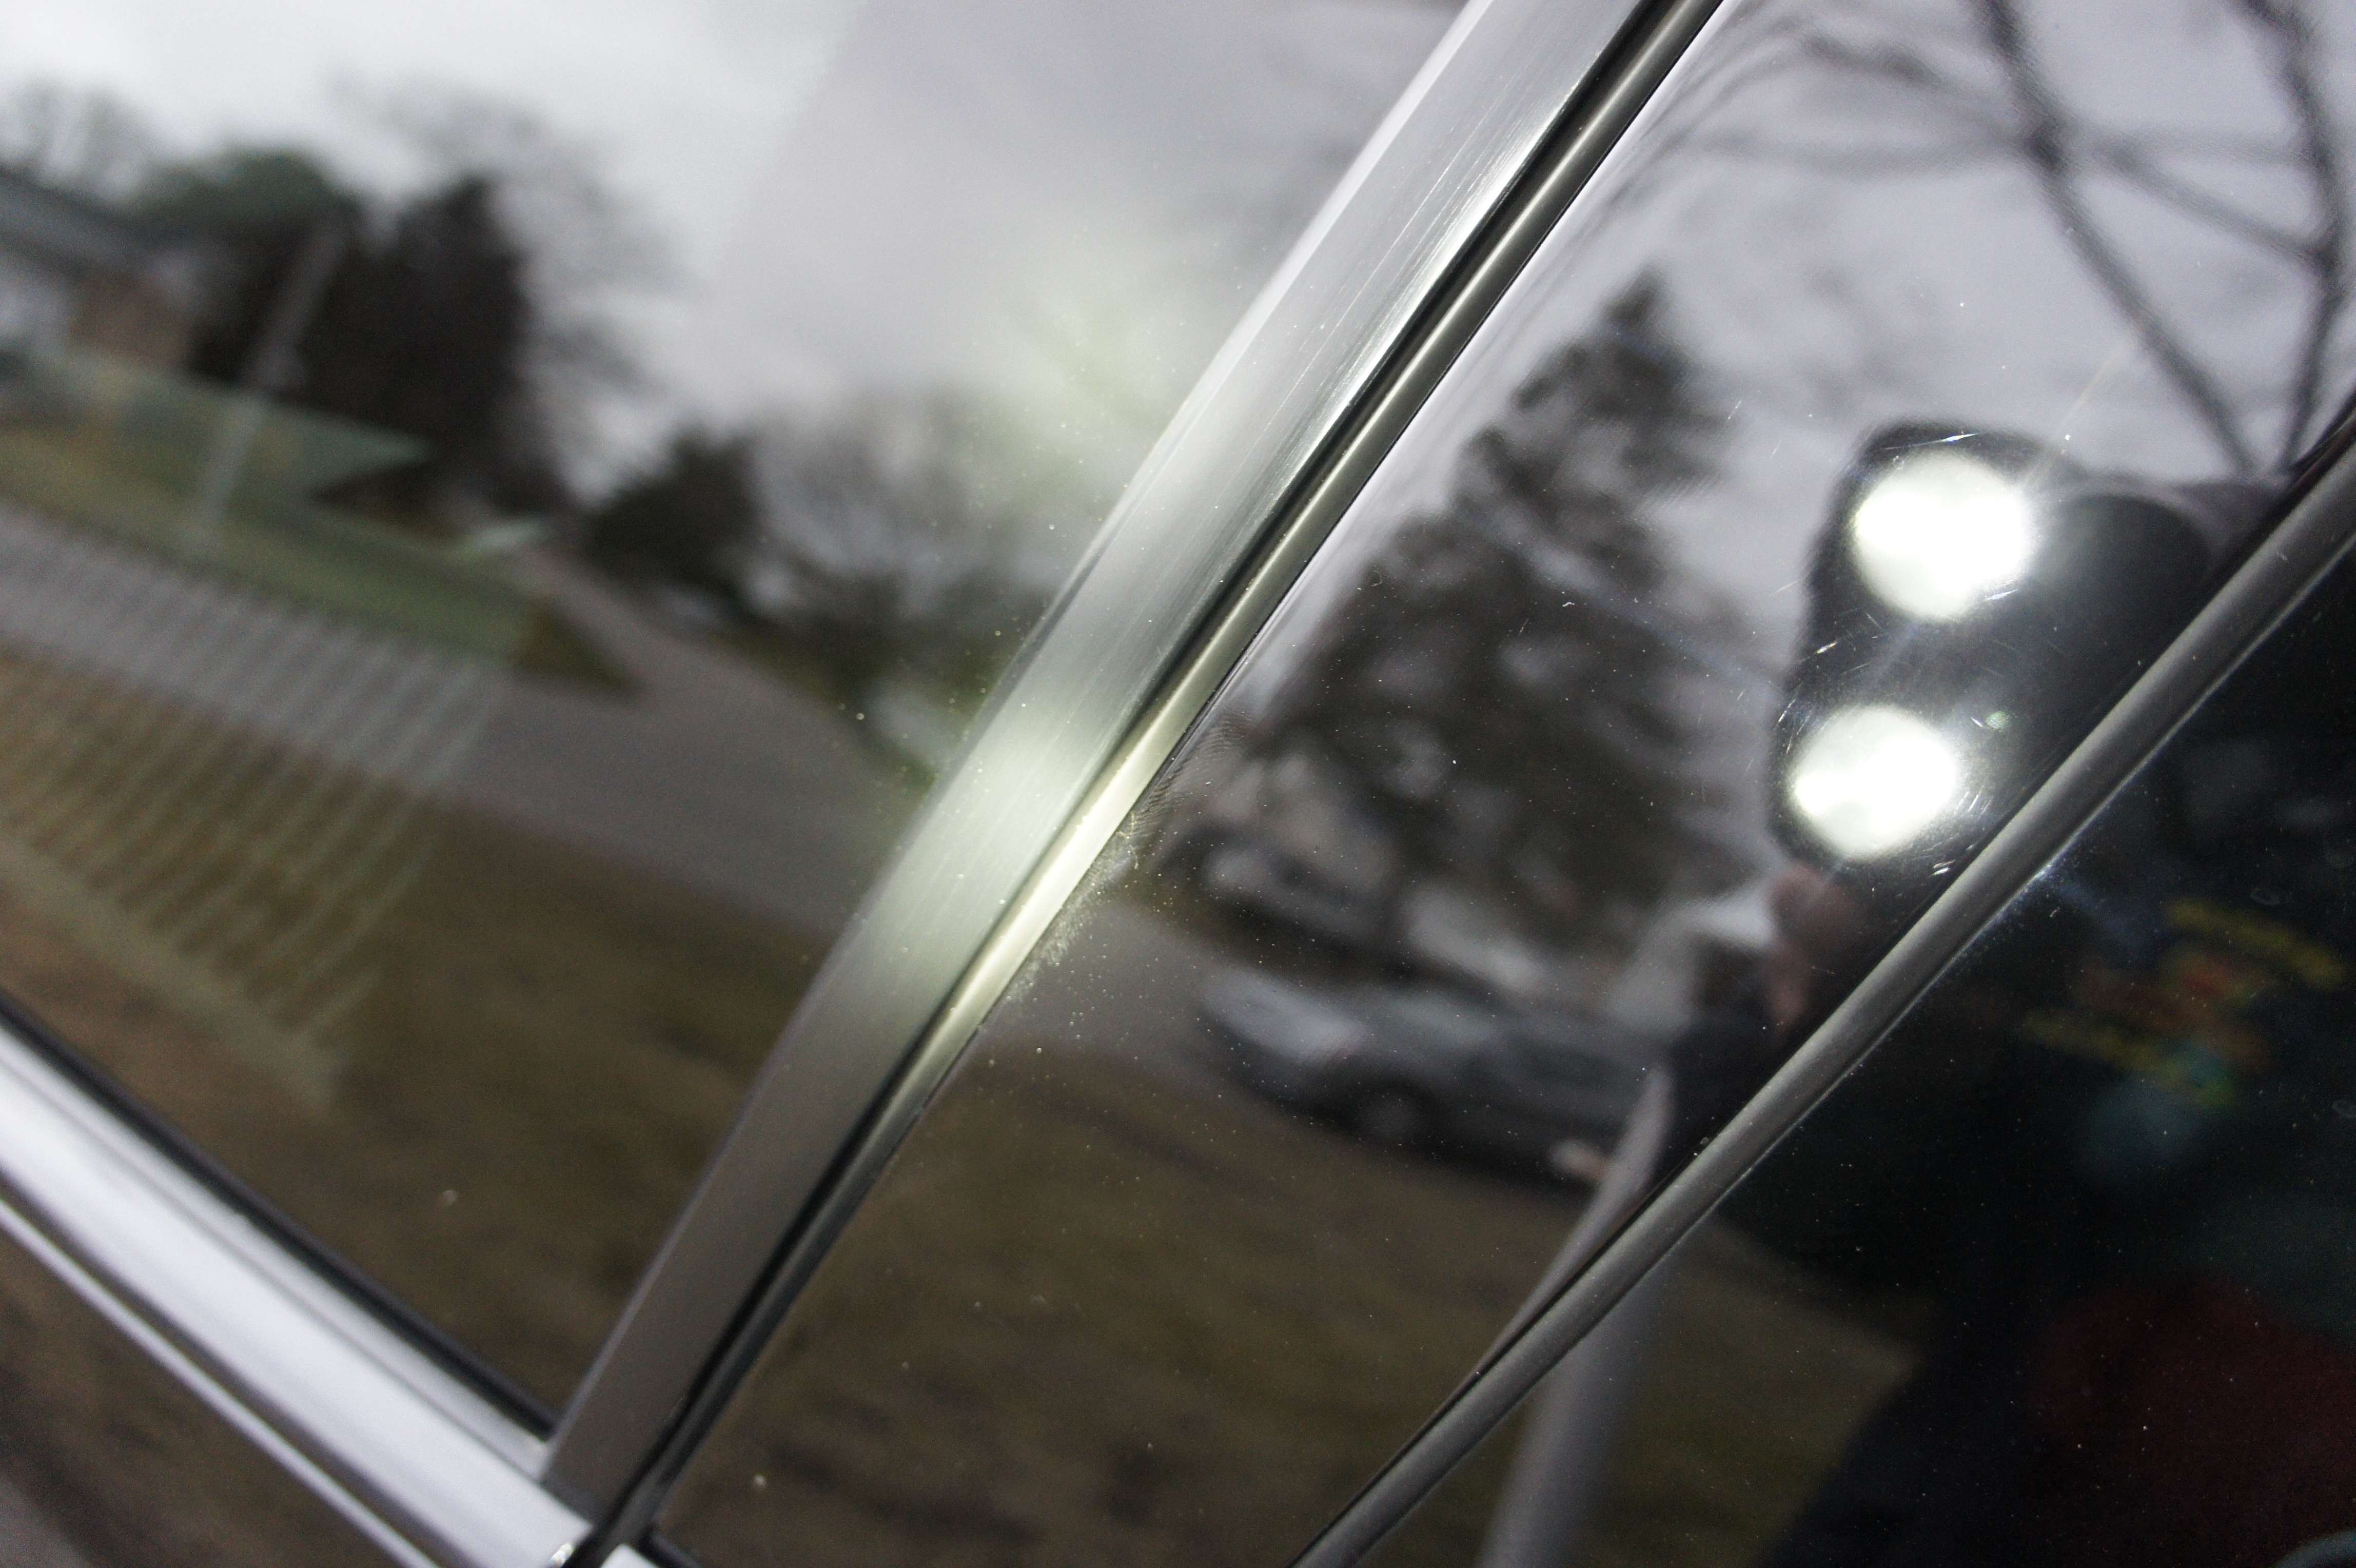
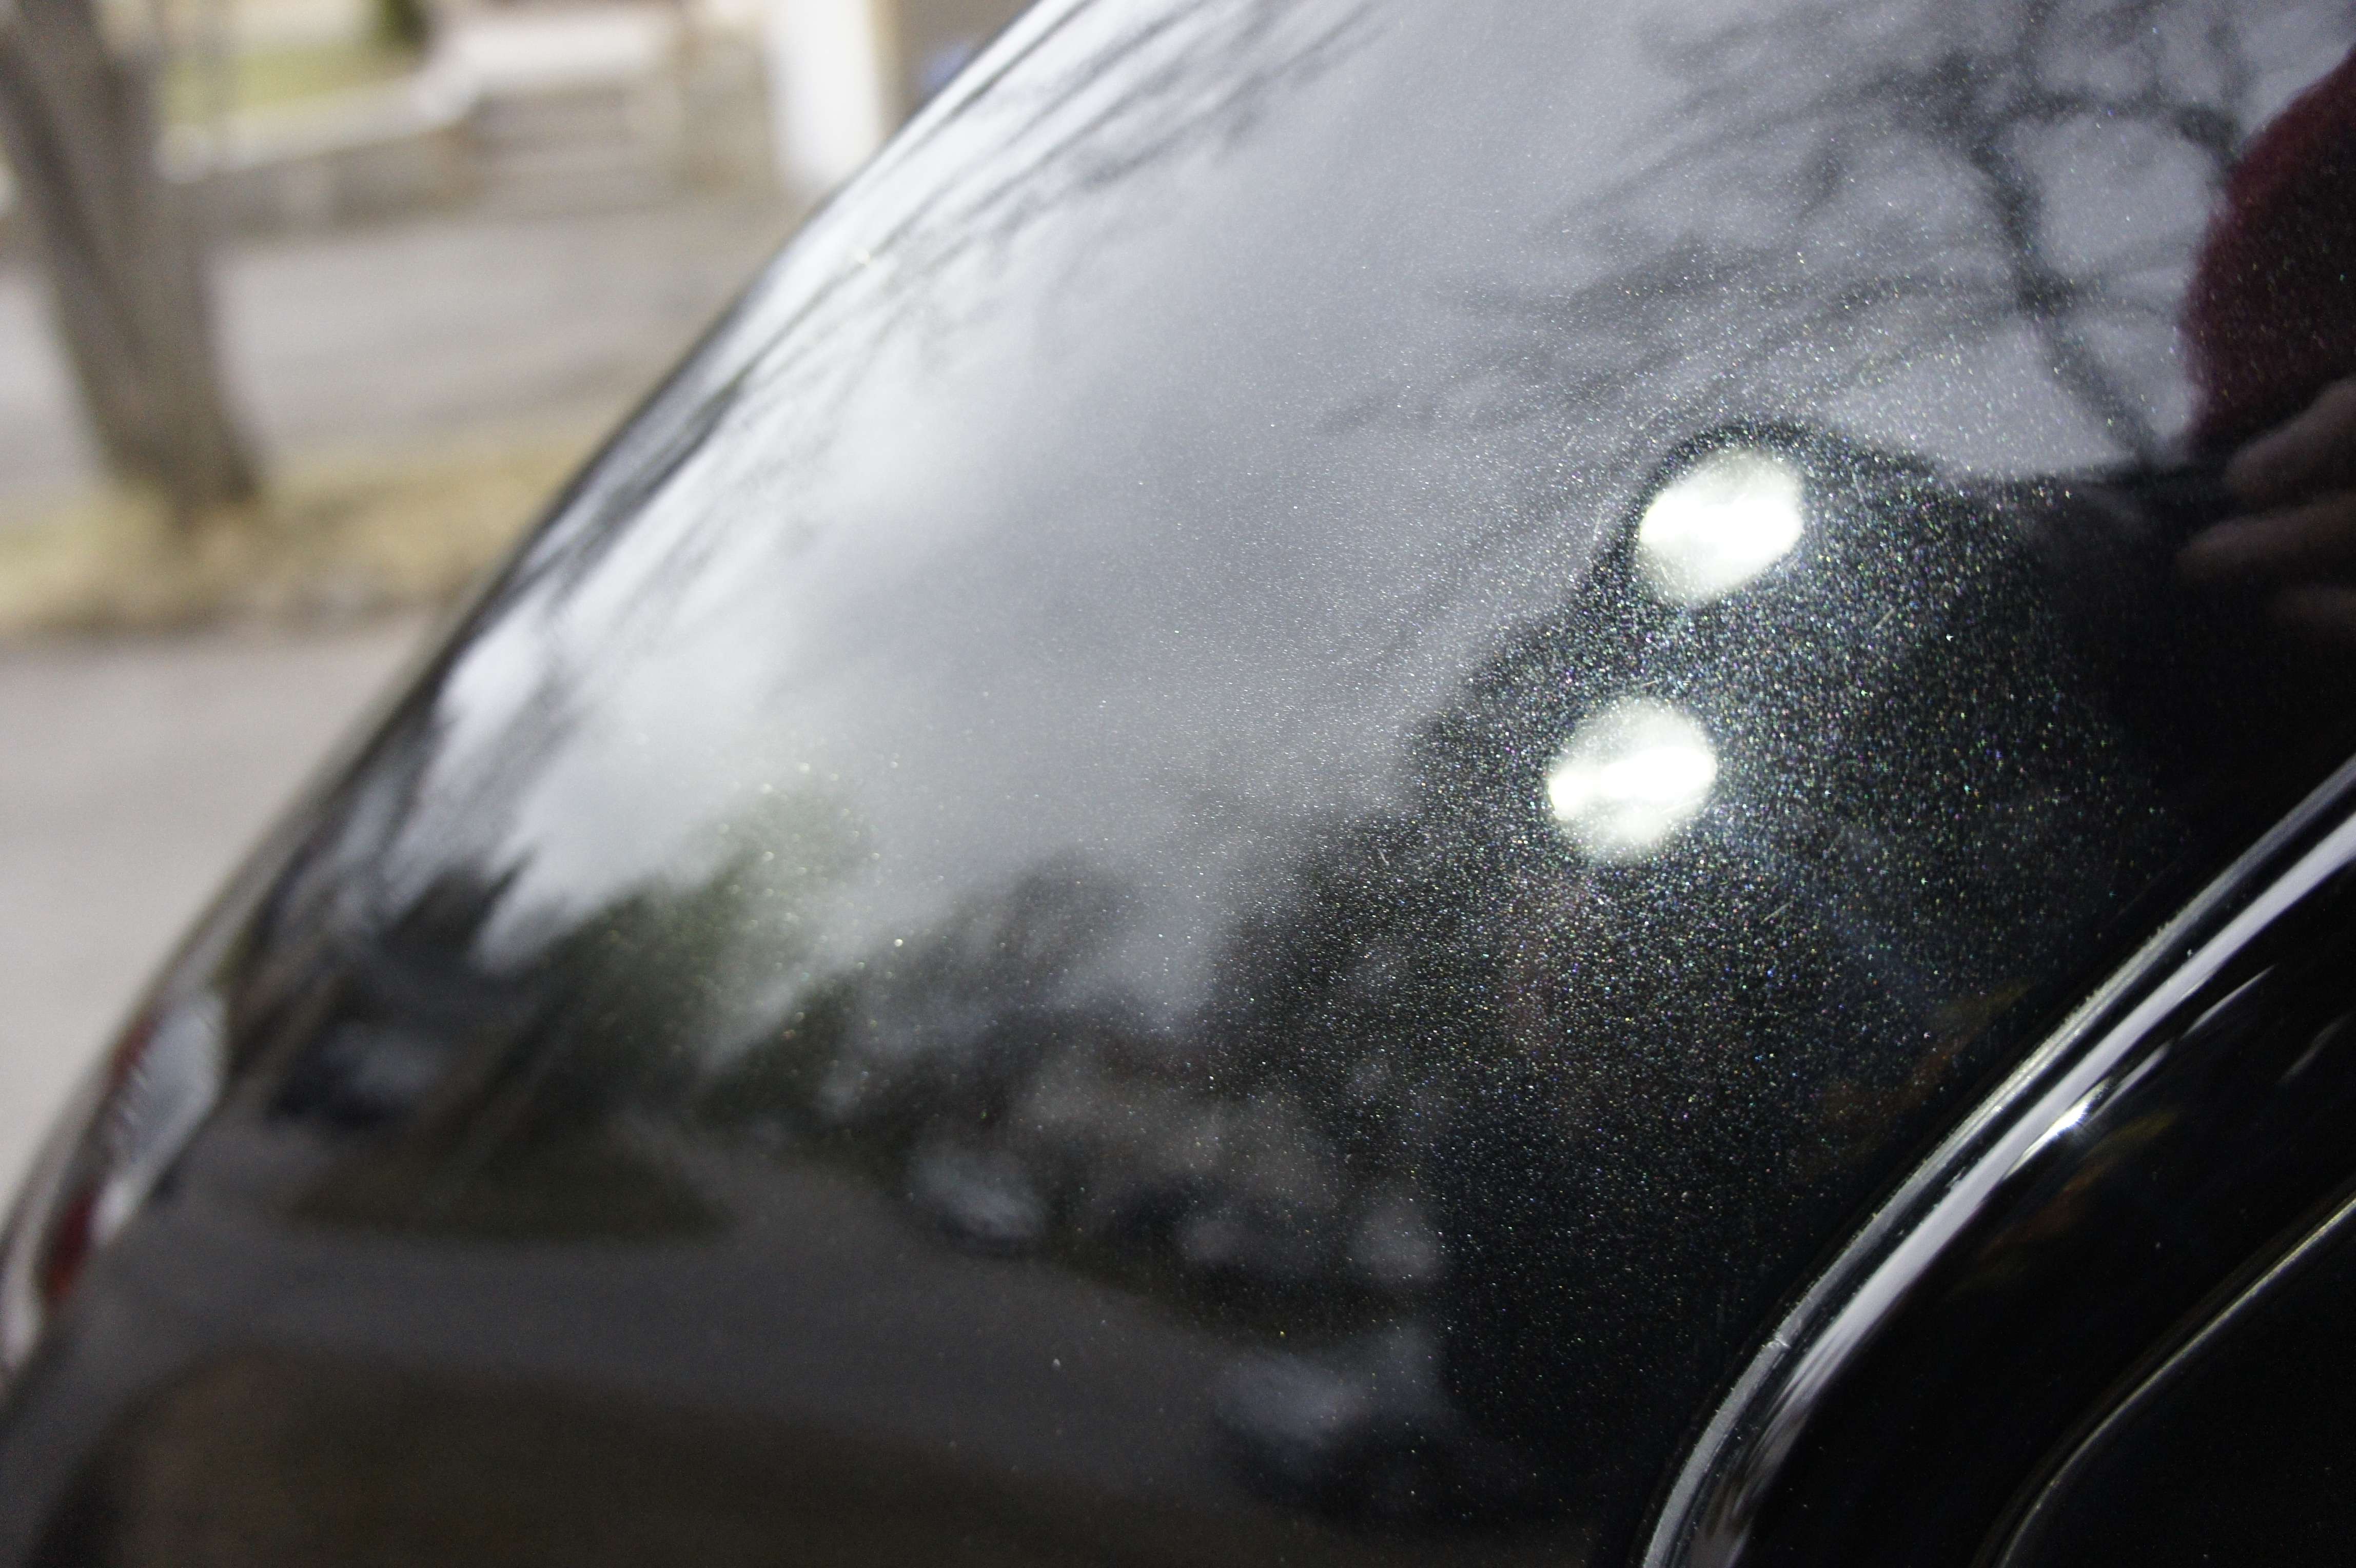
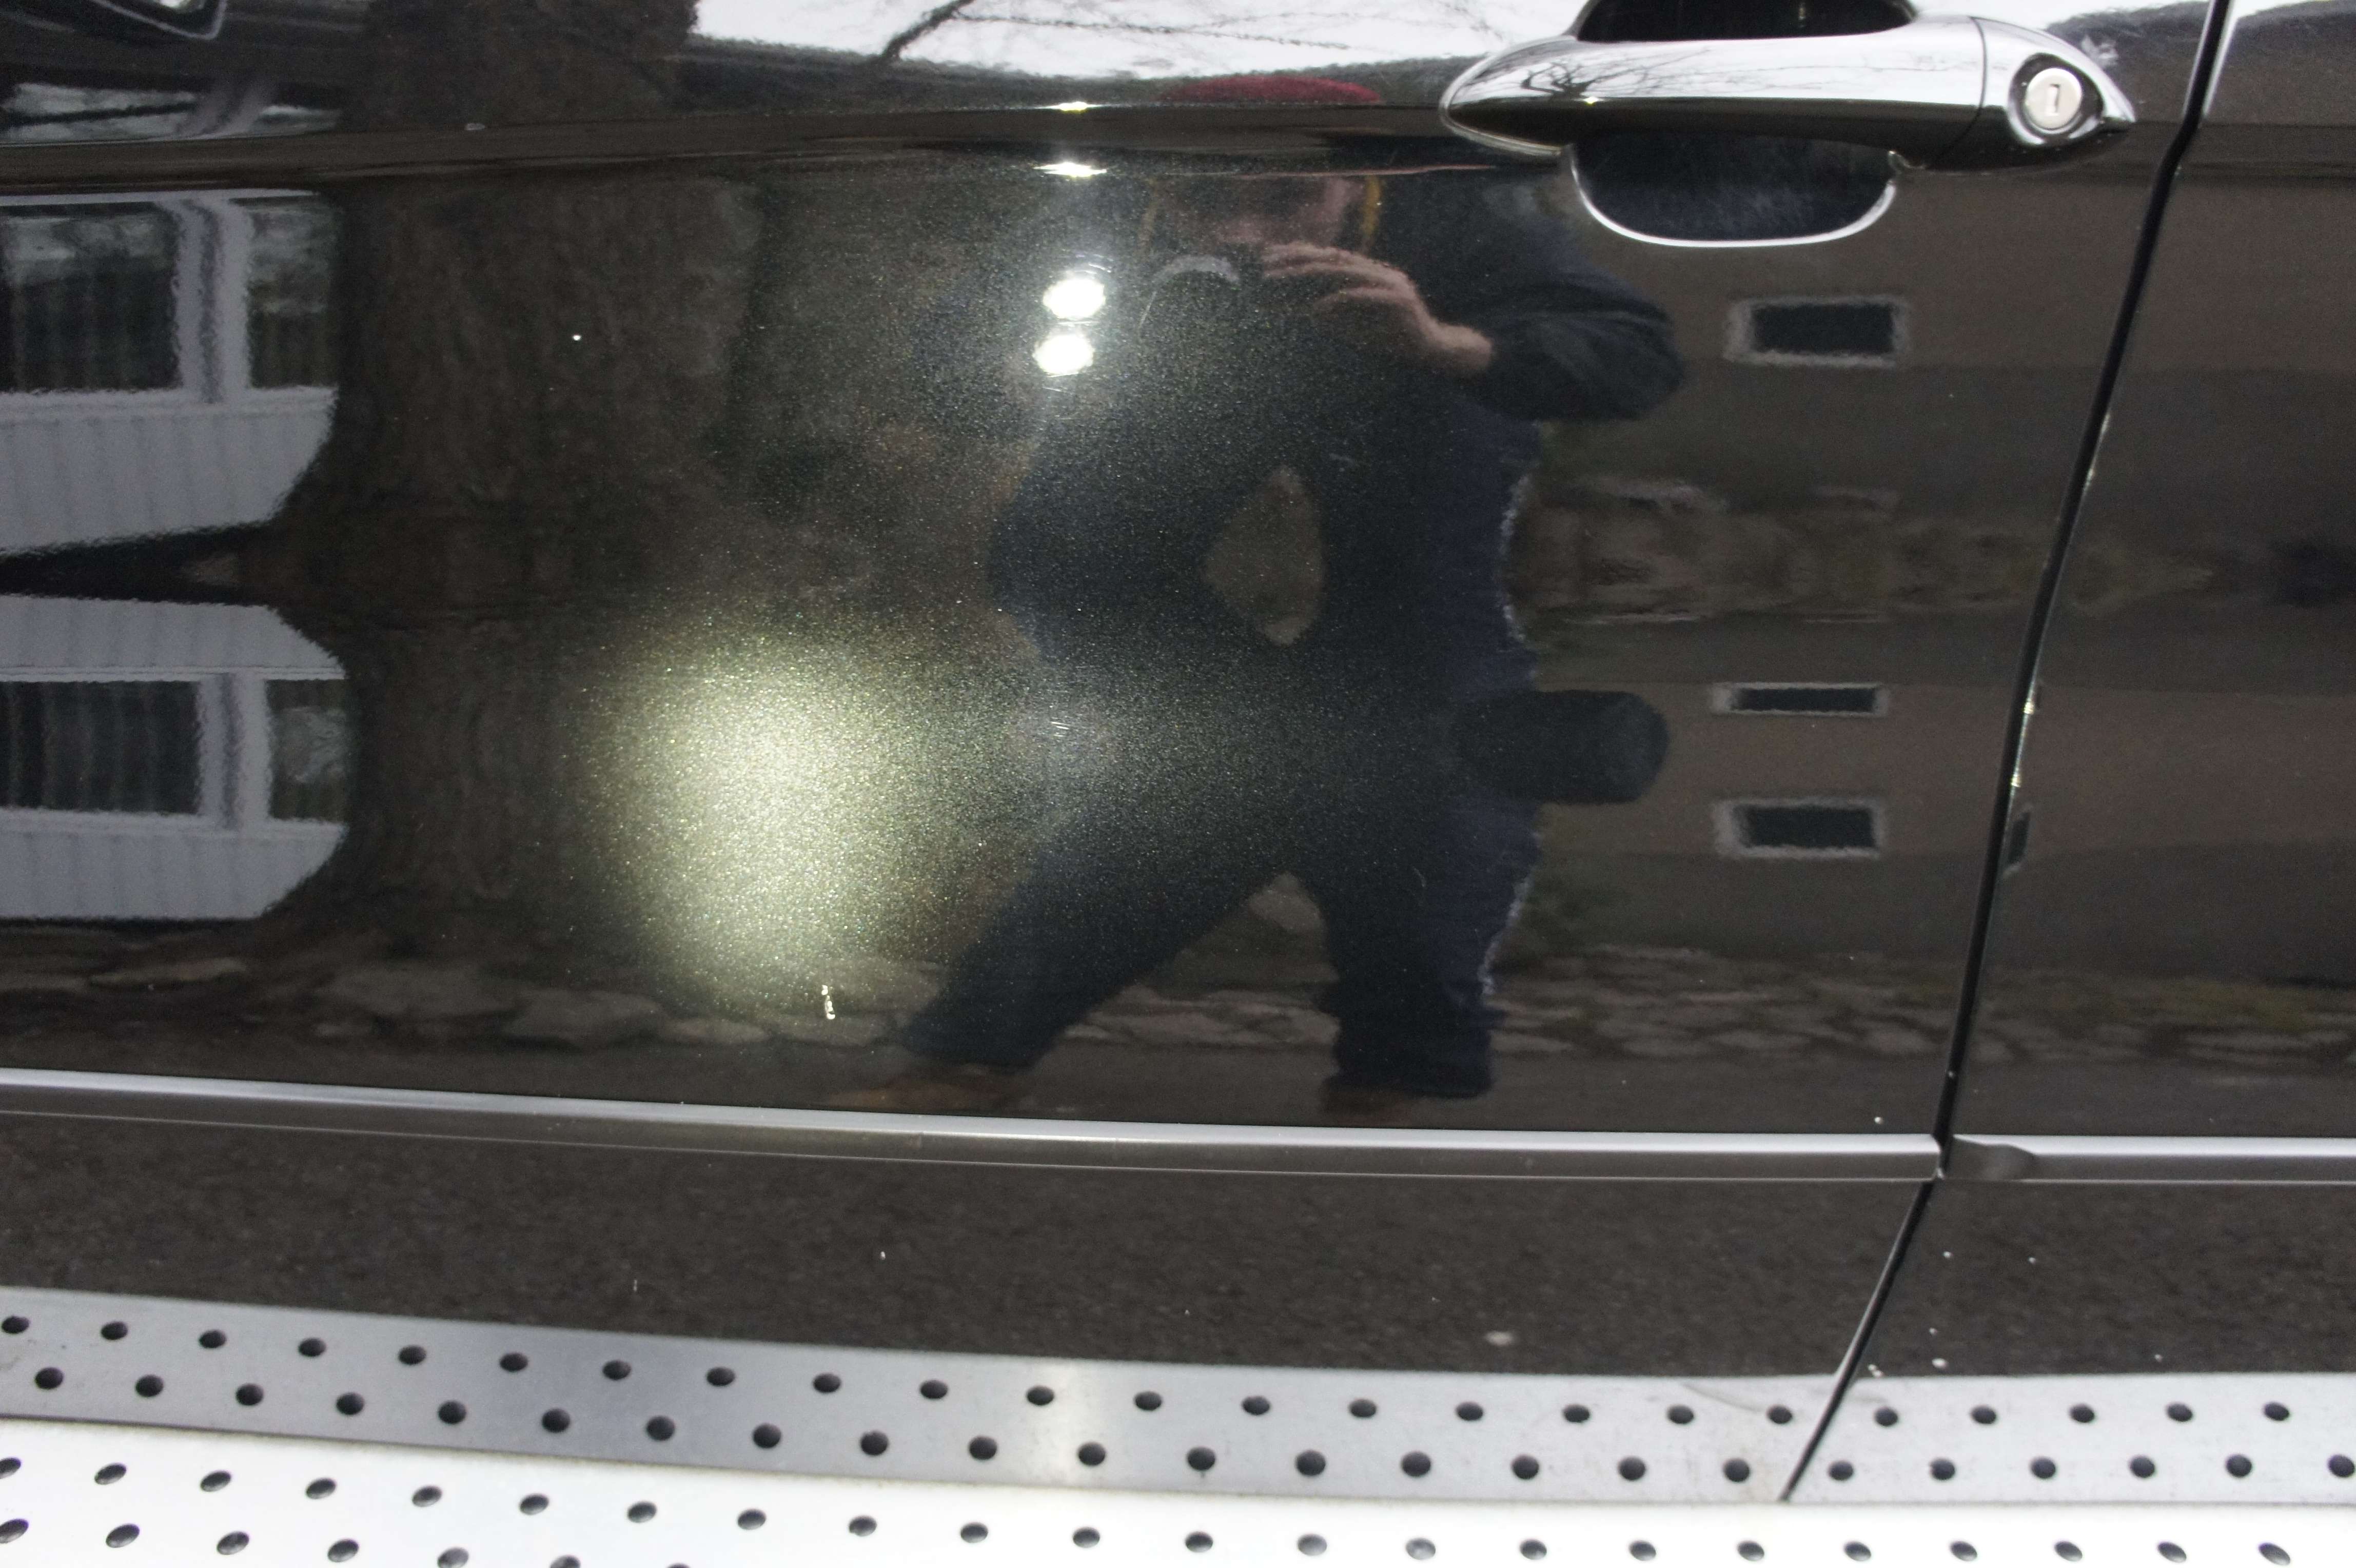
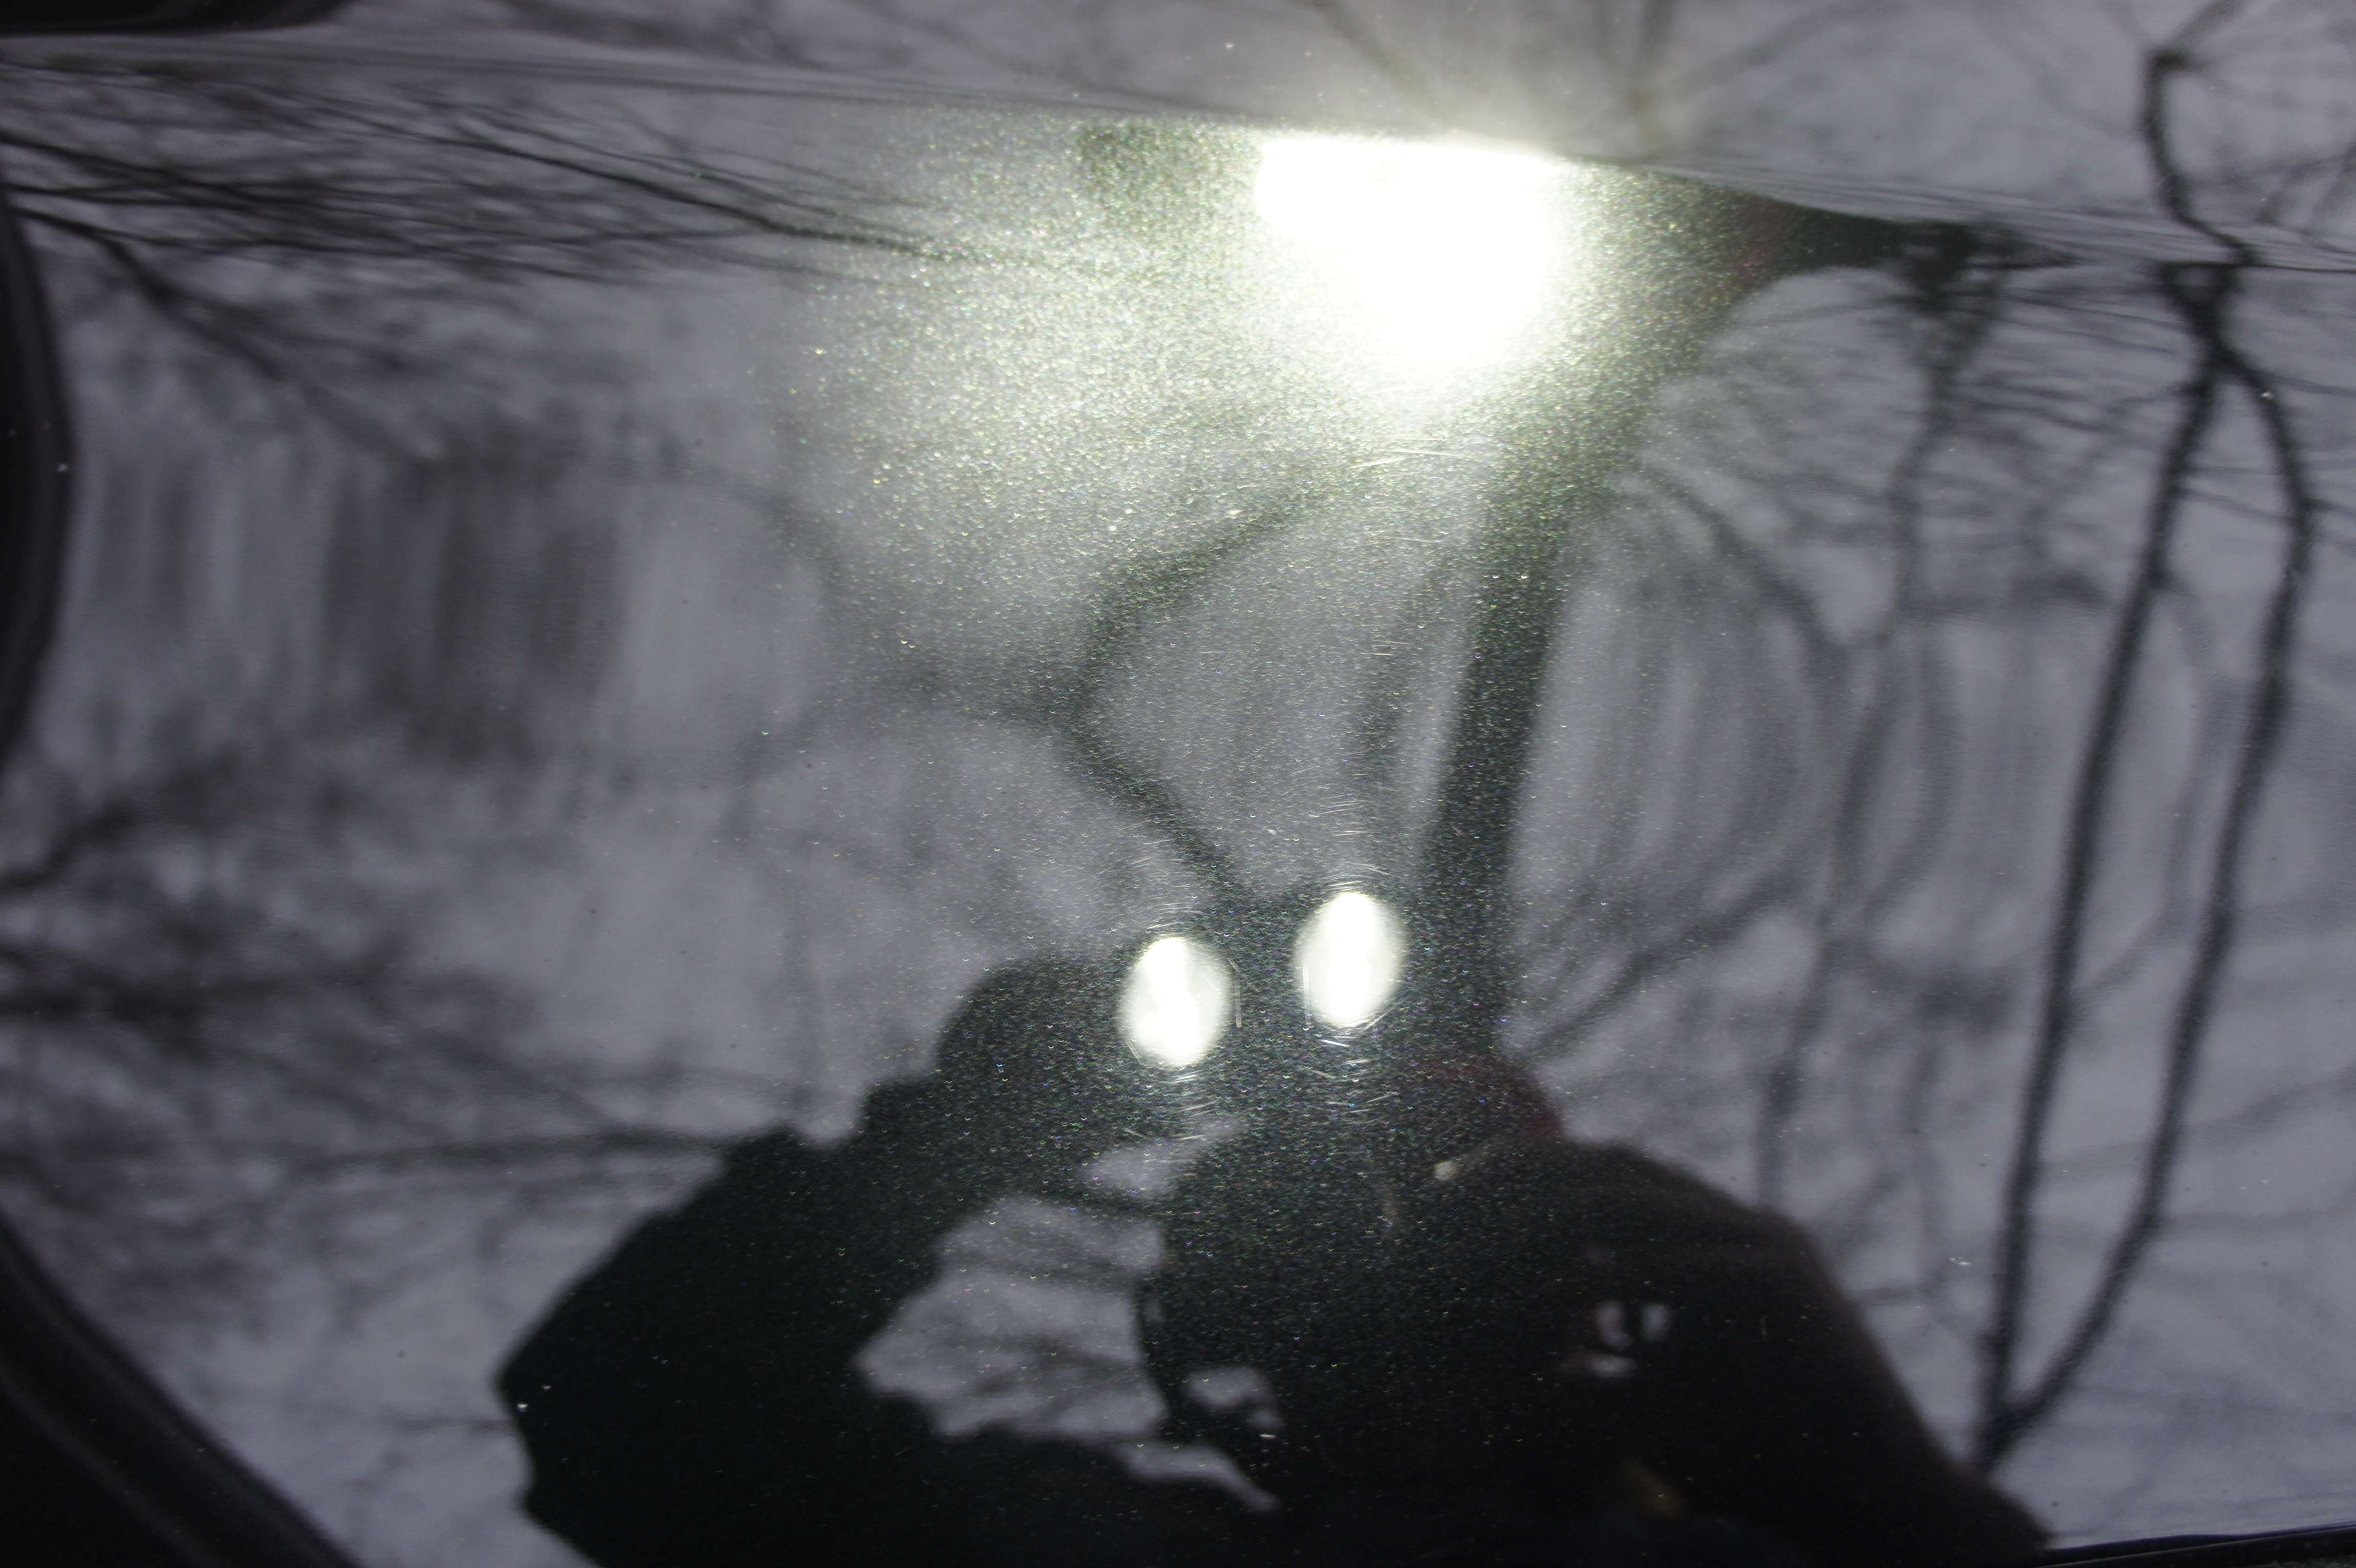
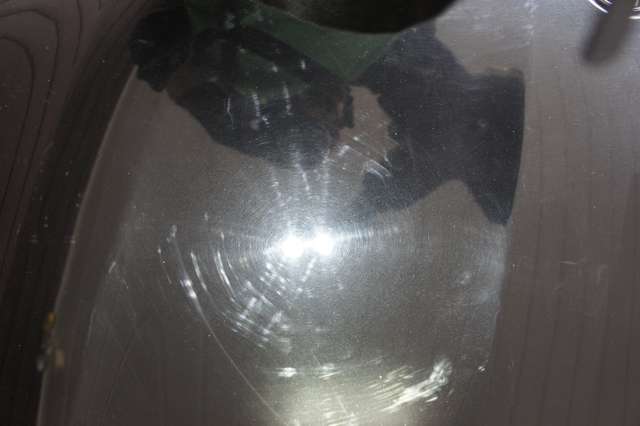
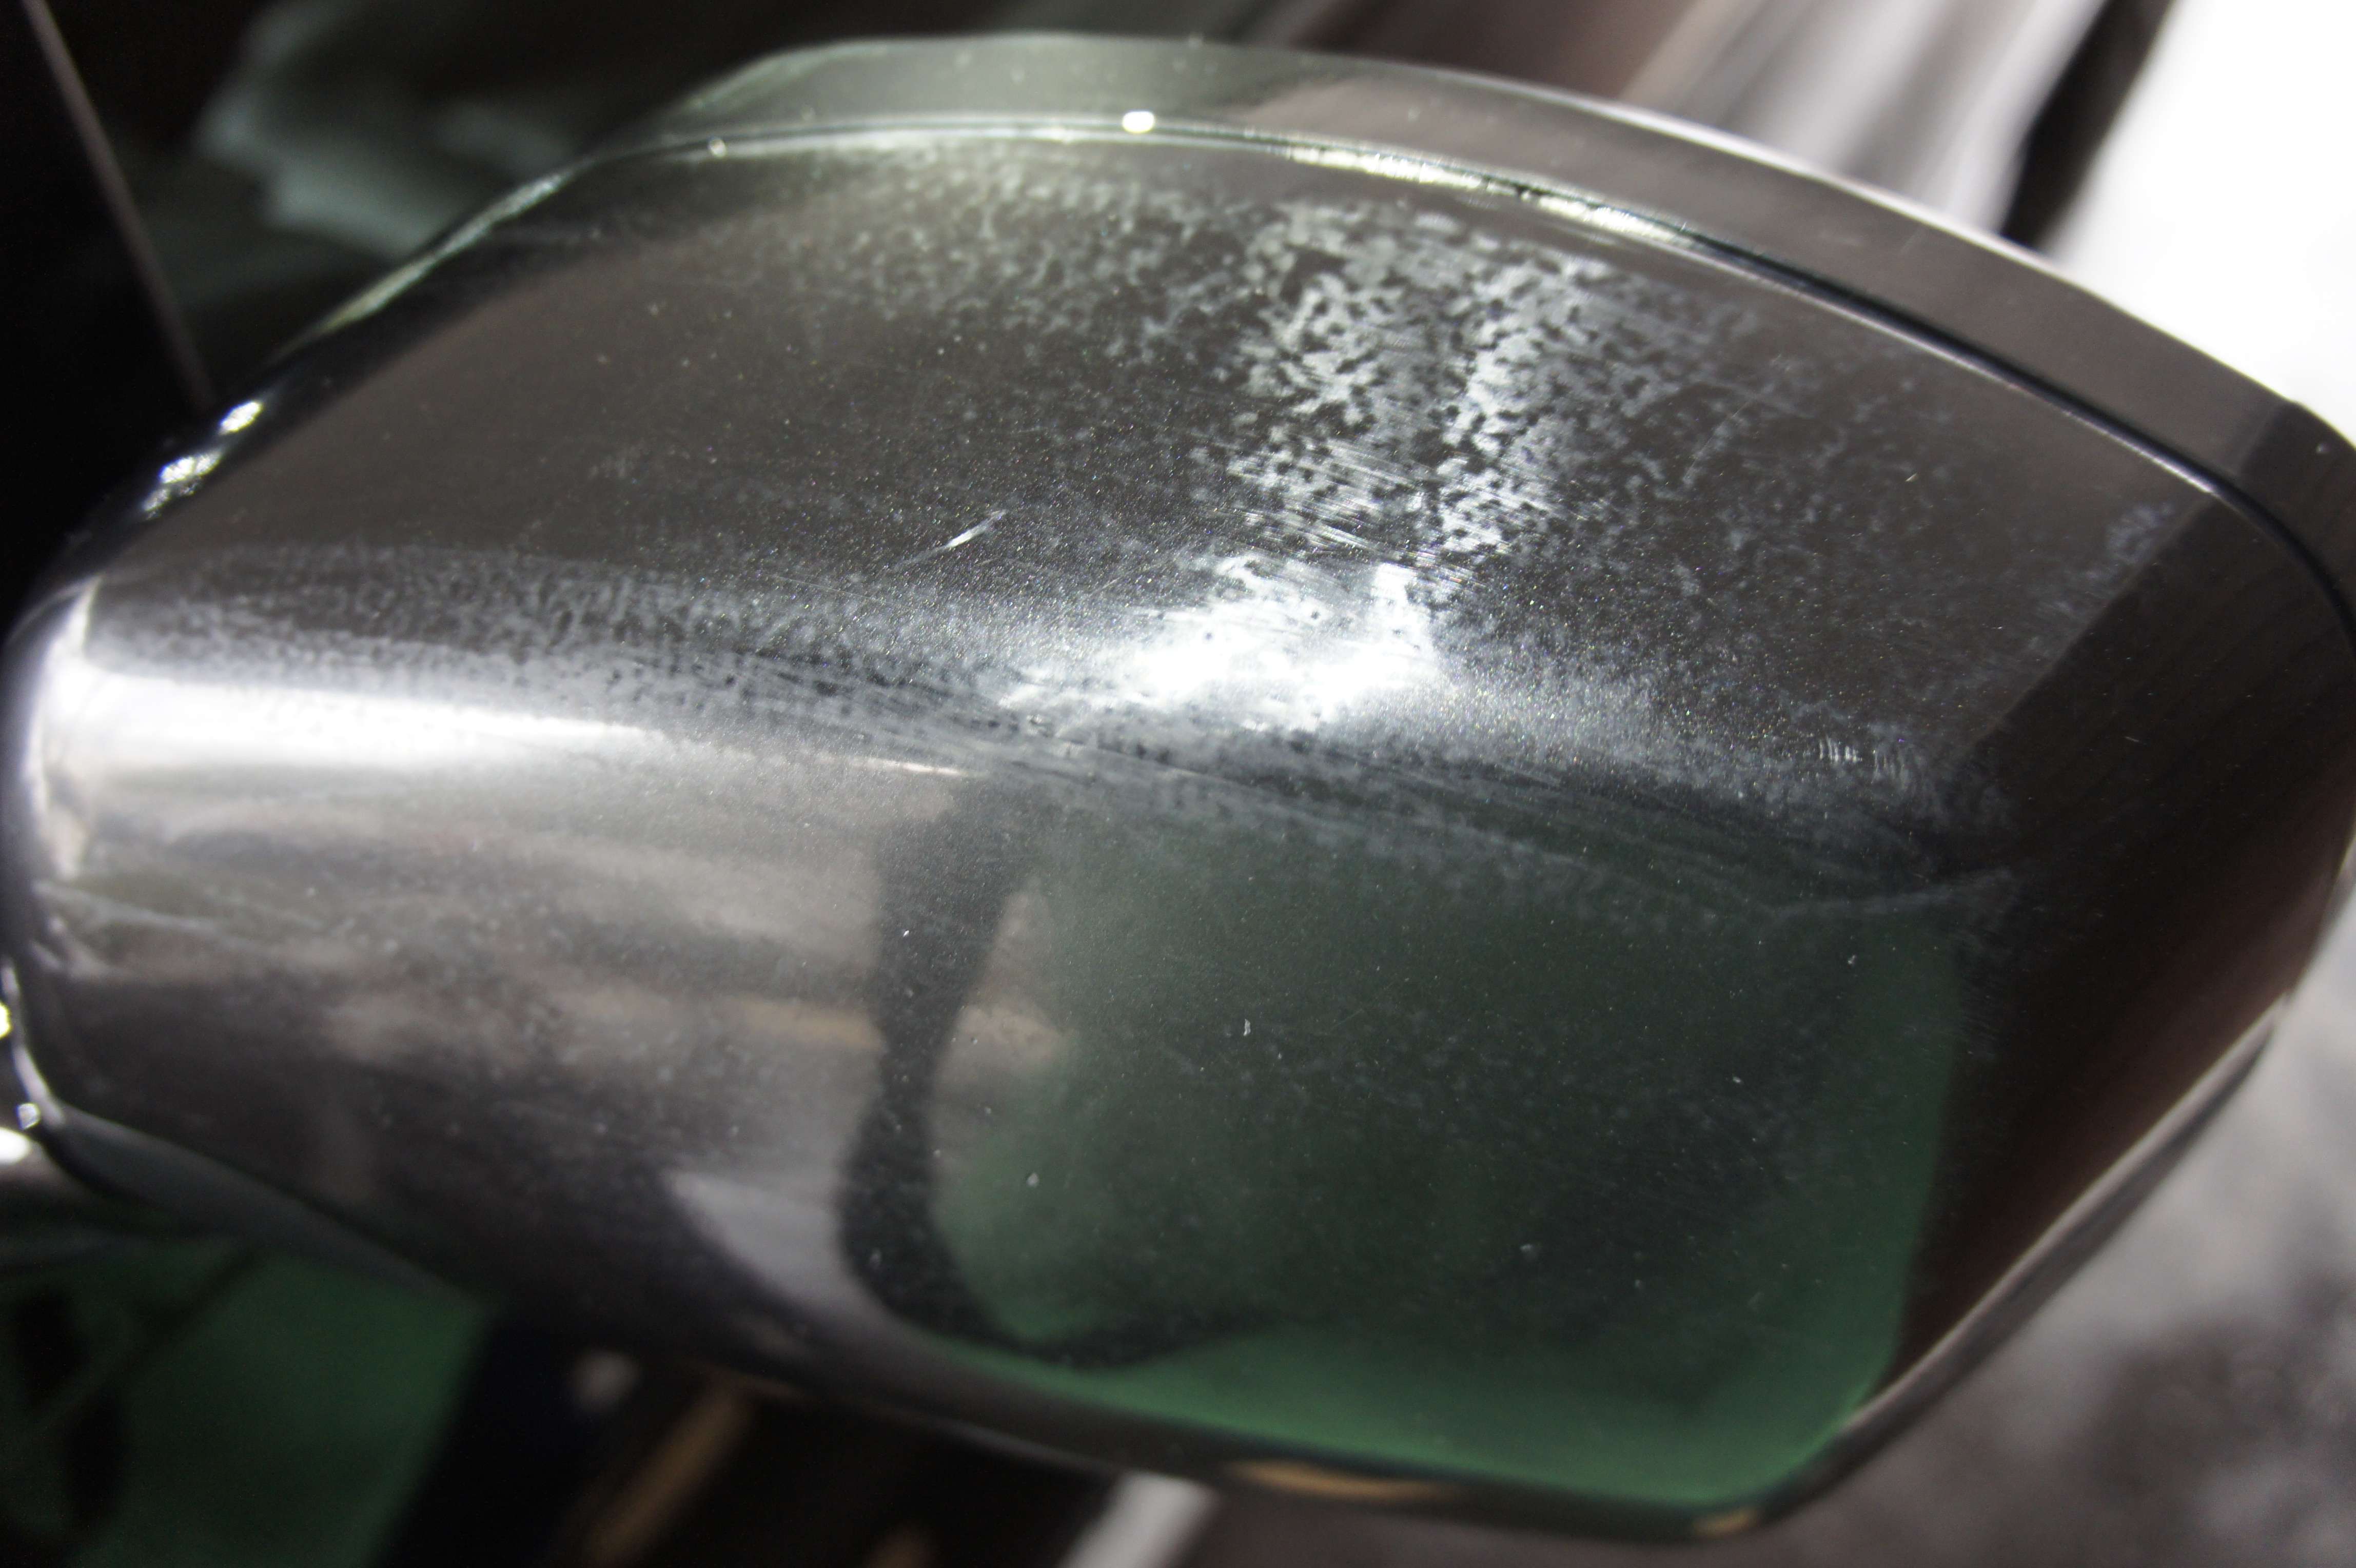
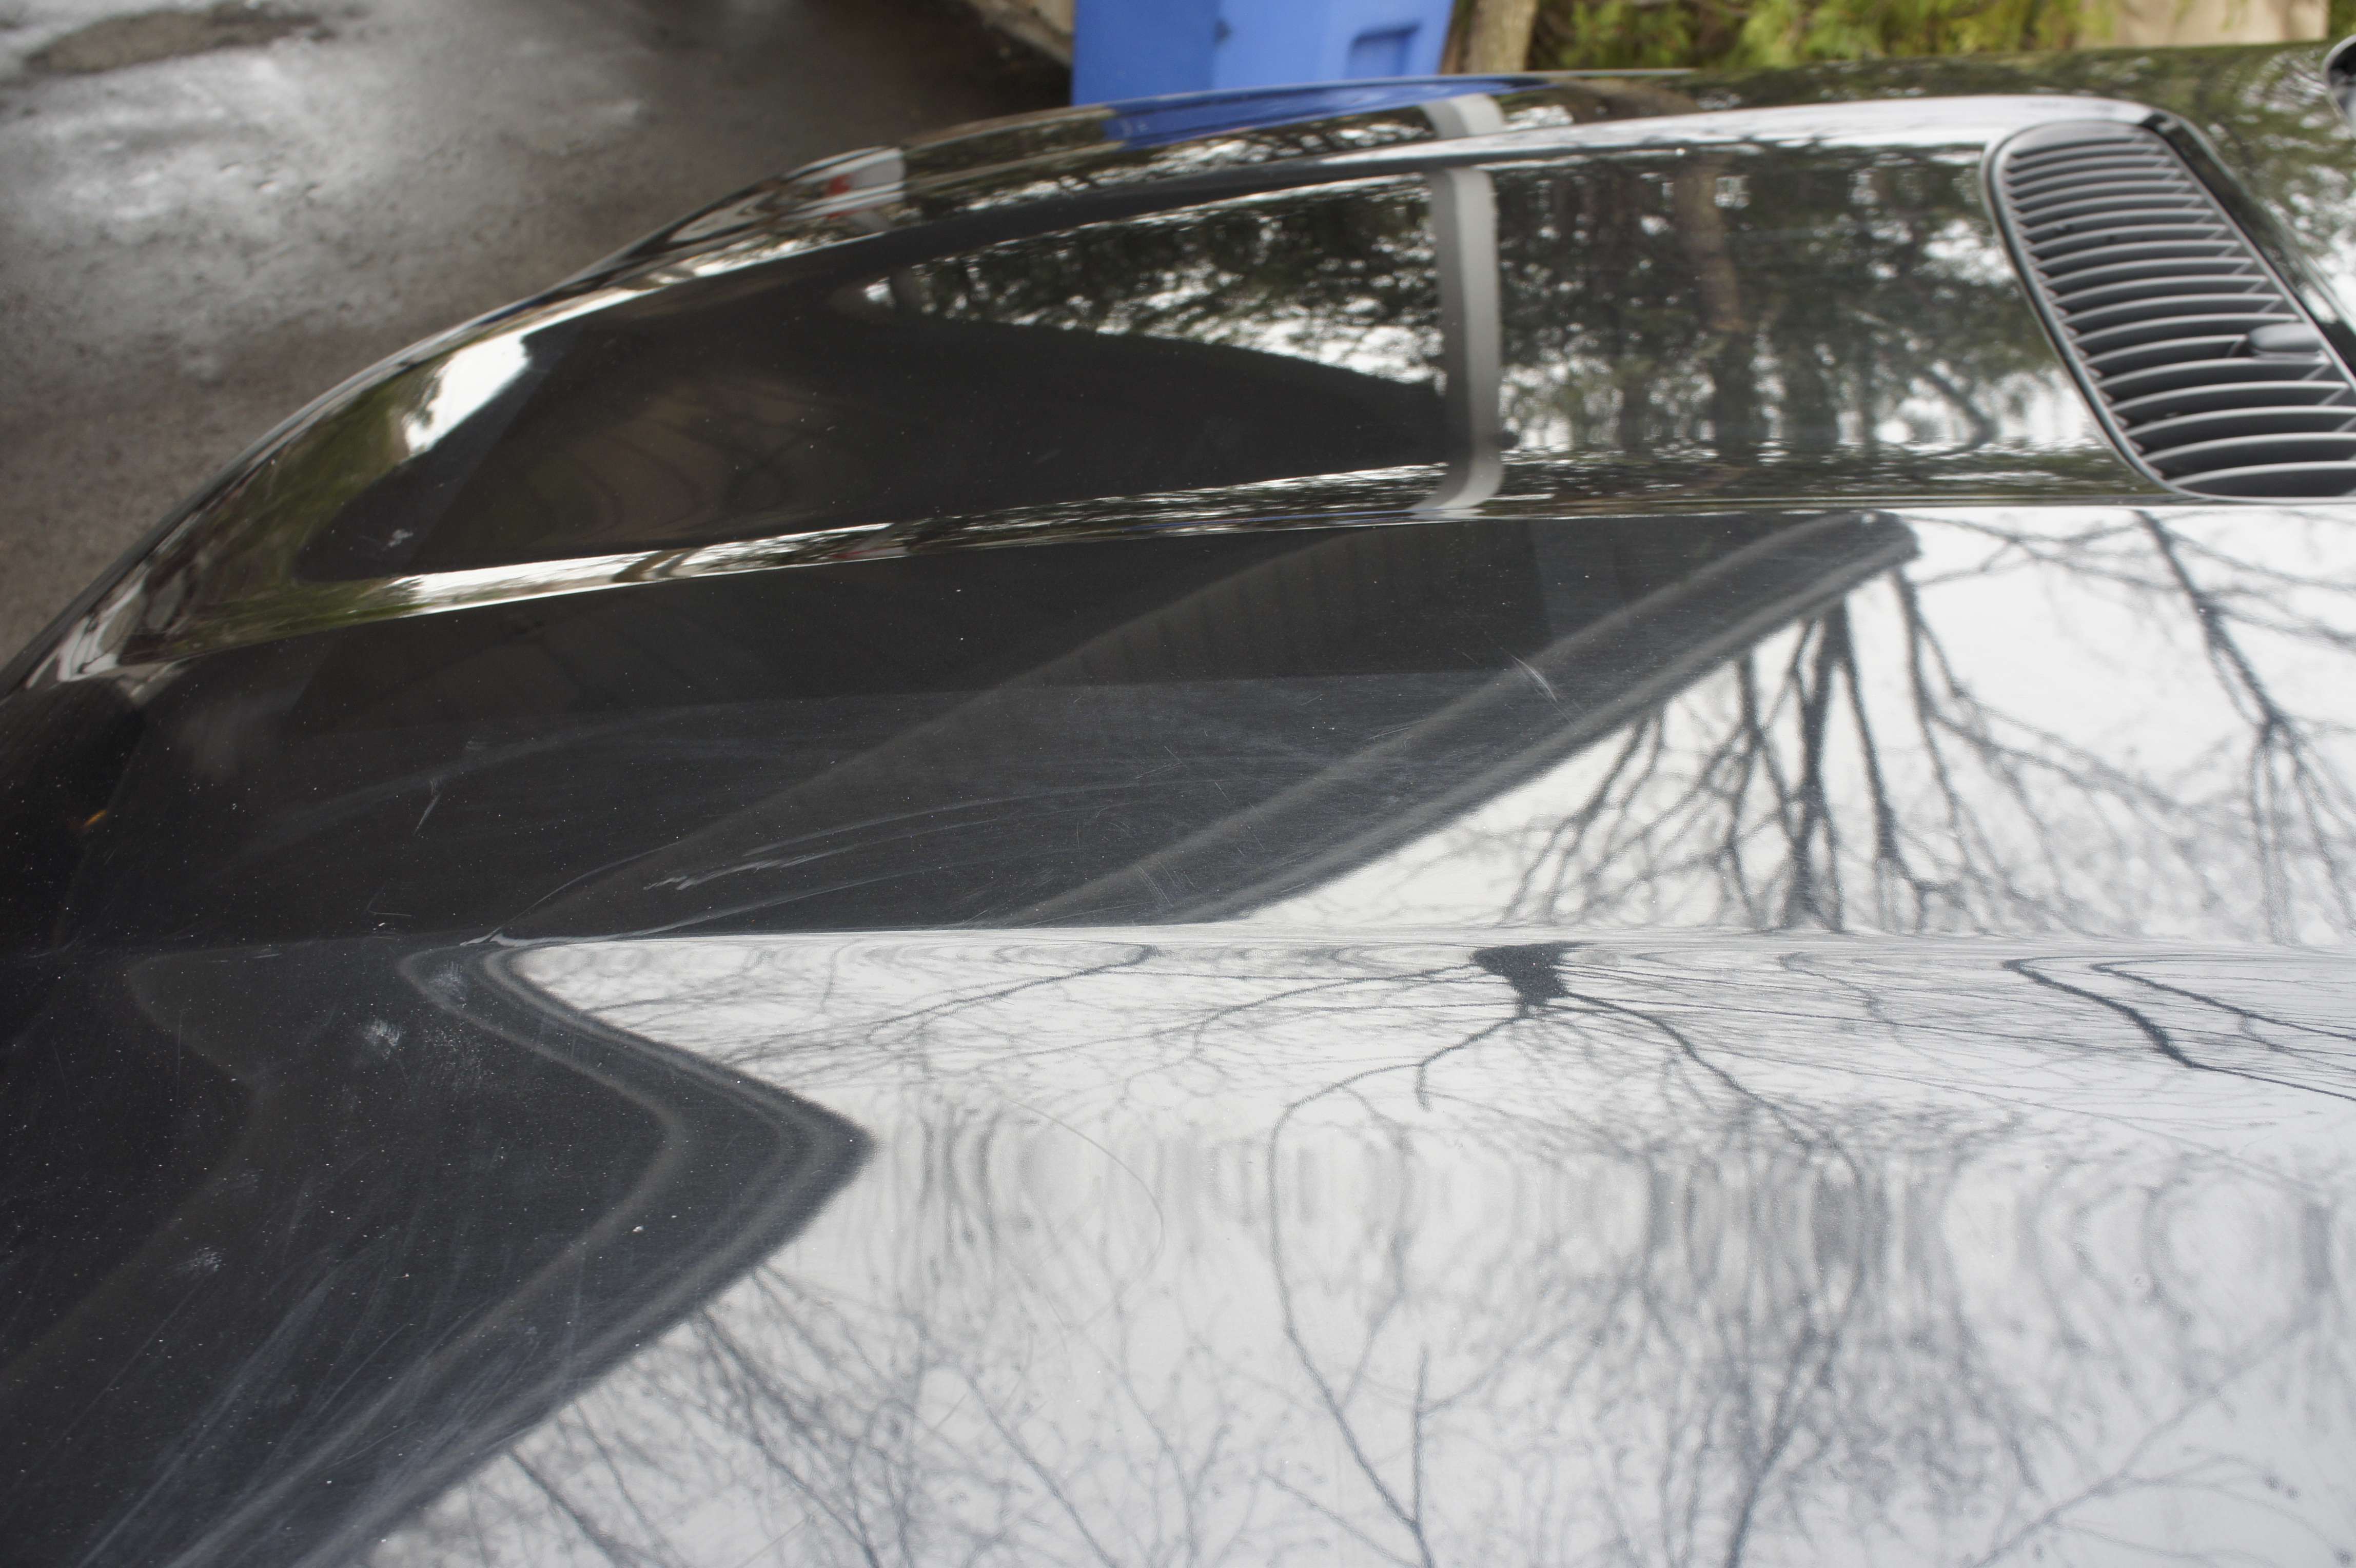
As you can see the paint is quite messed up! I will try to make it more even/uniform by doing a 3-step polish. But before, I will tape my molding:
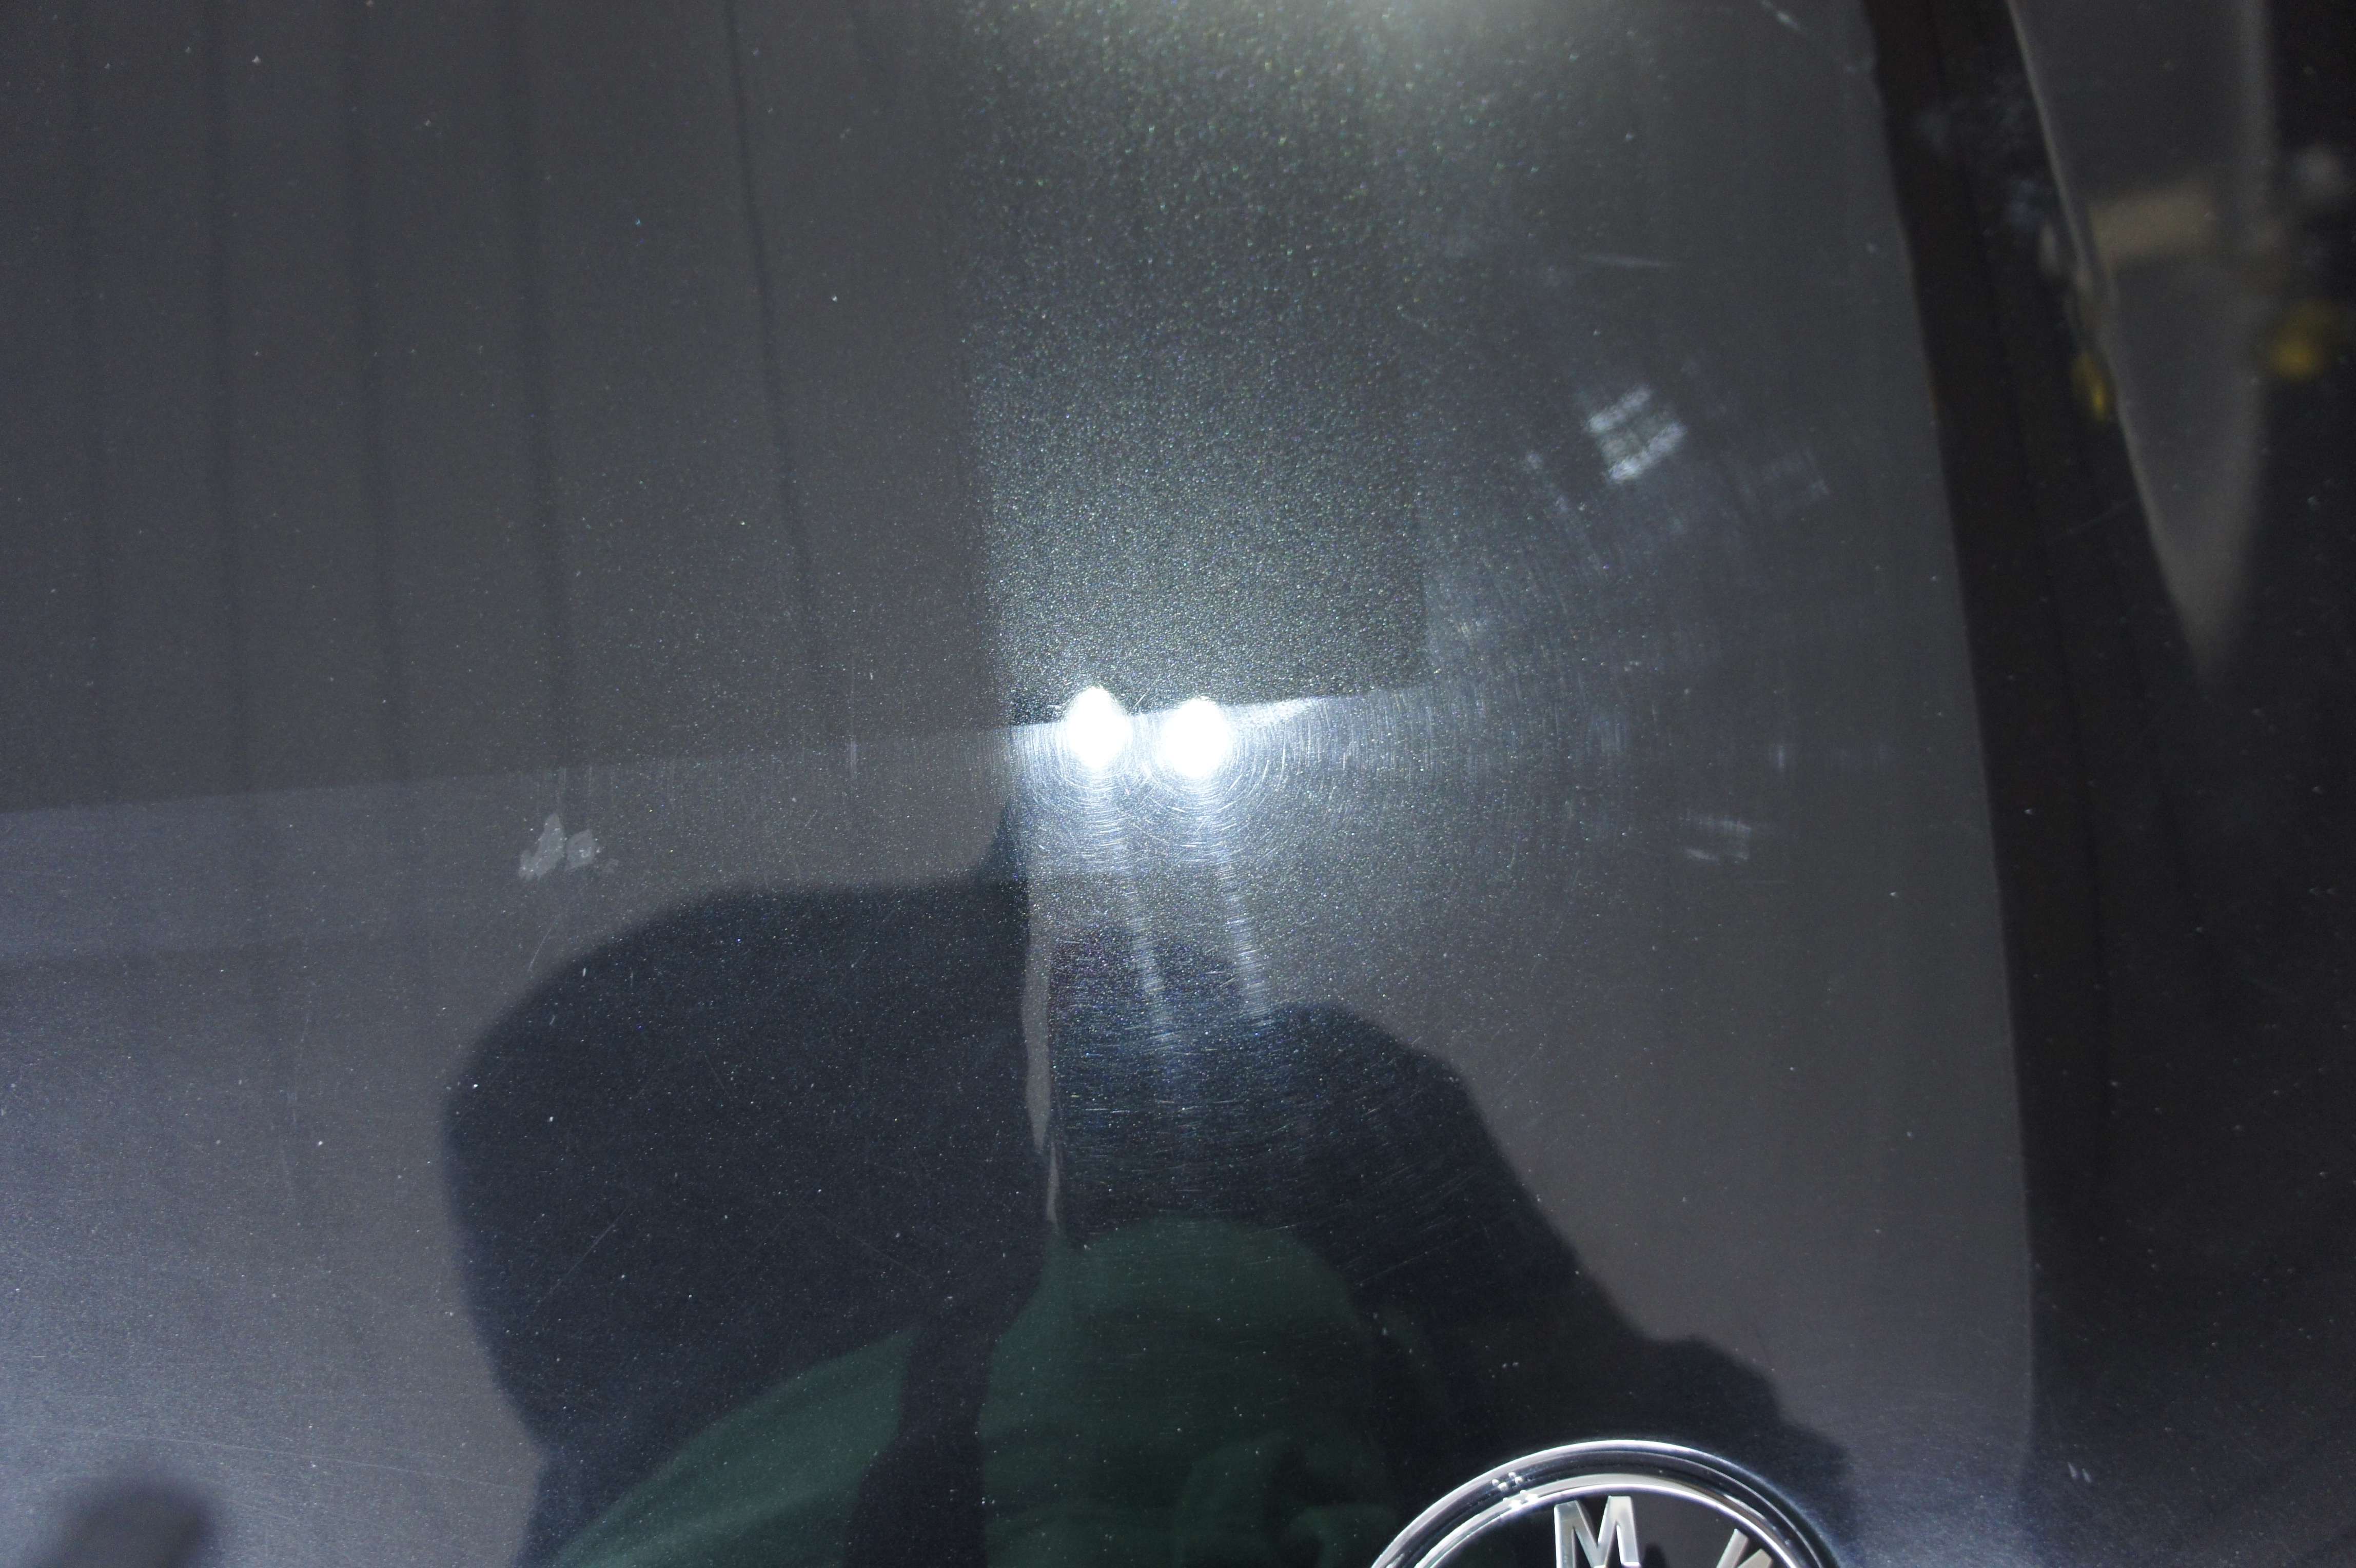
Inspecting the paint.. uuummmm, this truck was in bad shape!
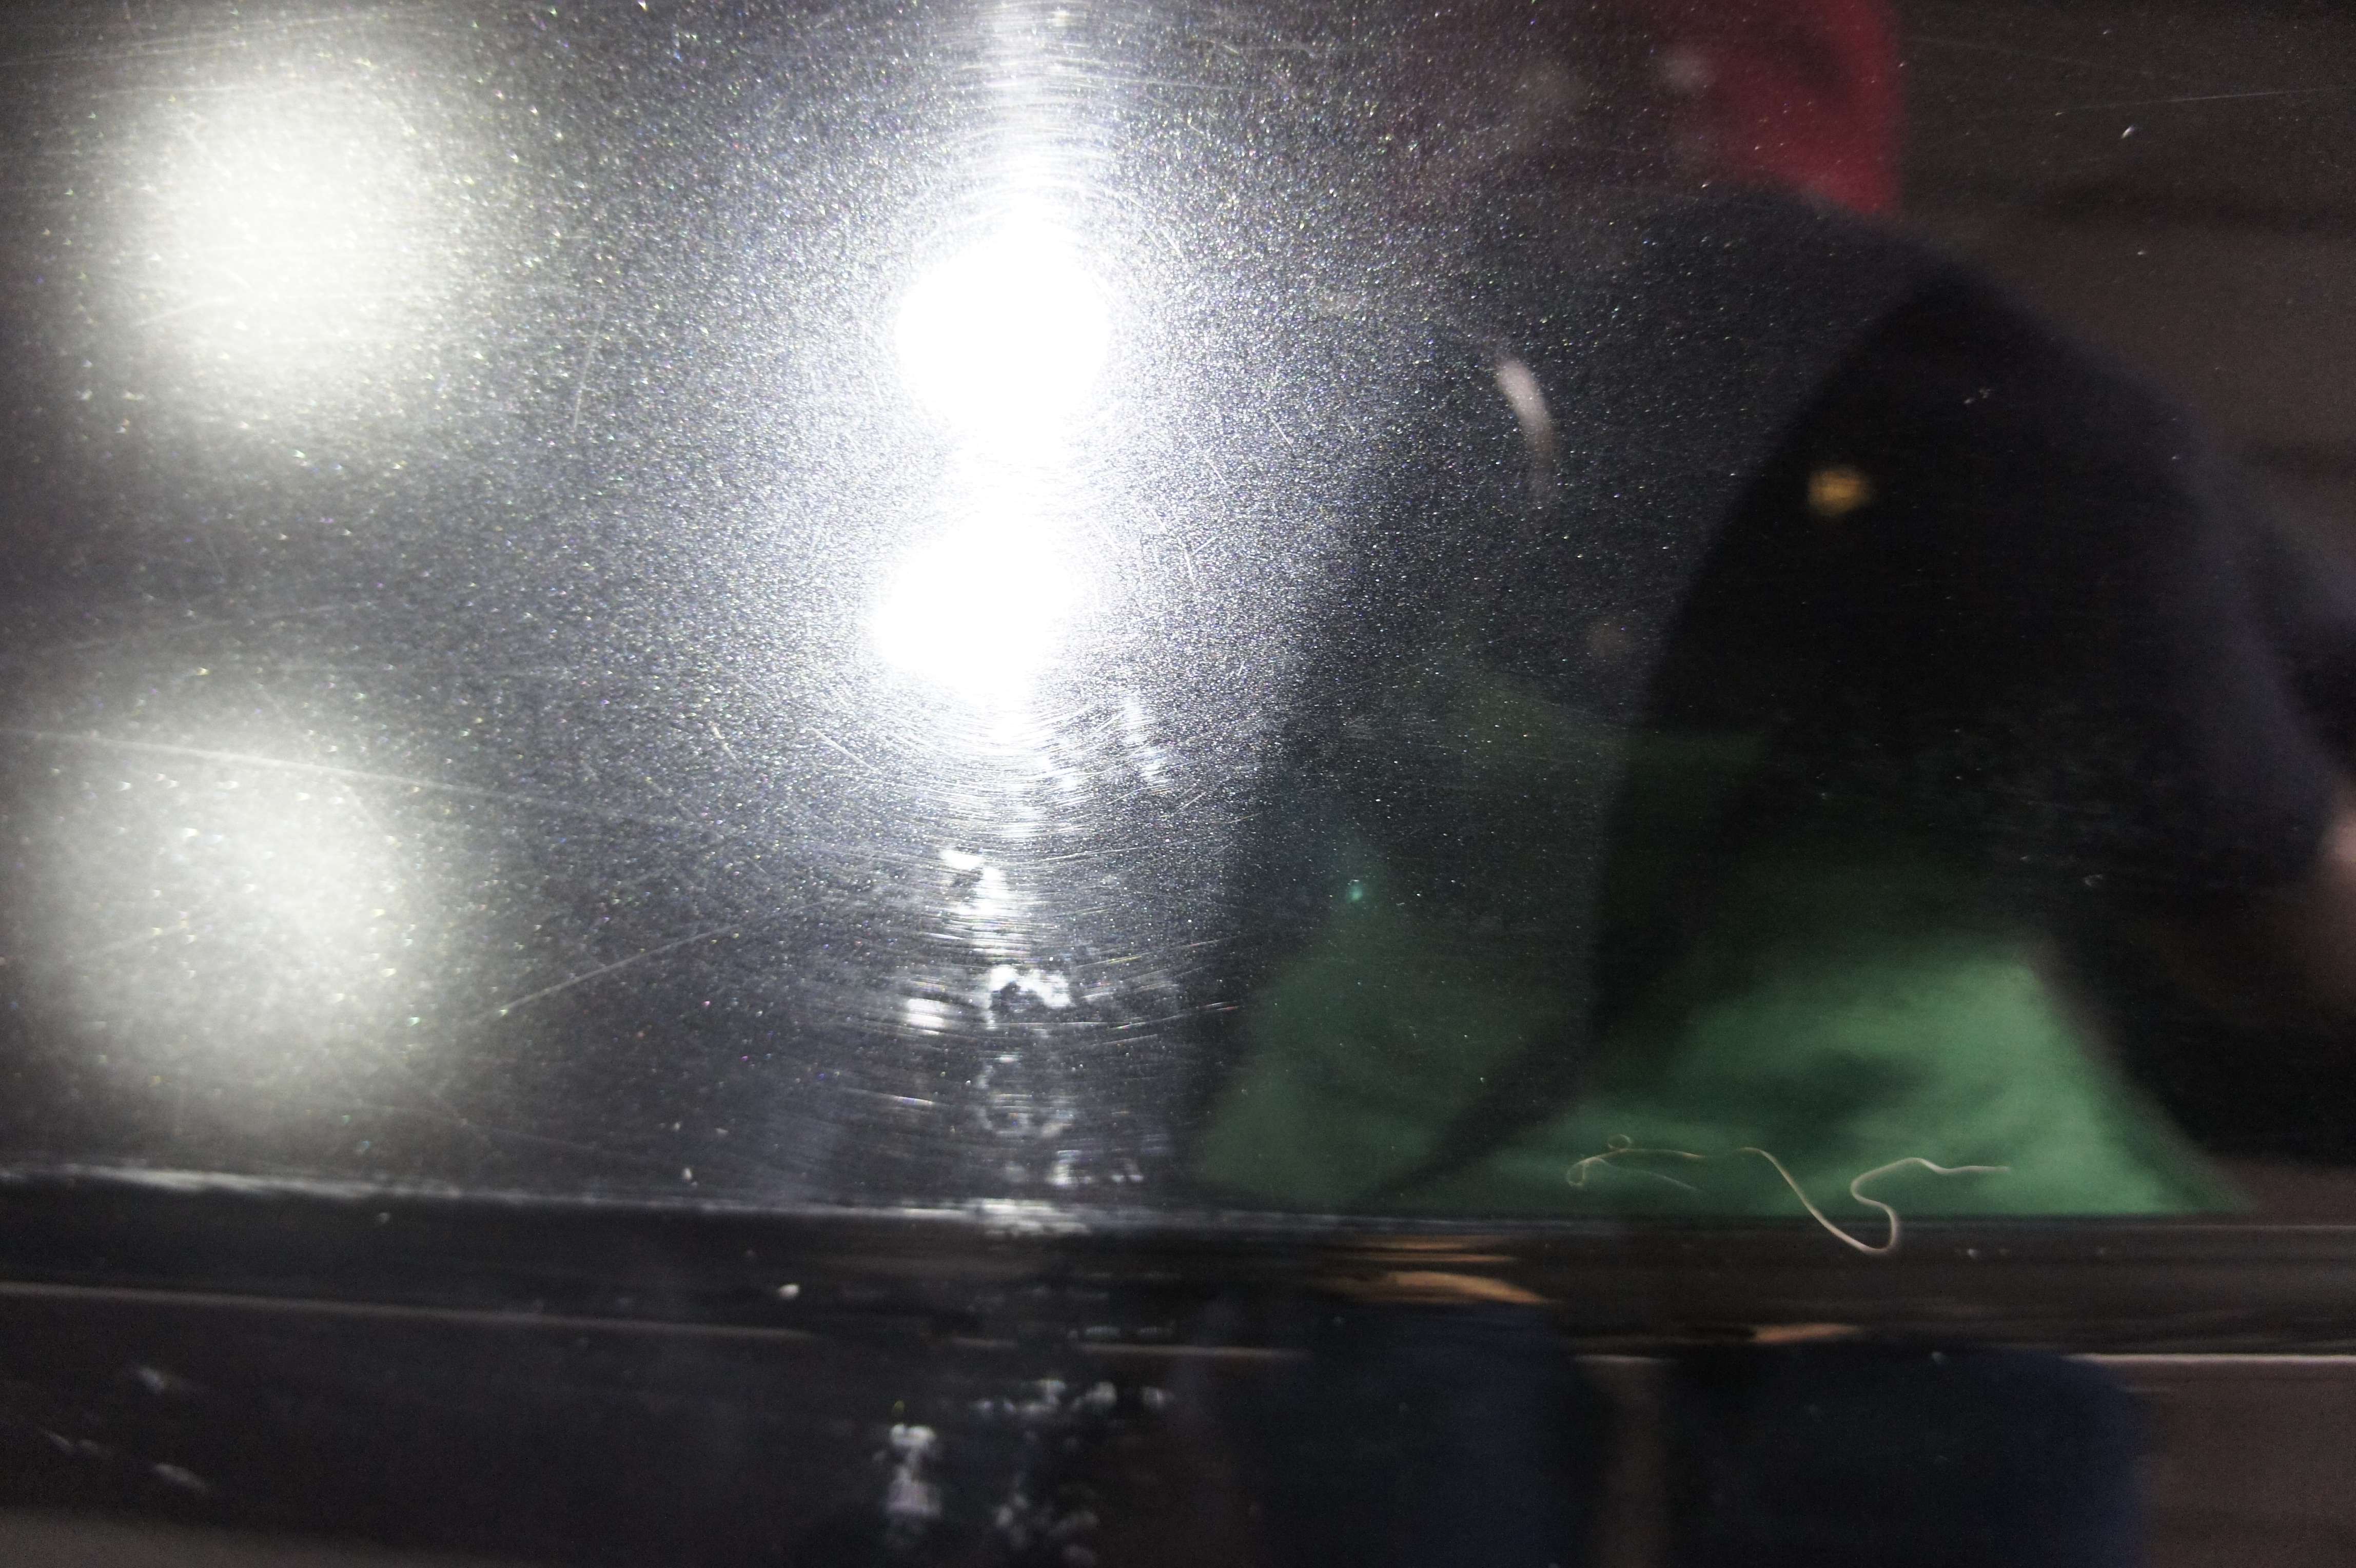

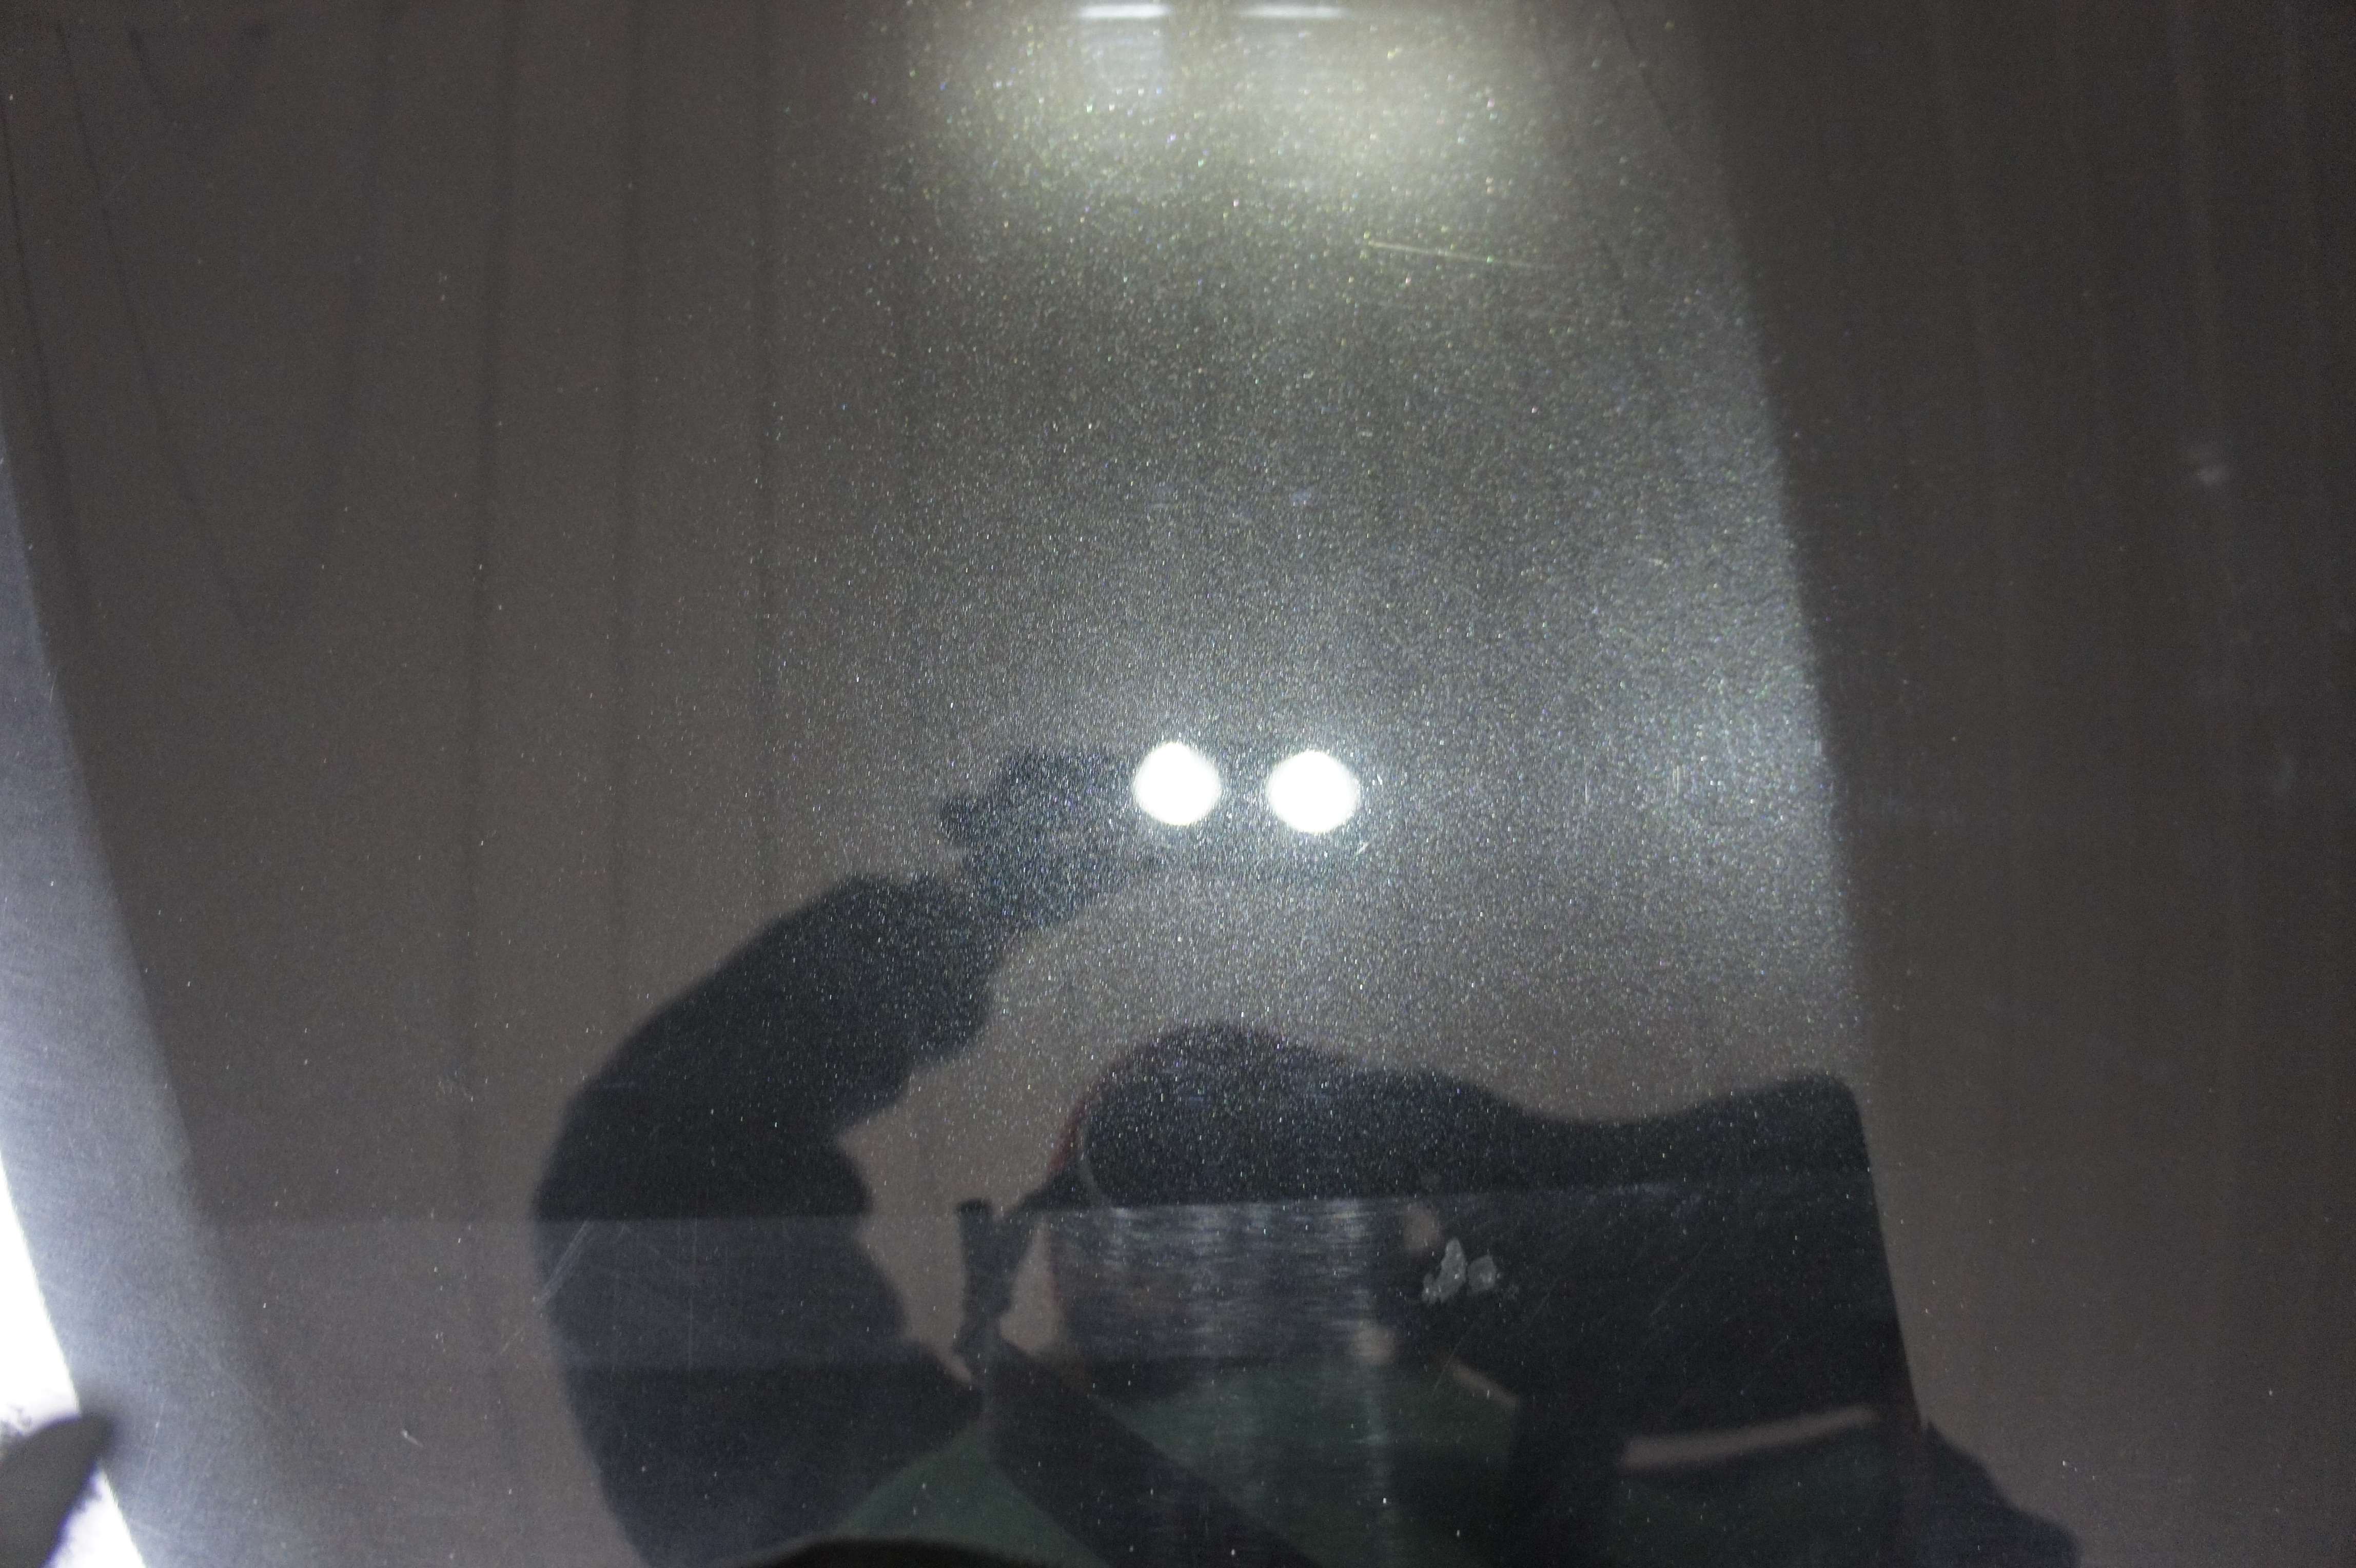
• When I inspect the paint, I always use AT LEAST 2 different source of light ( usually it’s a sun-gun and a LED light) *
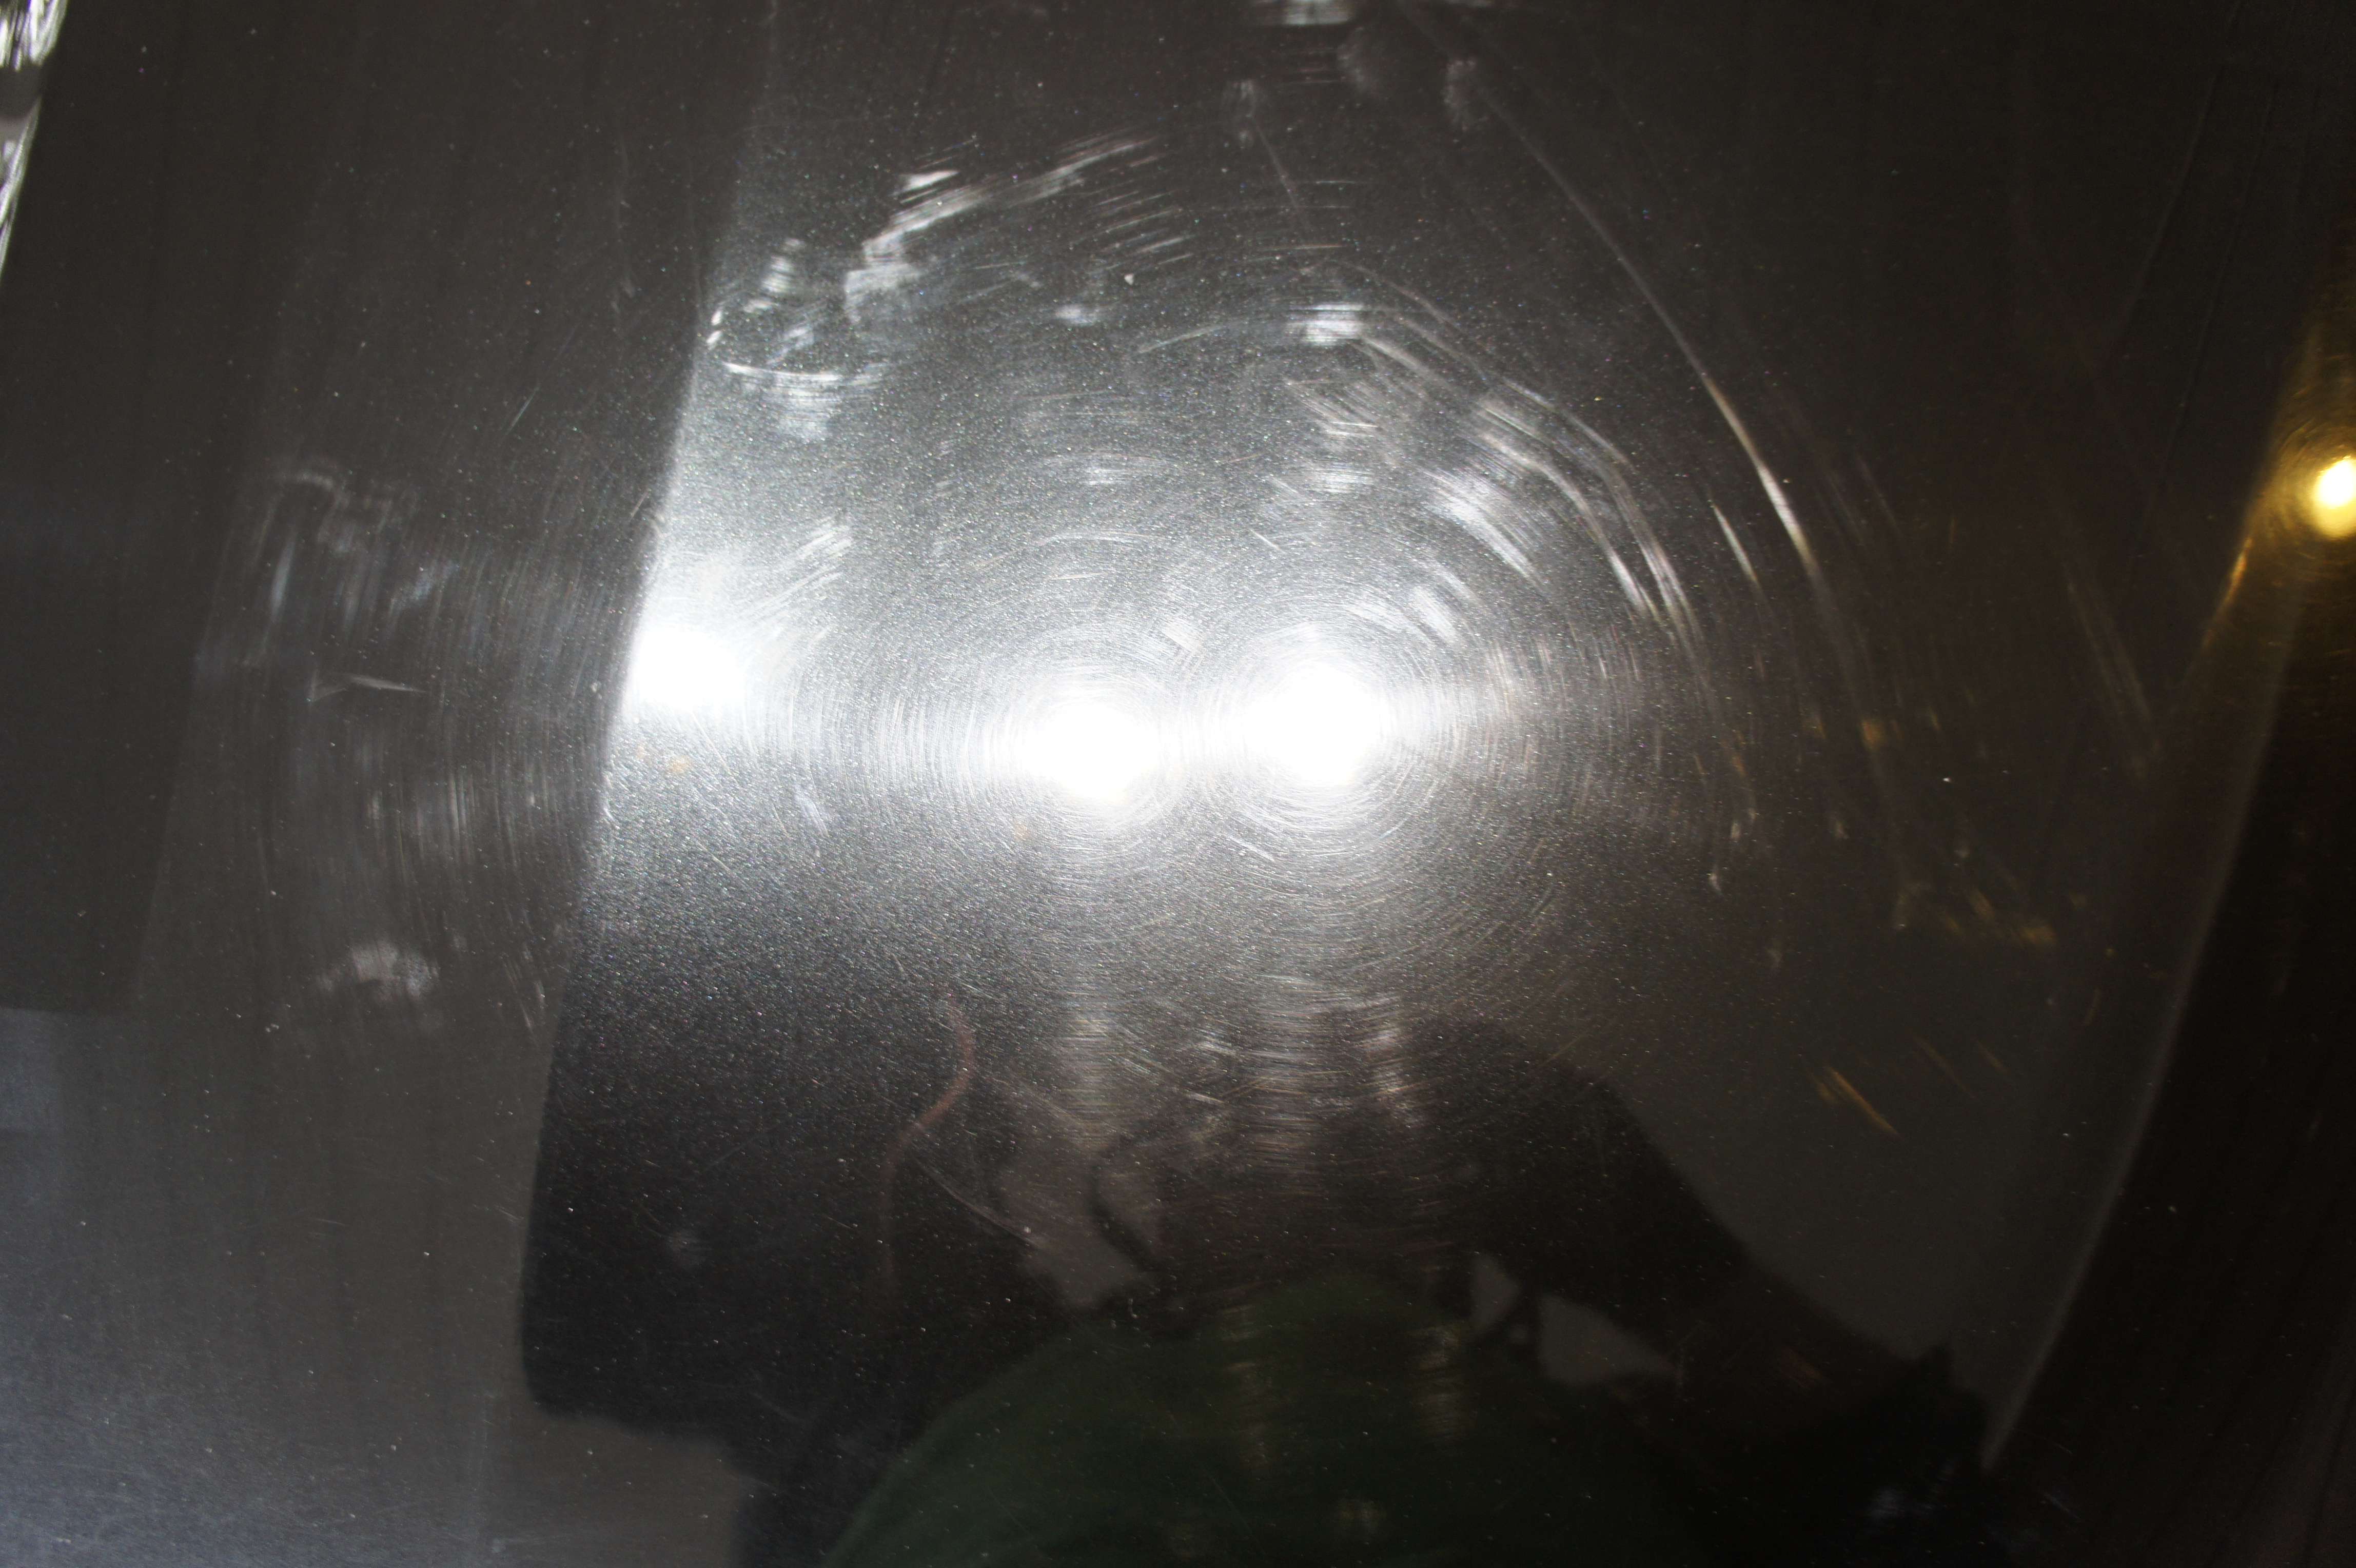
Test-spot.
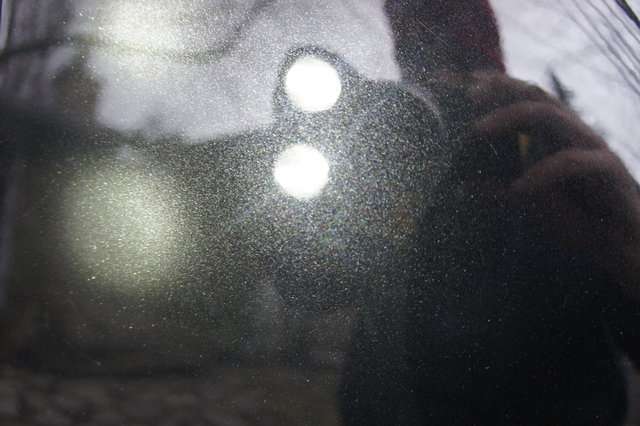
This time I decide to do it differently.. let’s just do a square inside the swirled paint

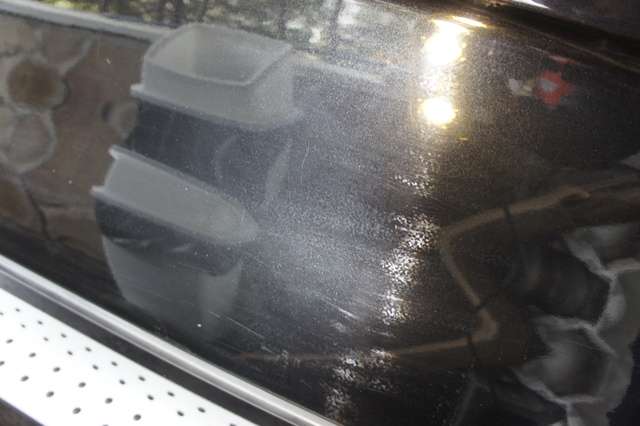
Sun gun, you can see the difference in Kelvin color:
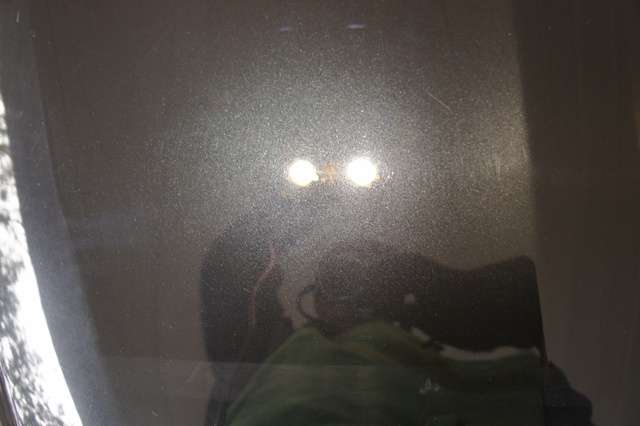
And under the shade:
Looks good enough to me!! Let’s polish, we are finally ready! It’s important to not skip any of those step if you want a nicer finish. (better prep = better result!)
Here’s a 50/50 with the trim restorer:
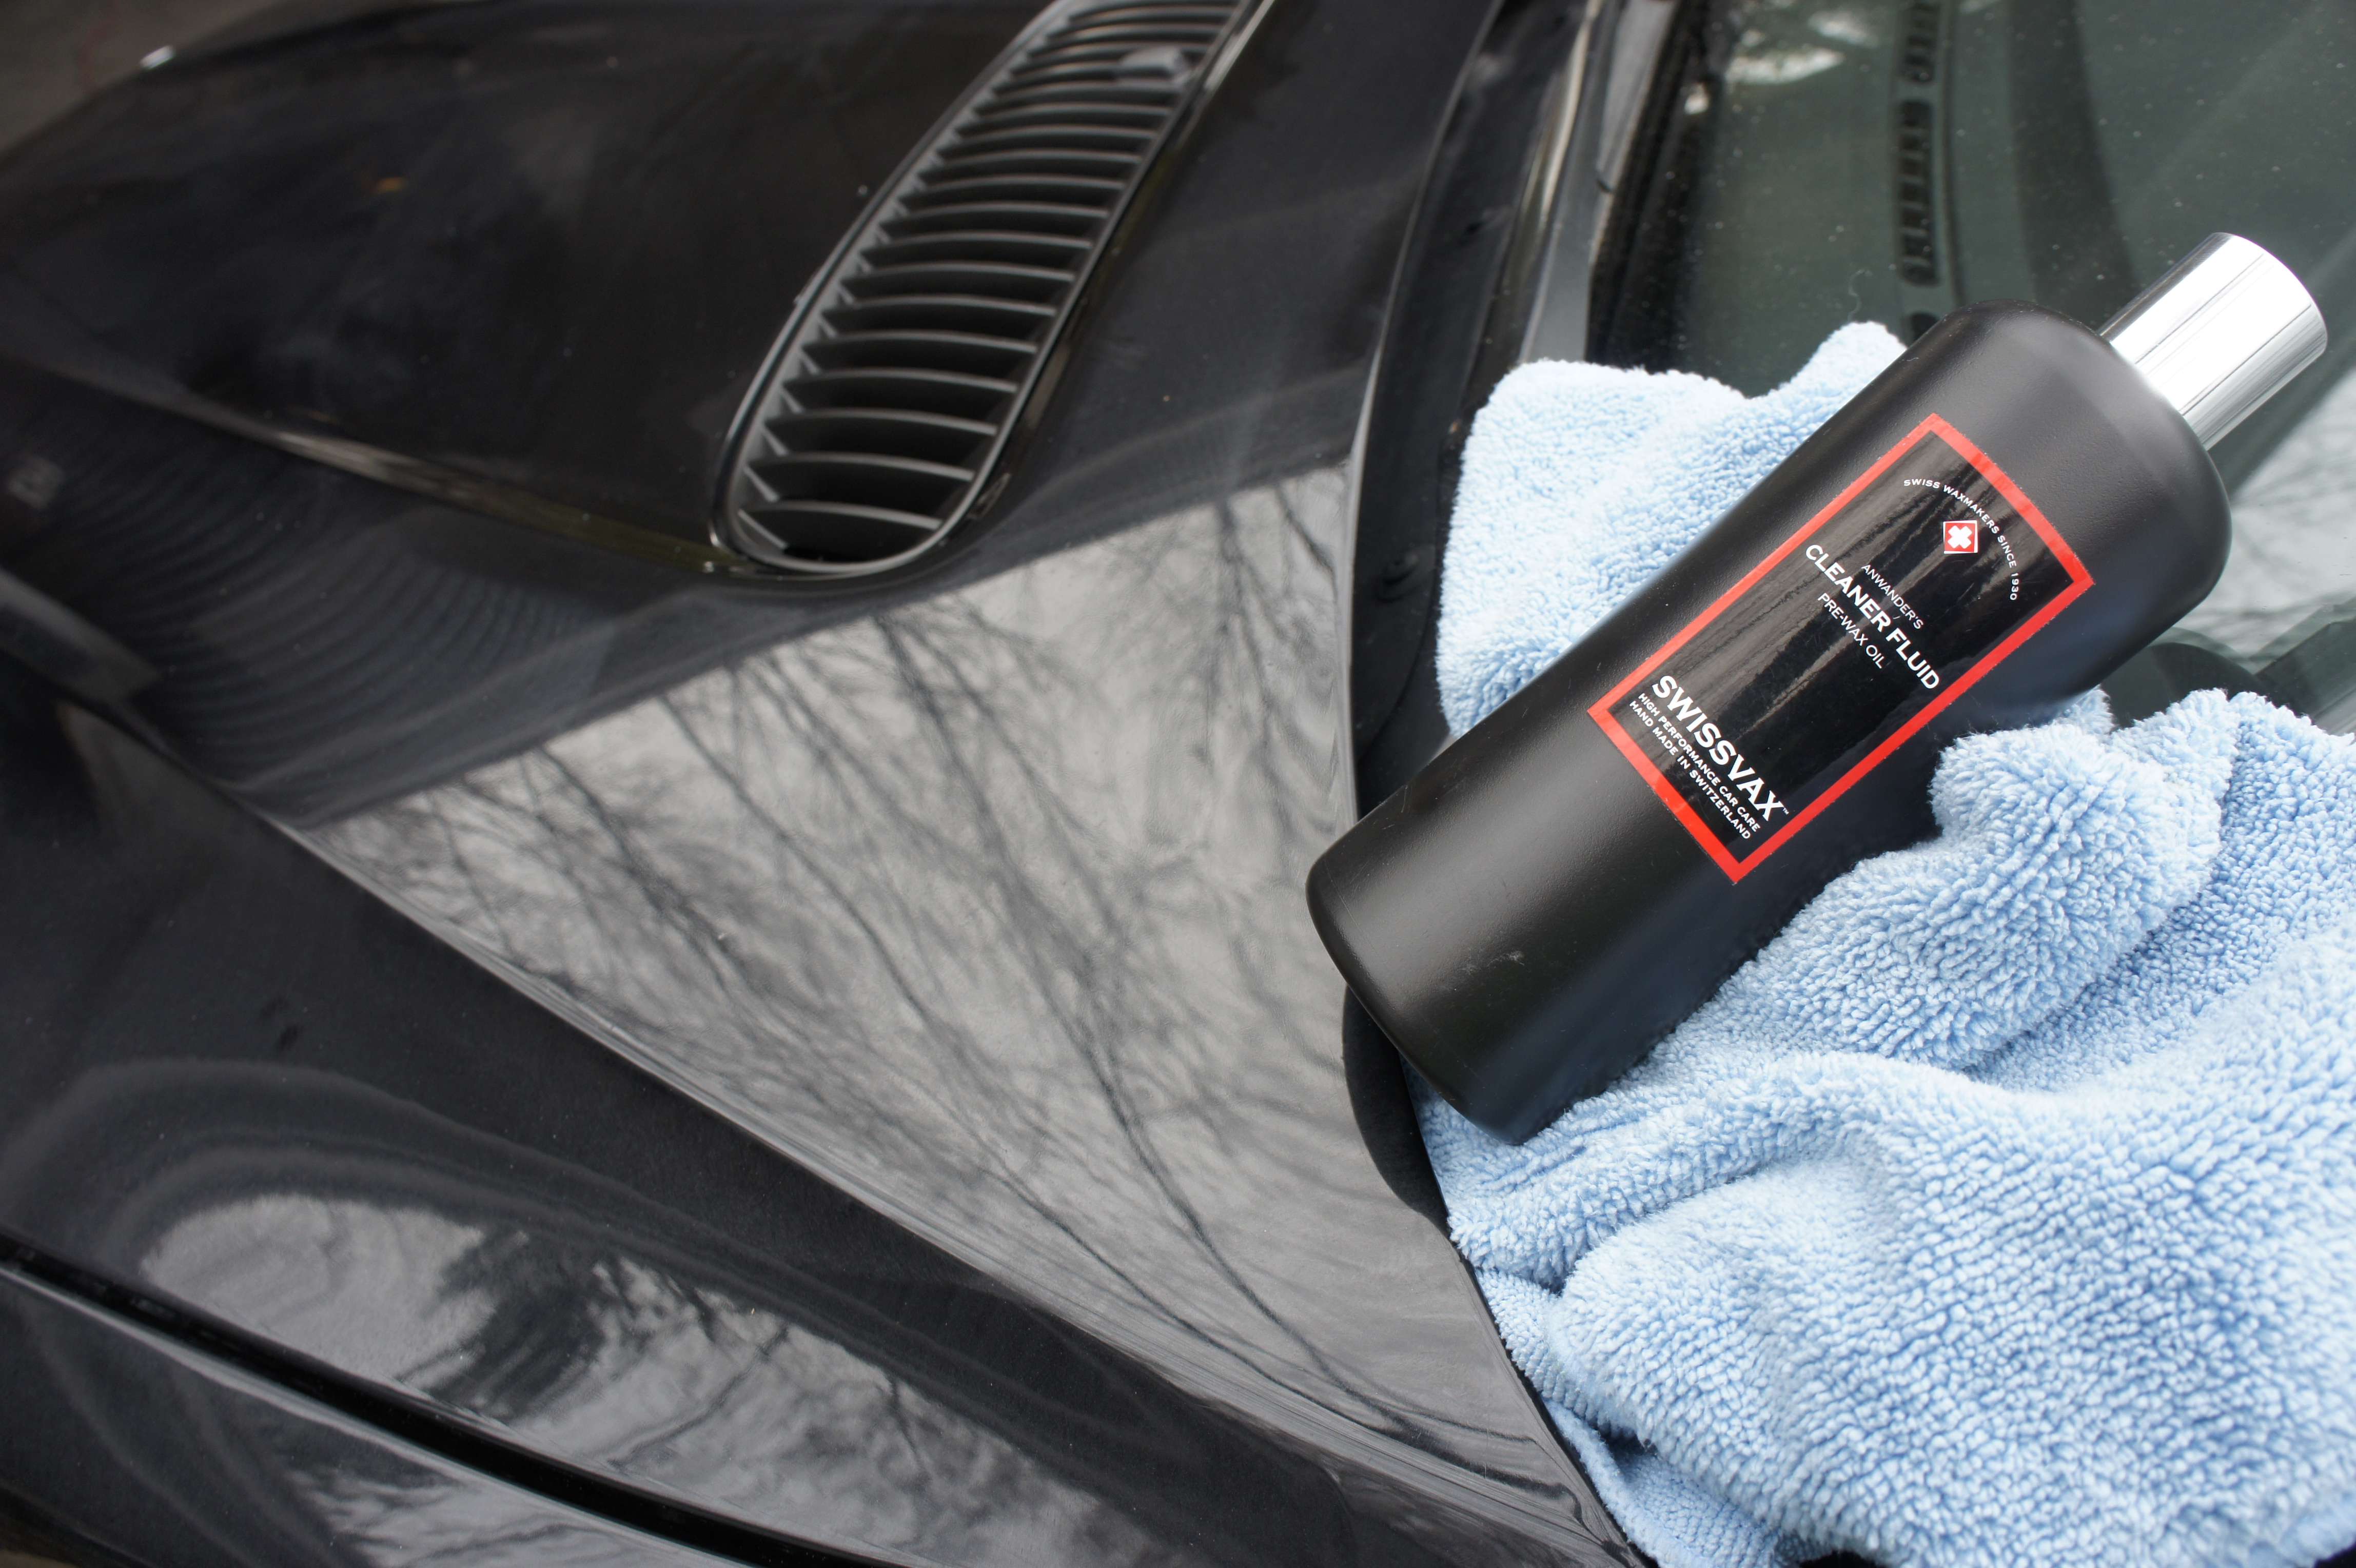
Applying Swissvax cleaner fluid to prep the paint for something quite unique..
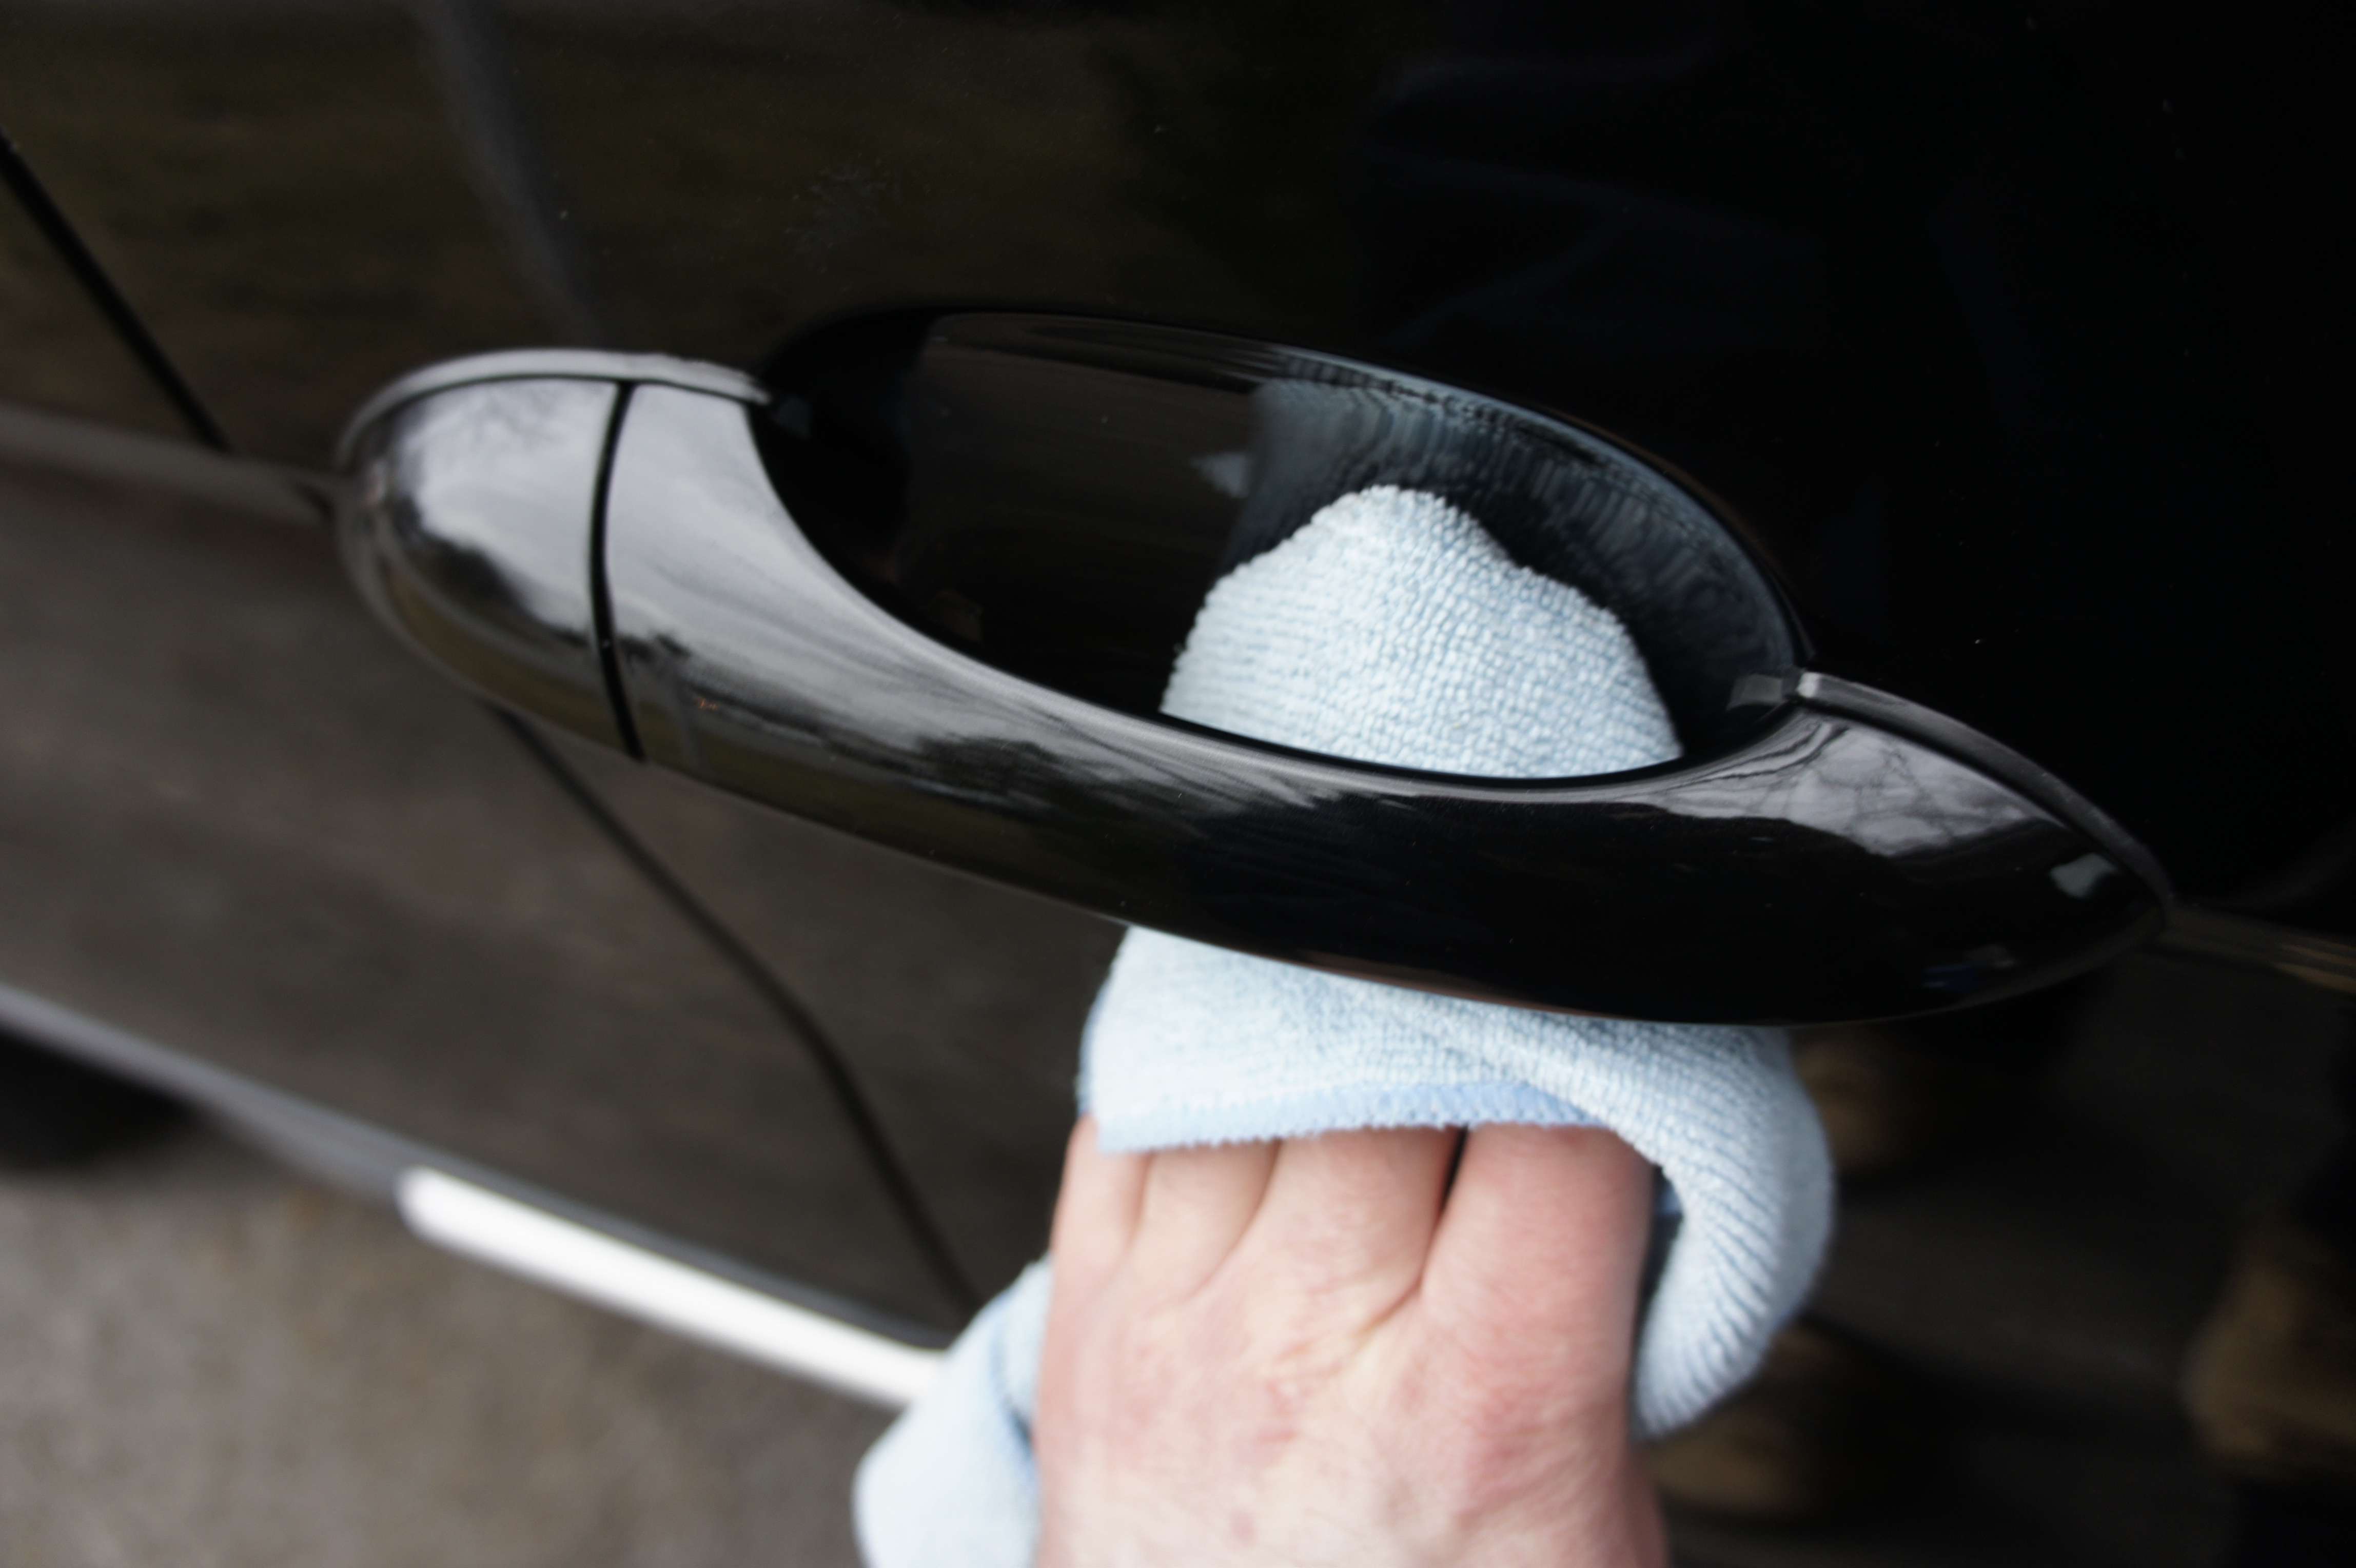
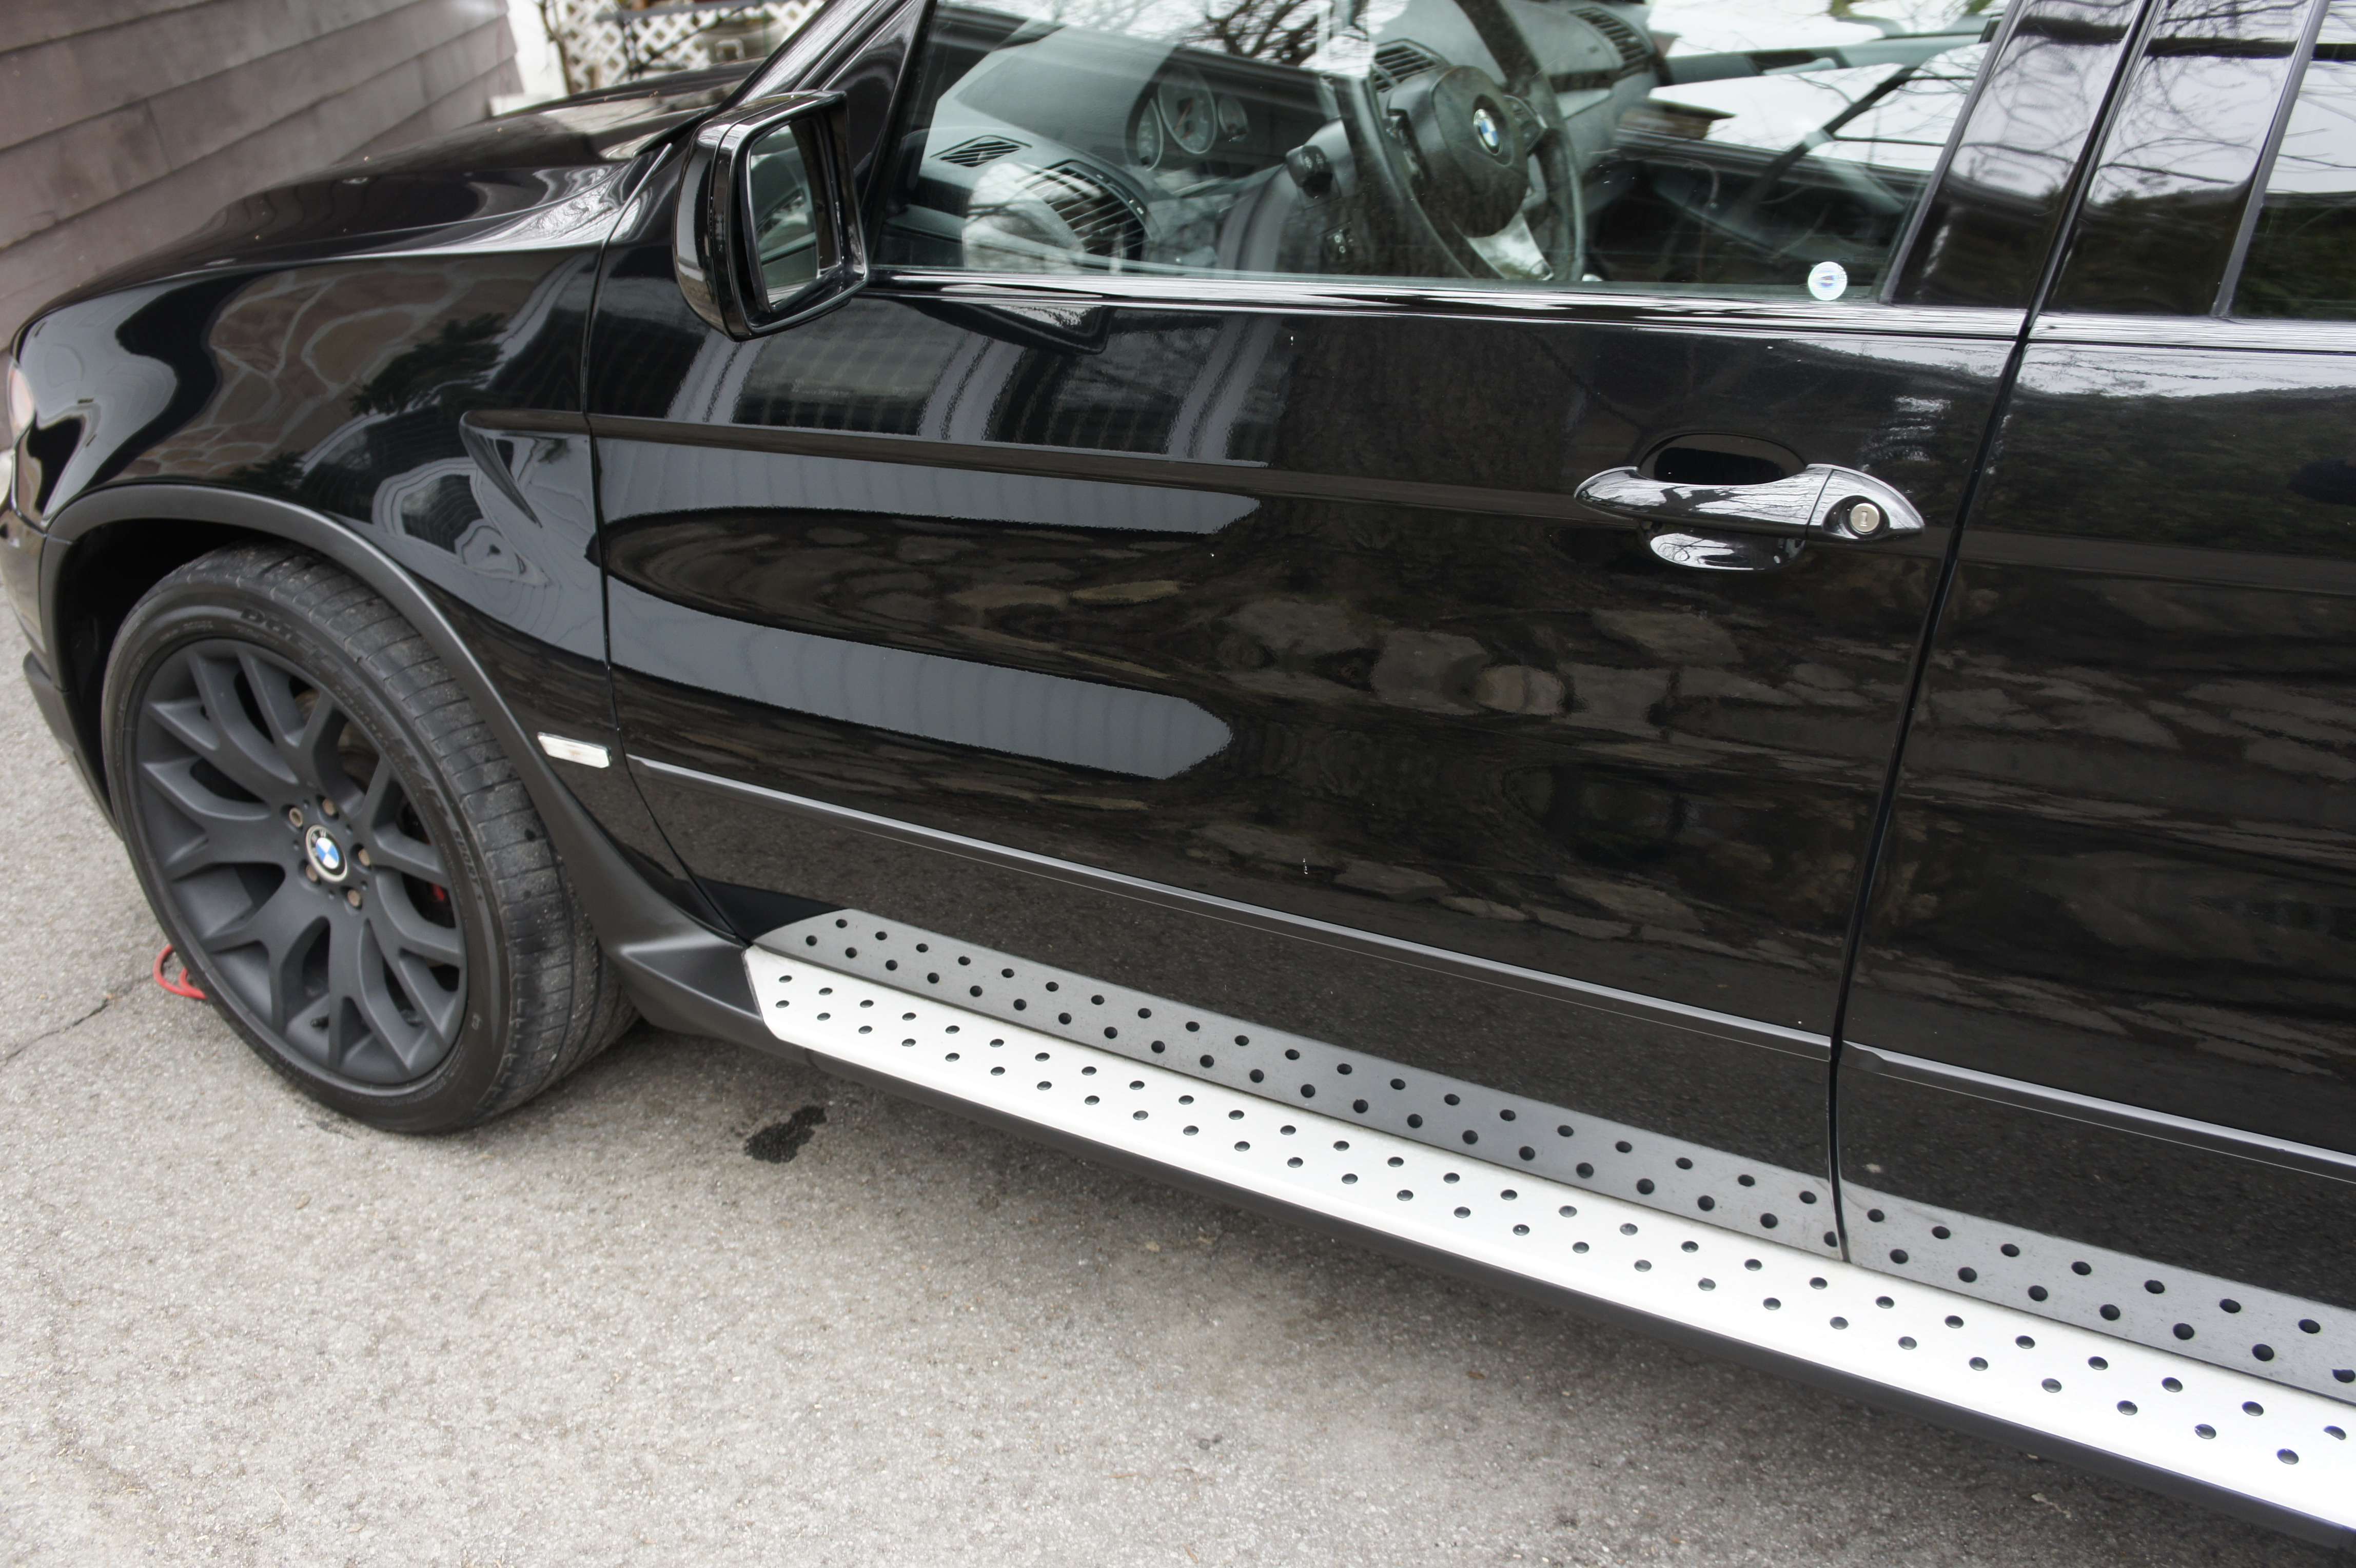
Polishing the door handle is very important for a nice finished result;
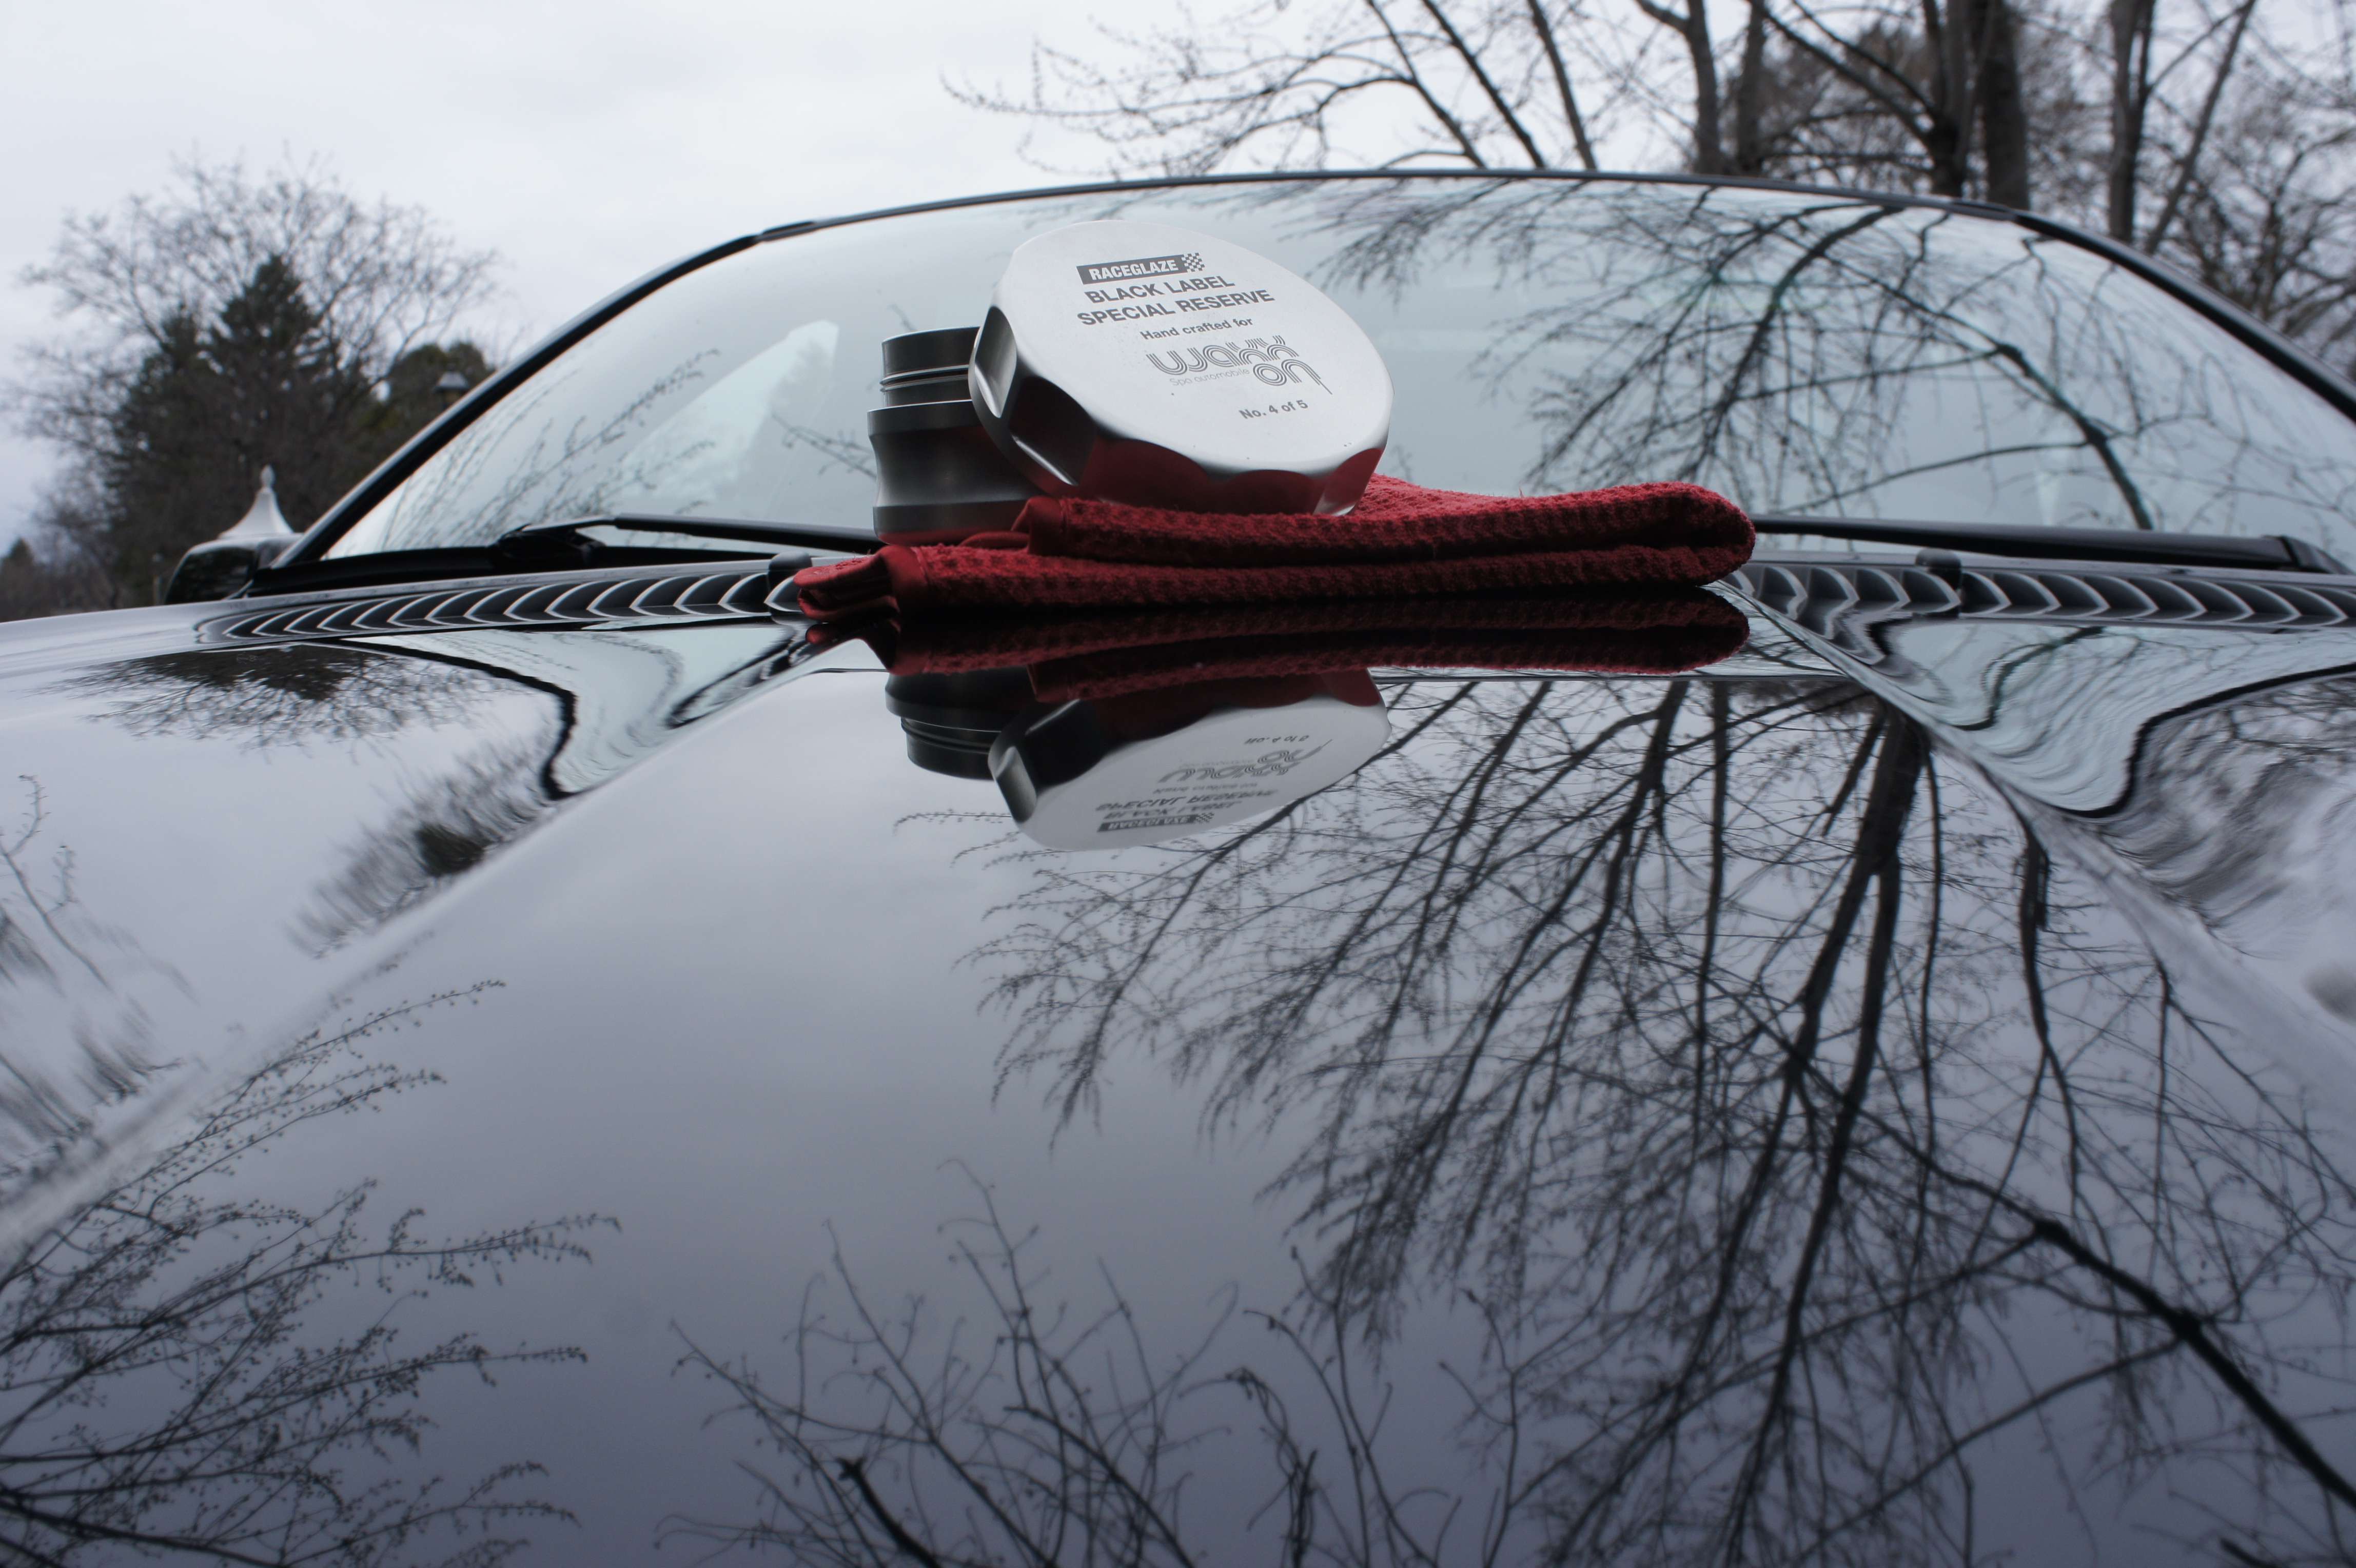
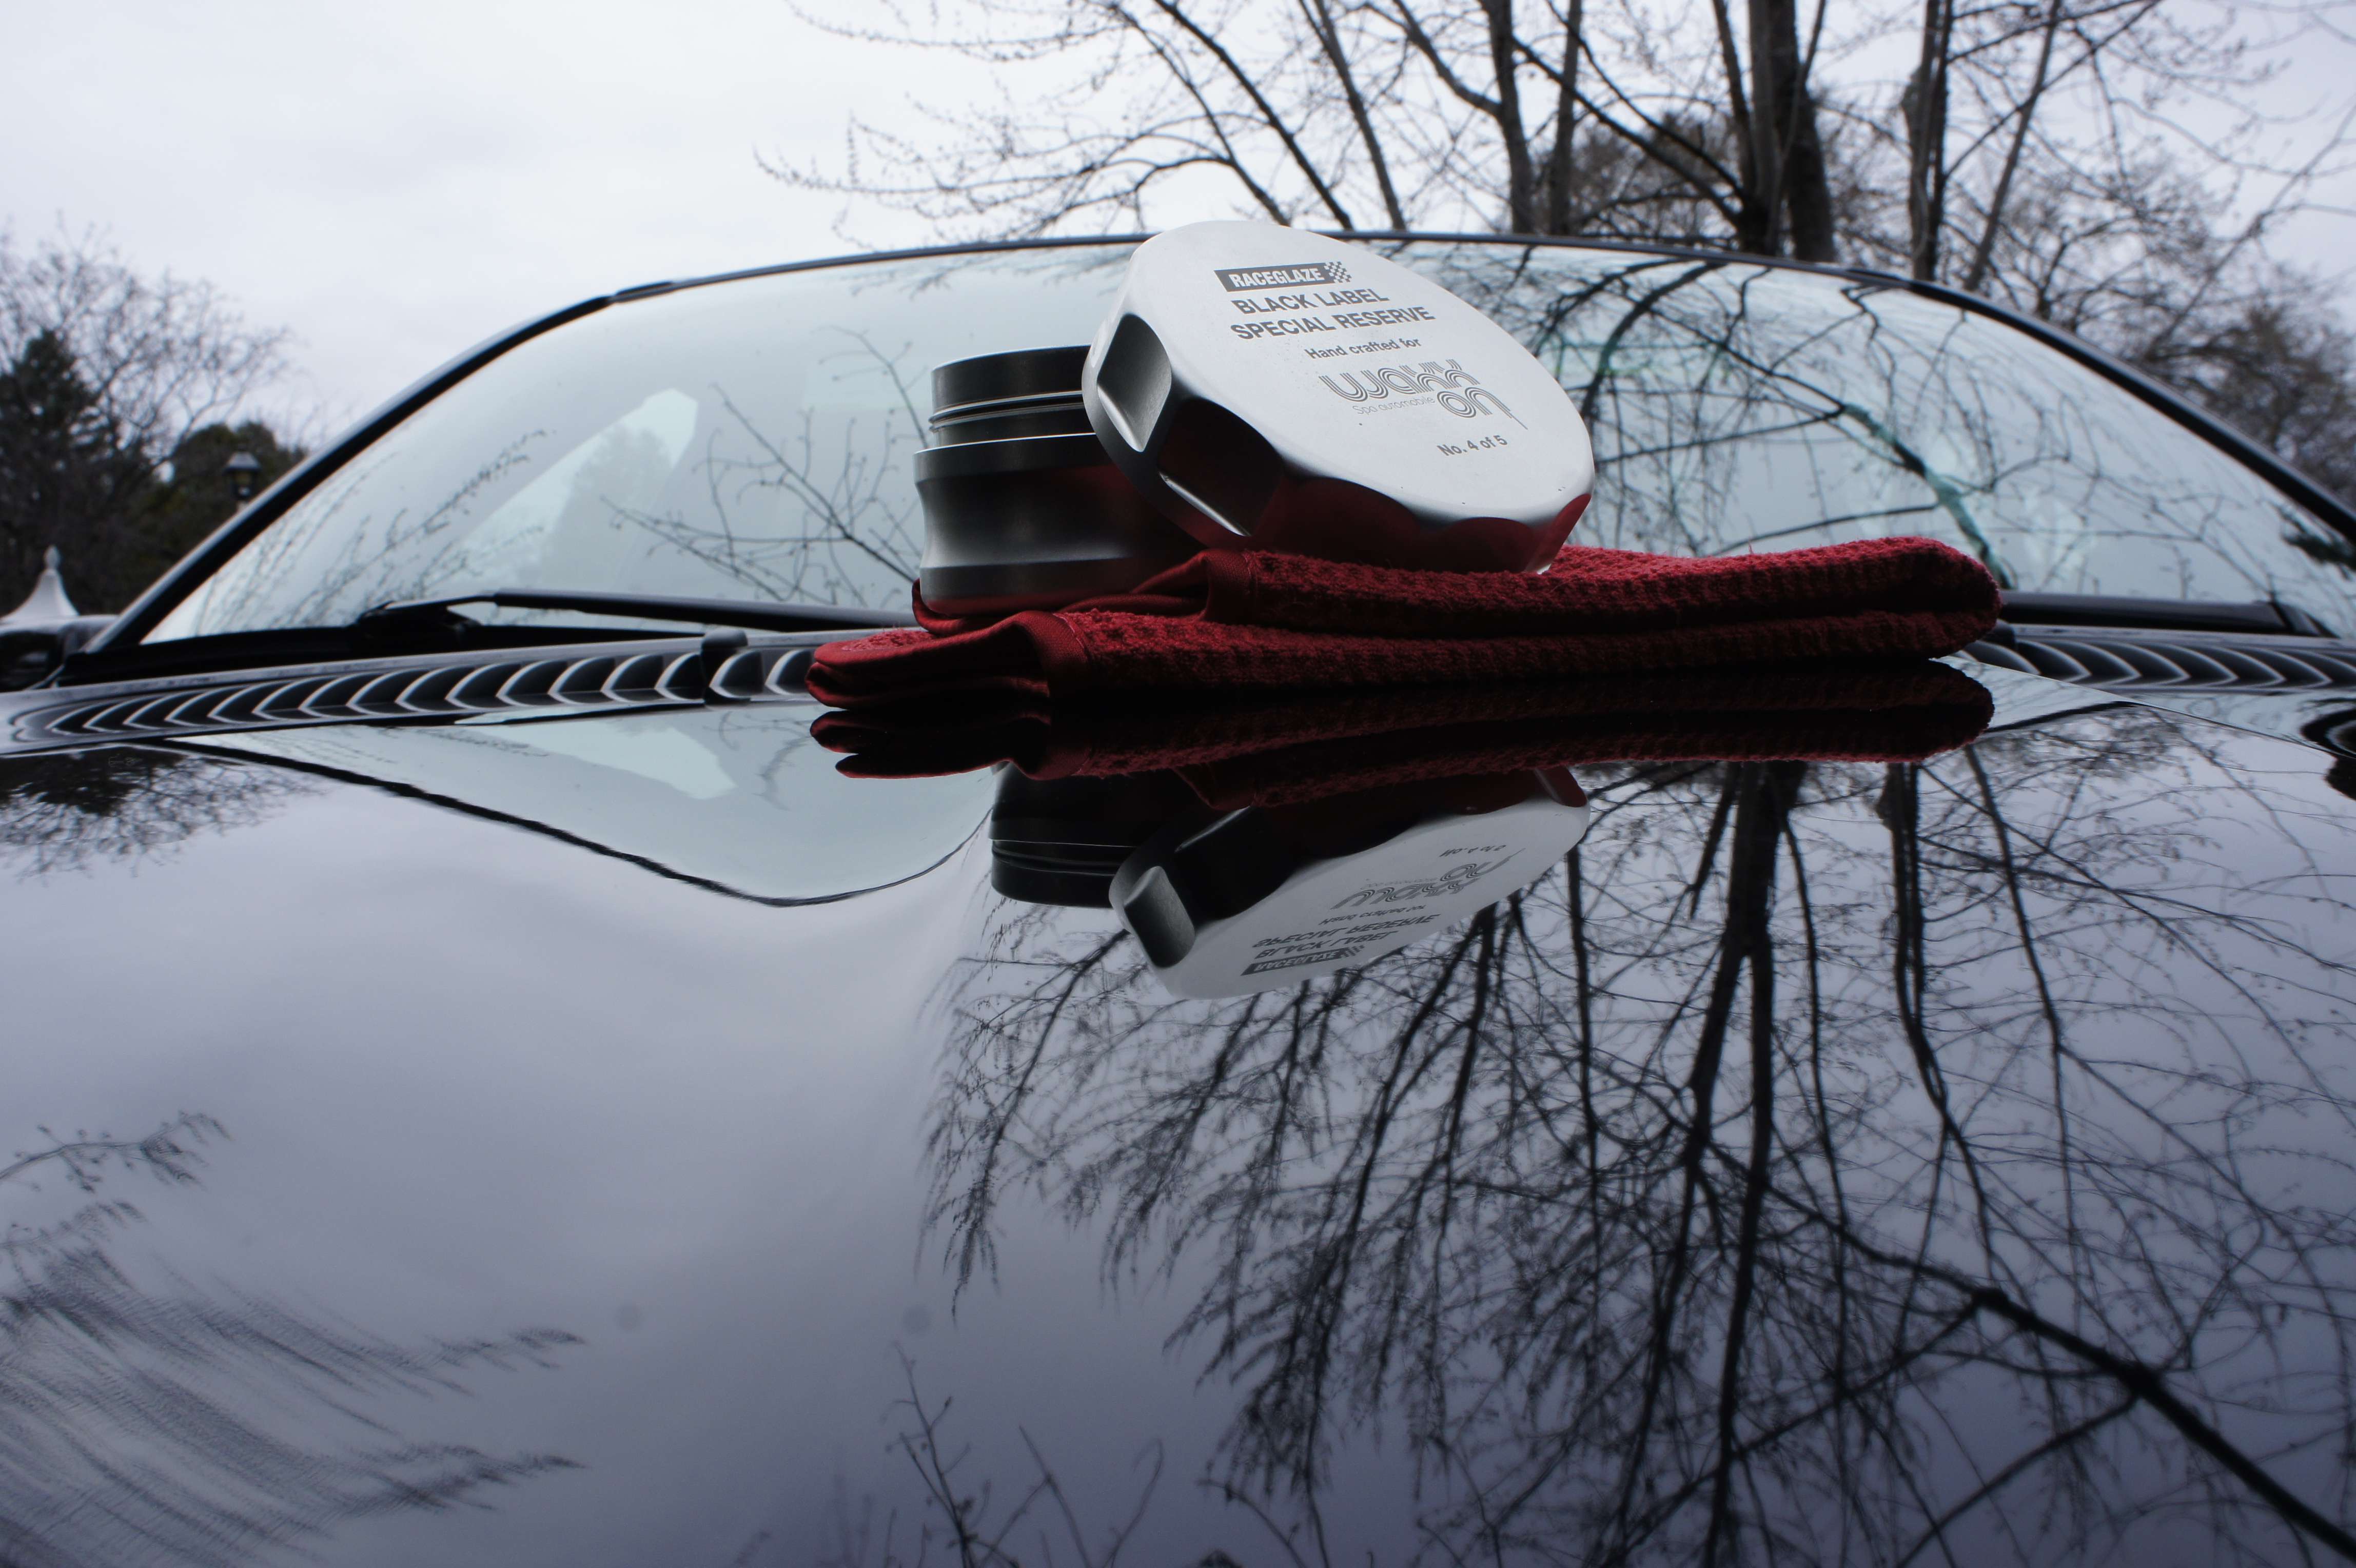
Et maintenant la pièce de résistance. Waxxon’s wax made by Raceglaze UK. 76% carnauba of pure p0rn! Haha!

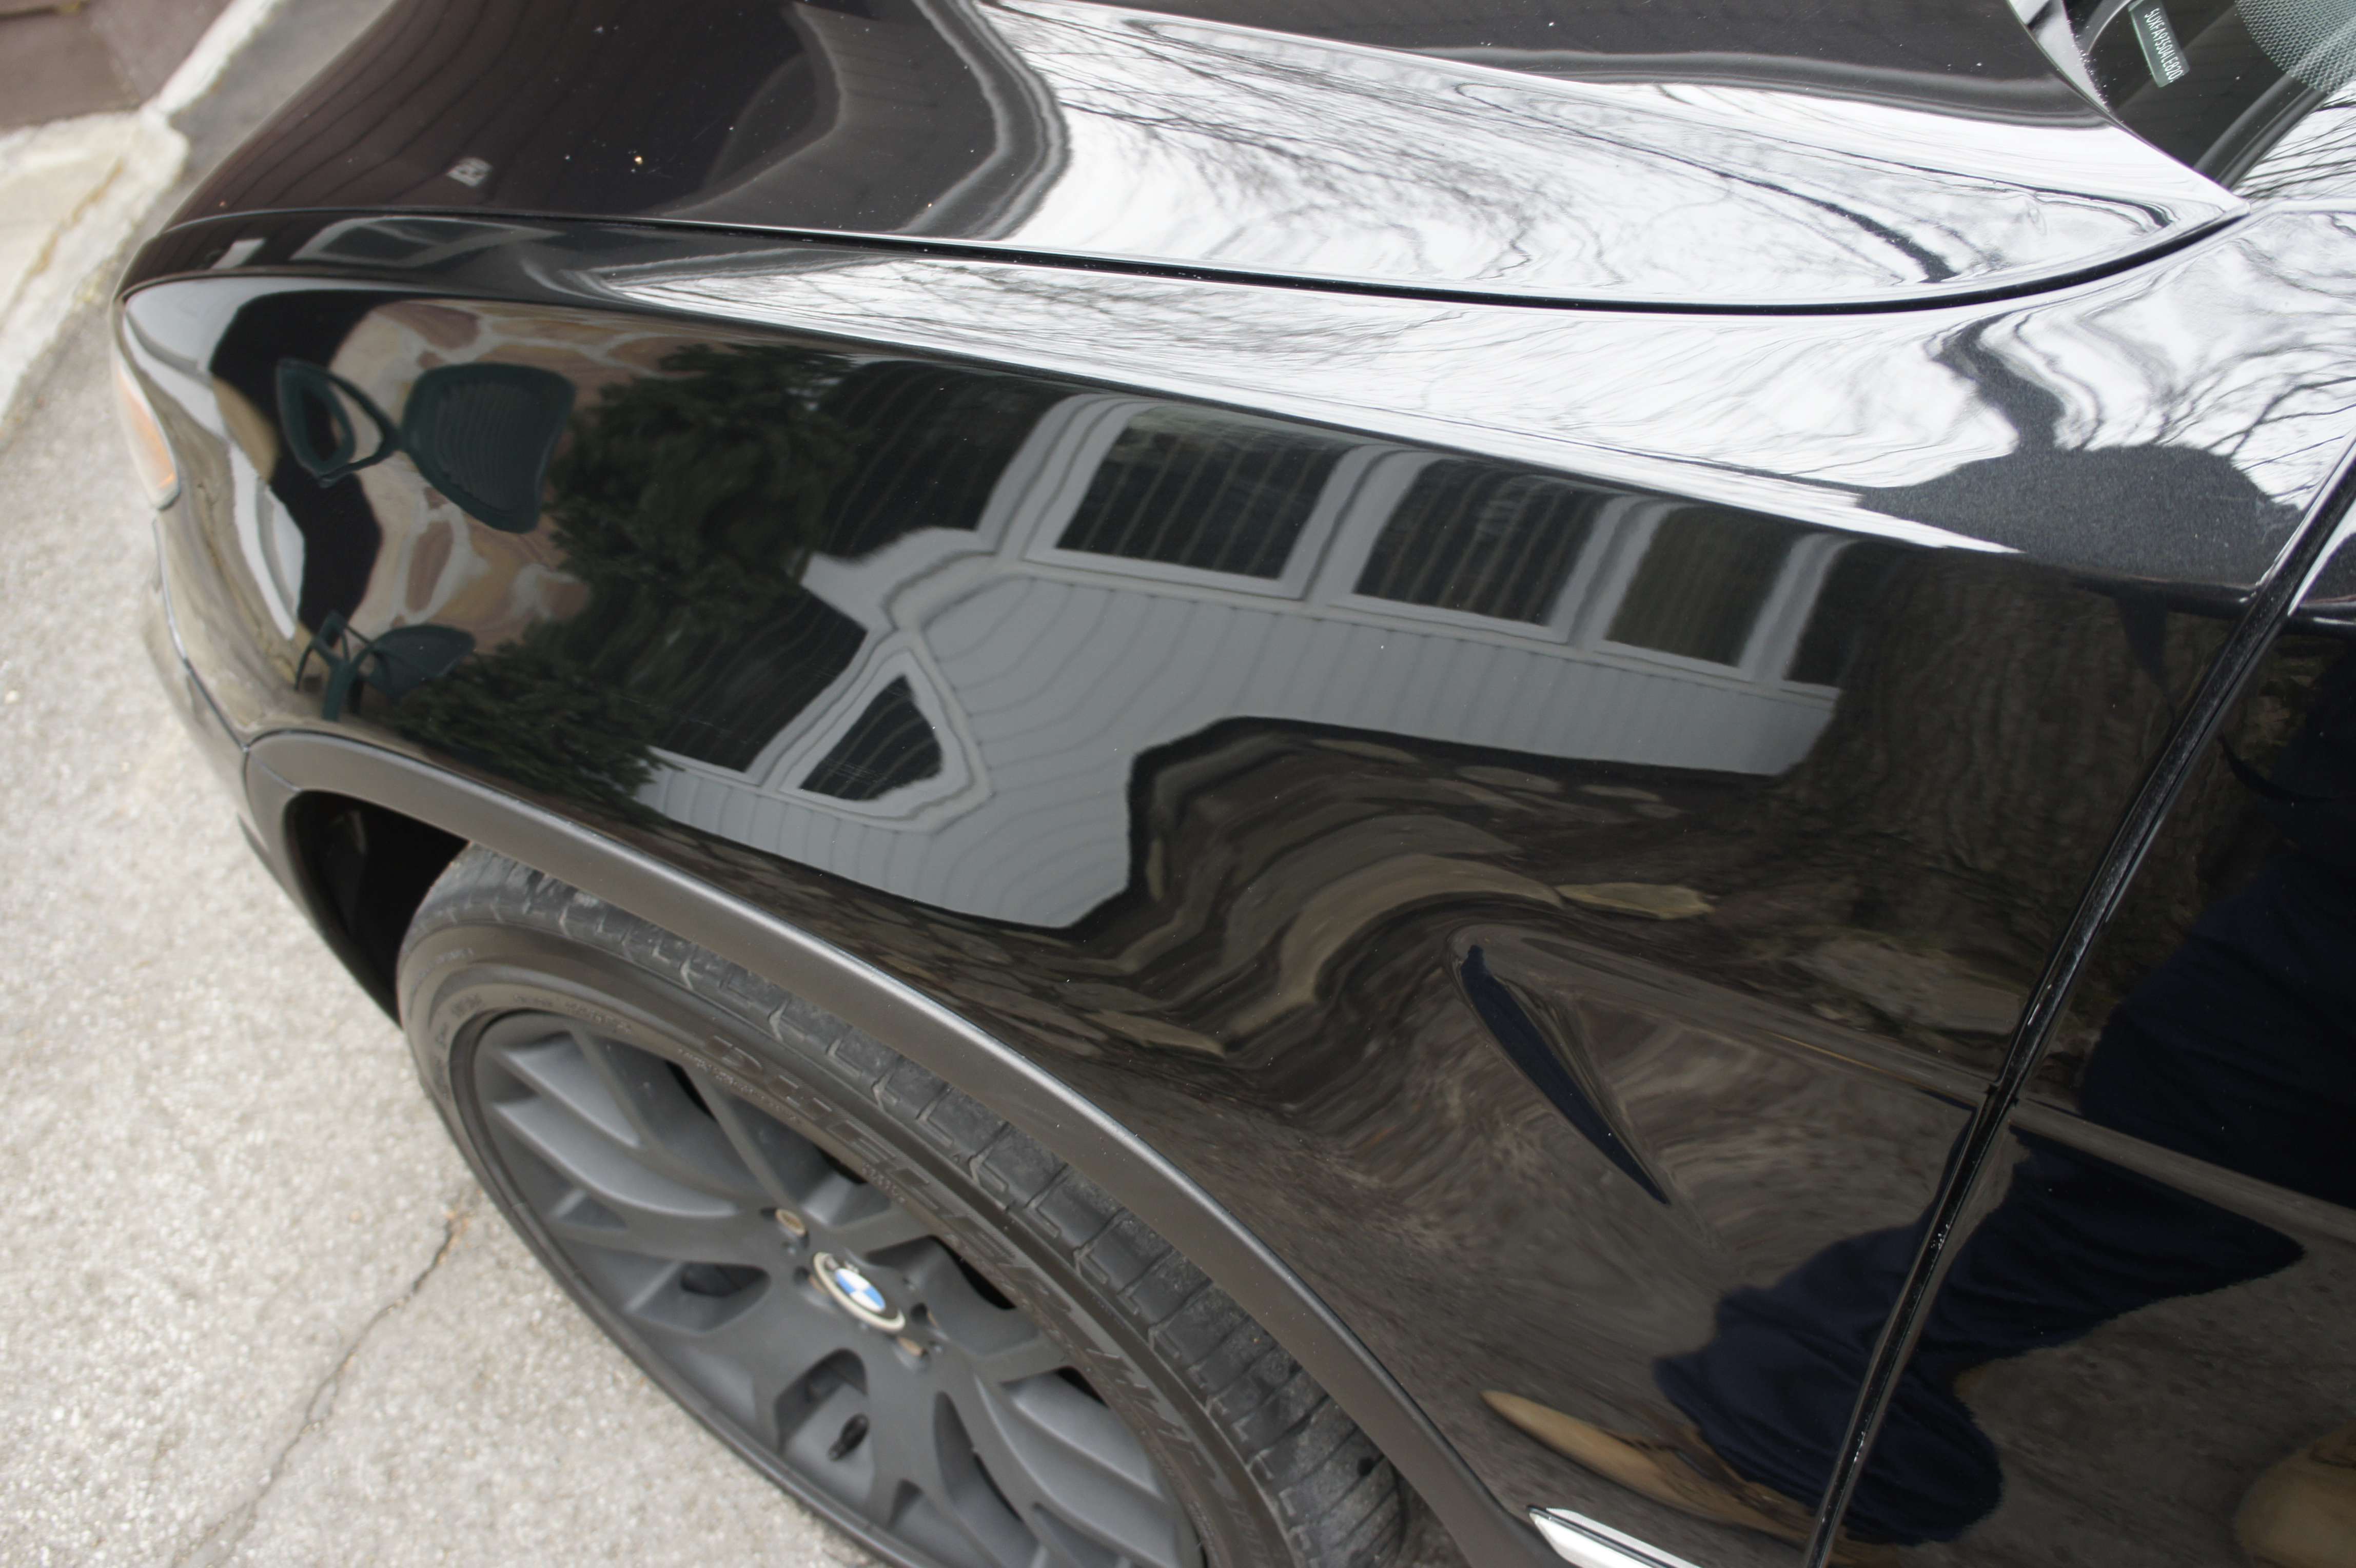
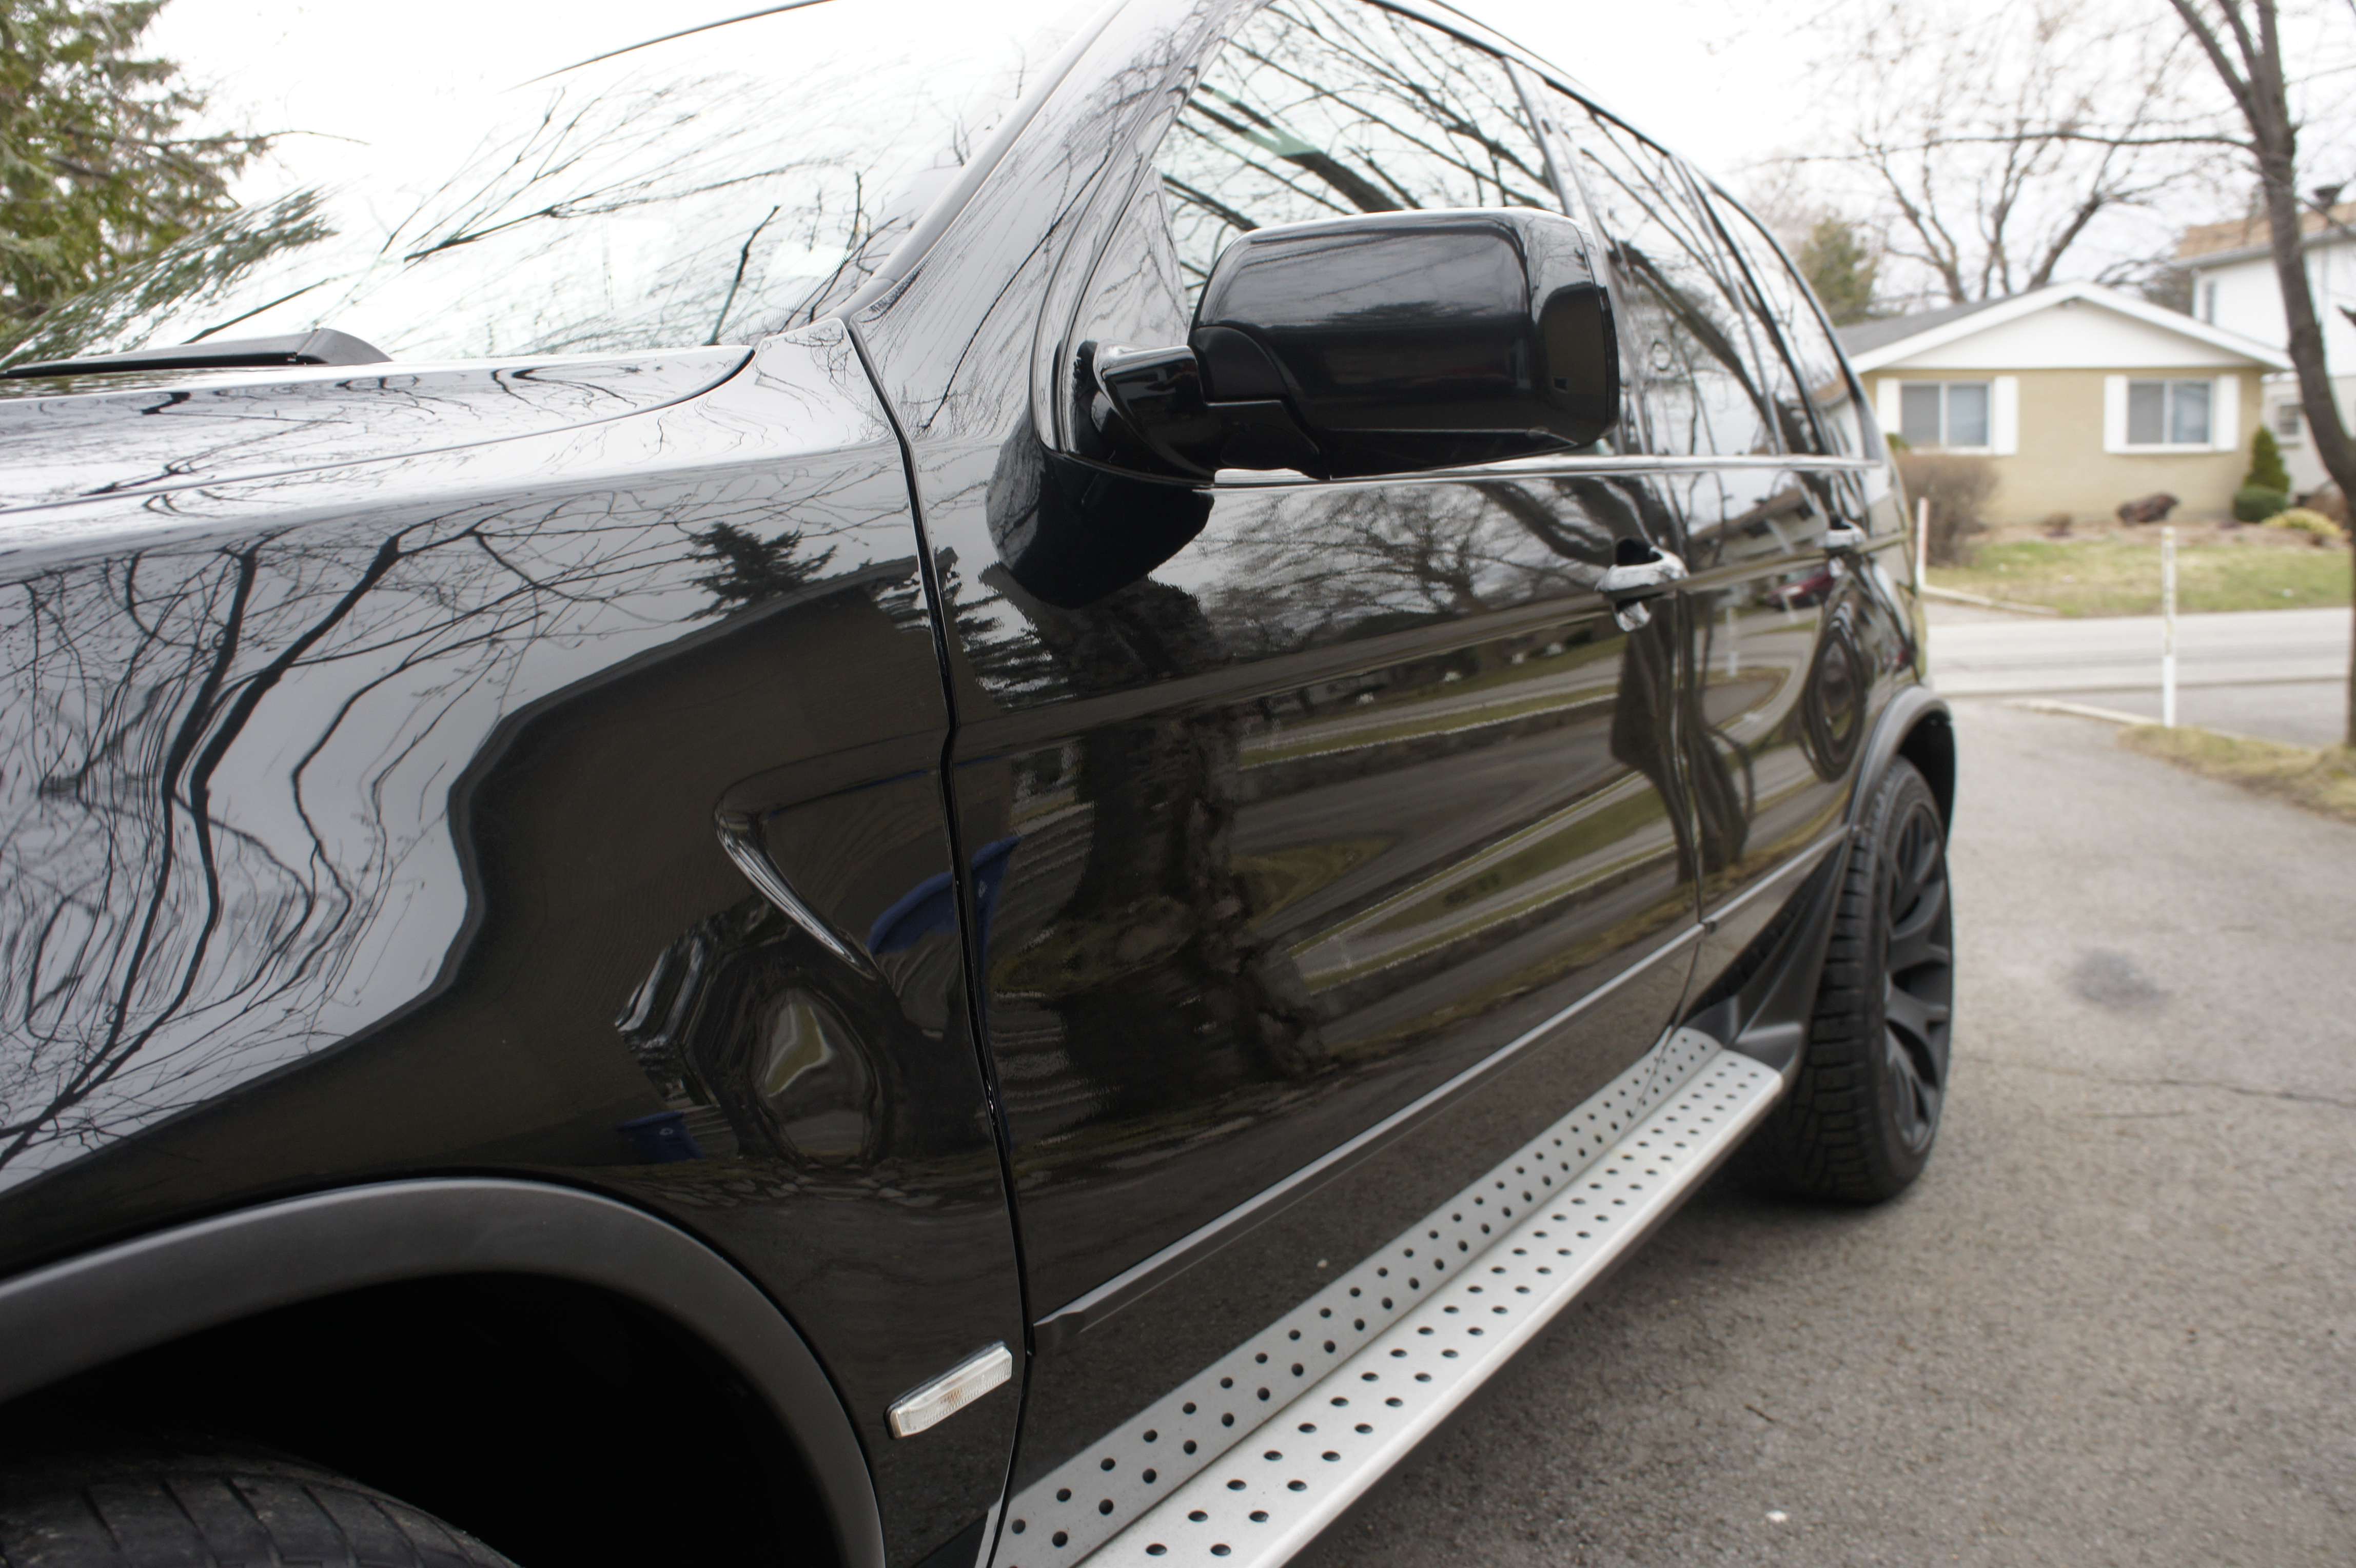
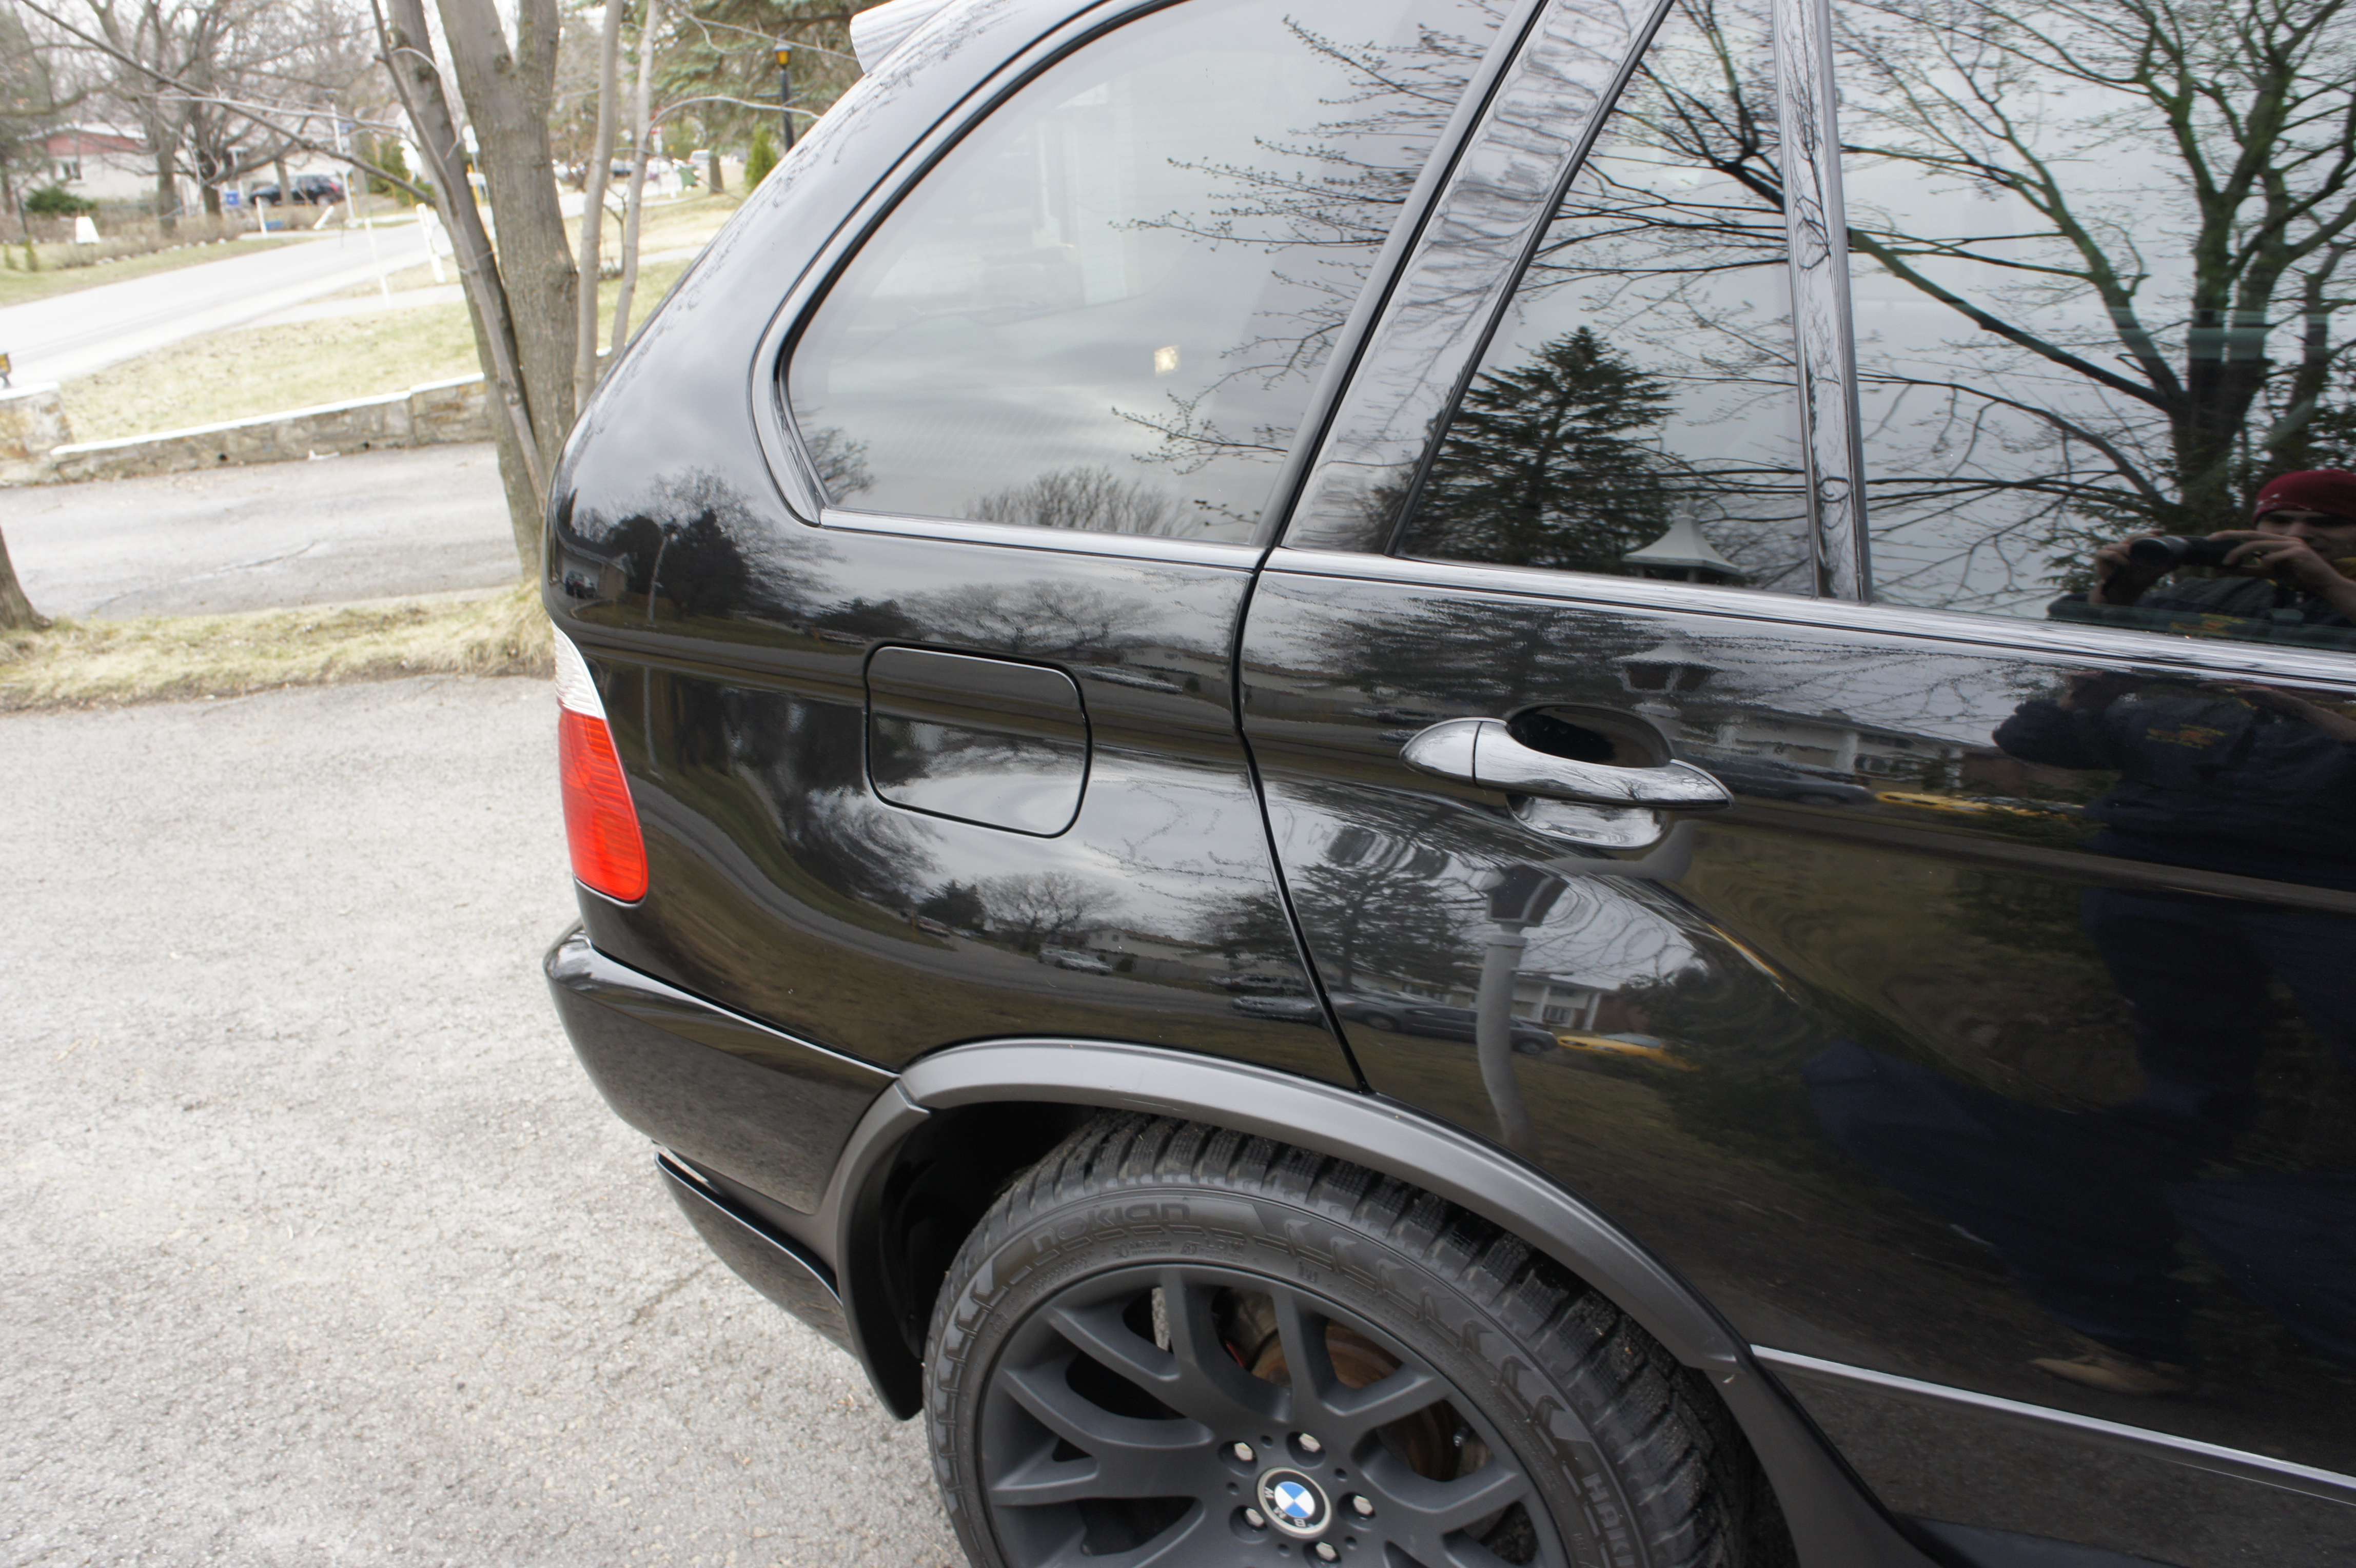
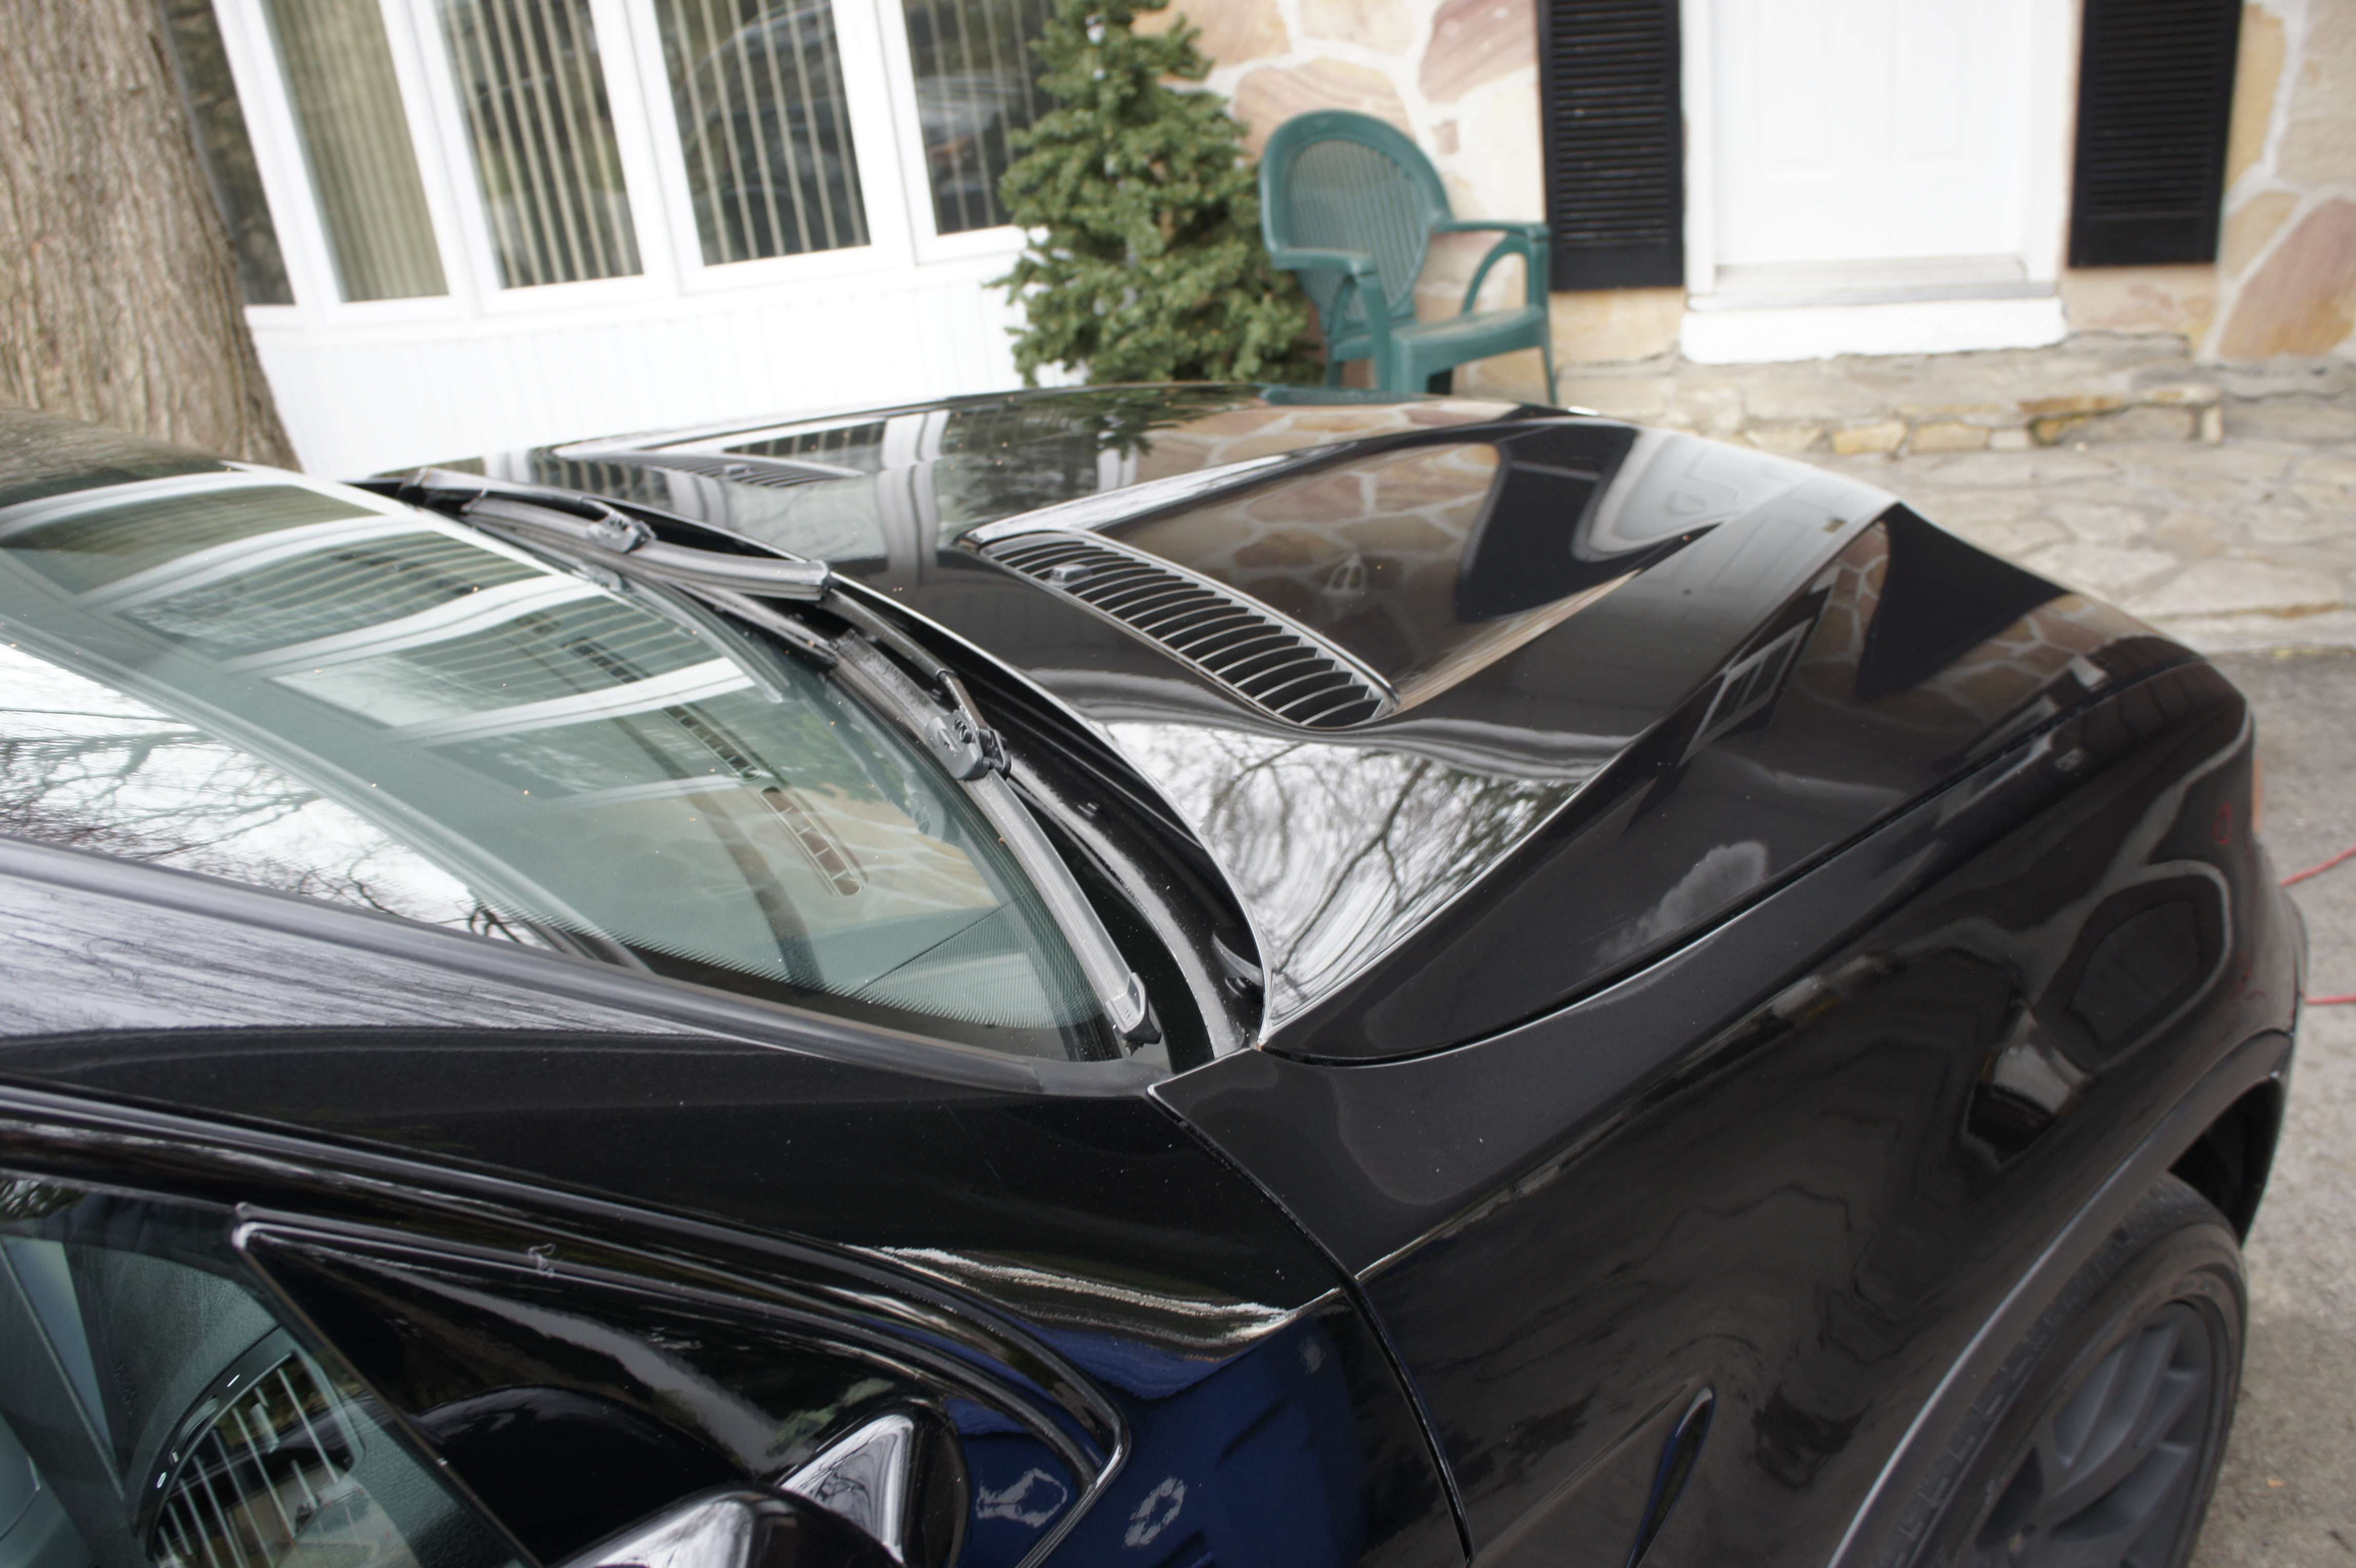
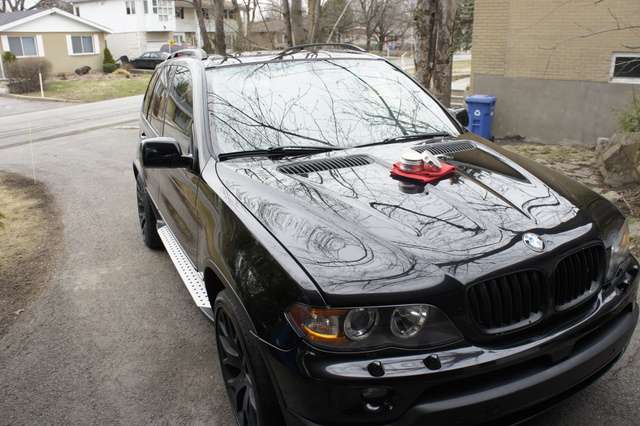
Le résultat final:


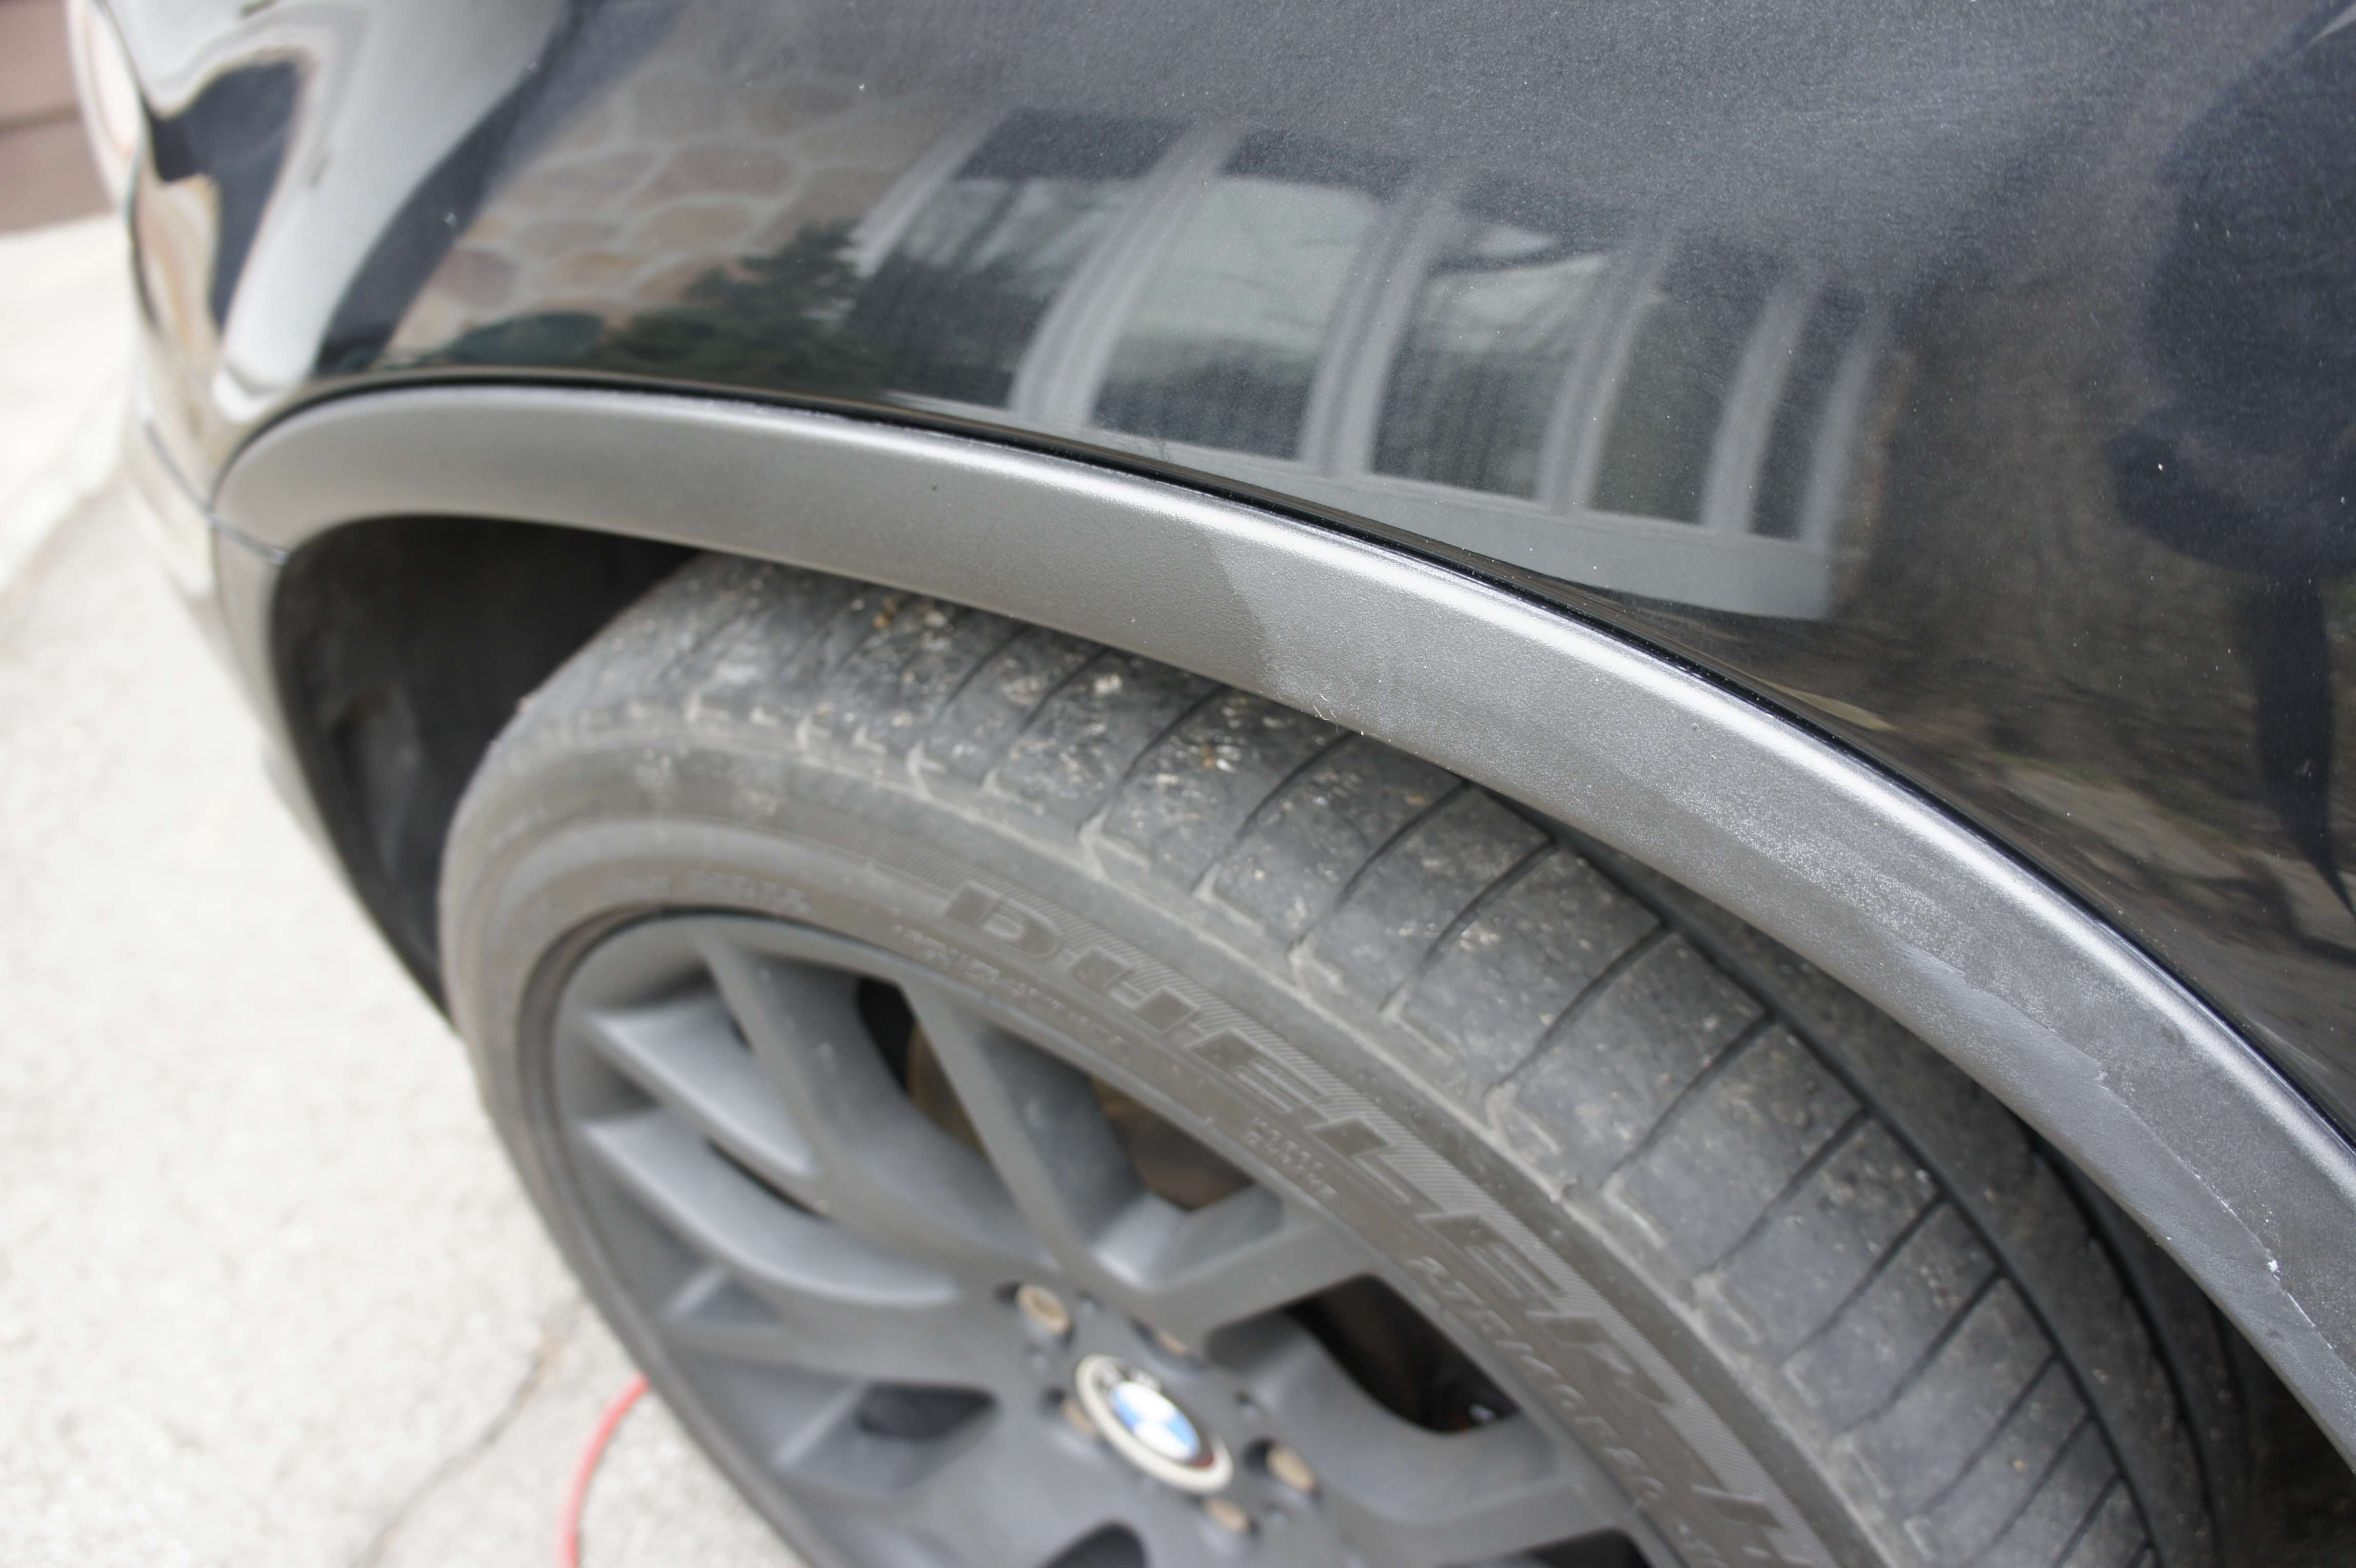
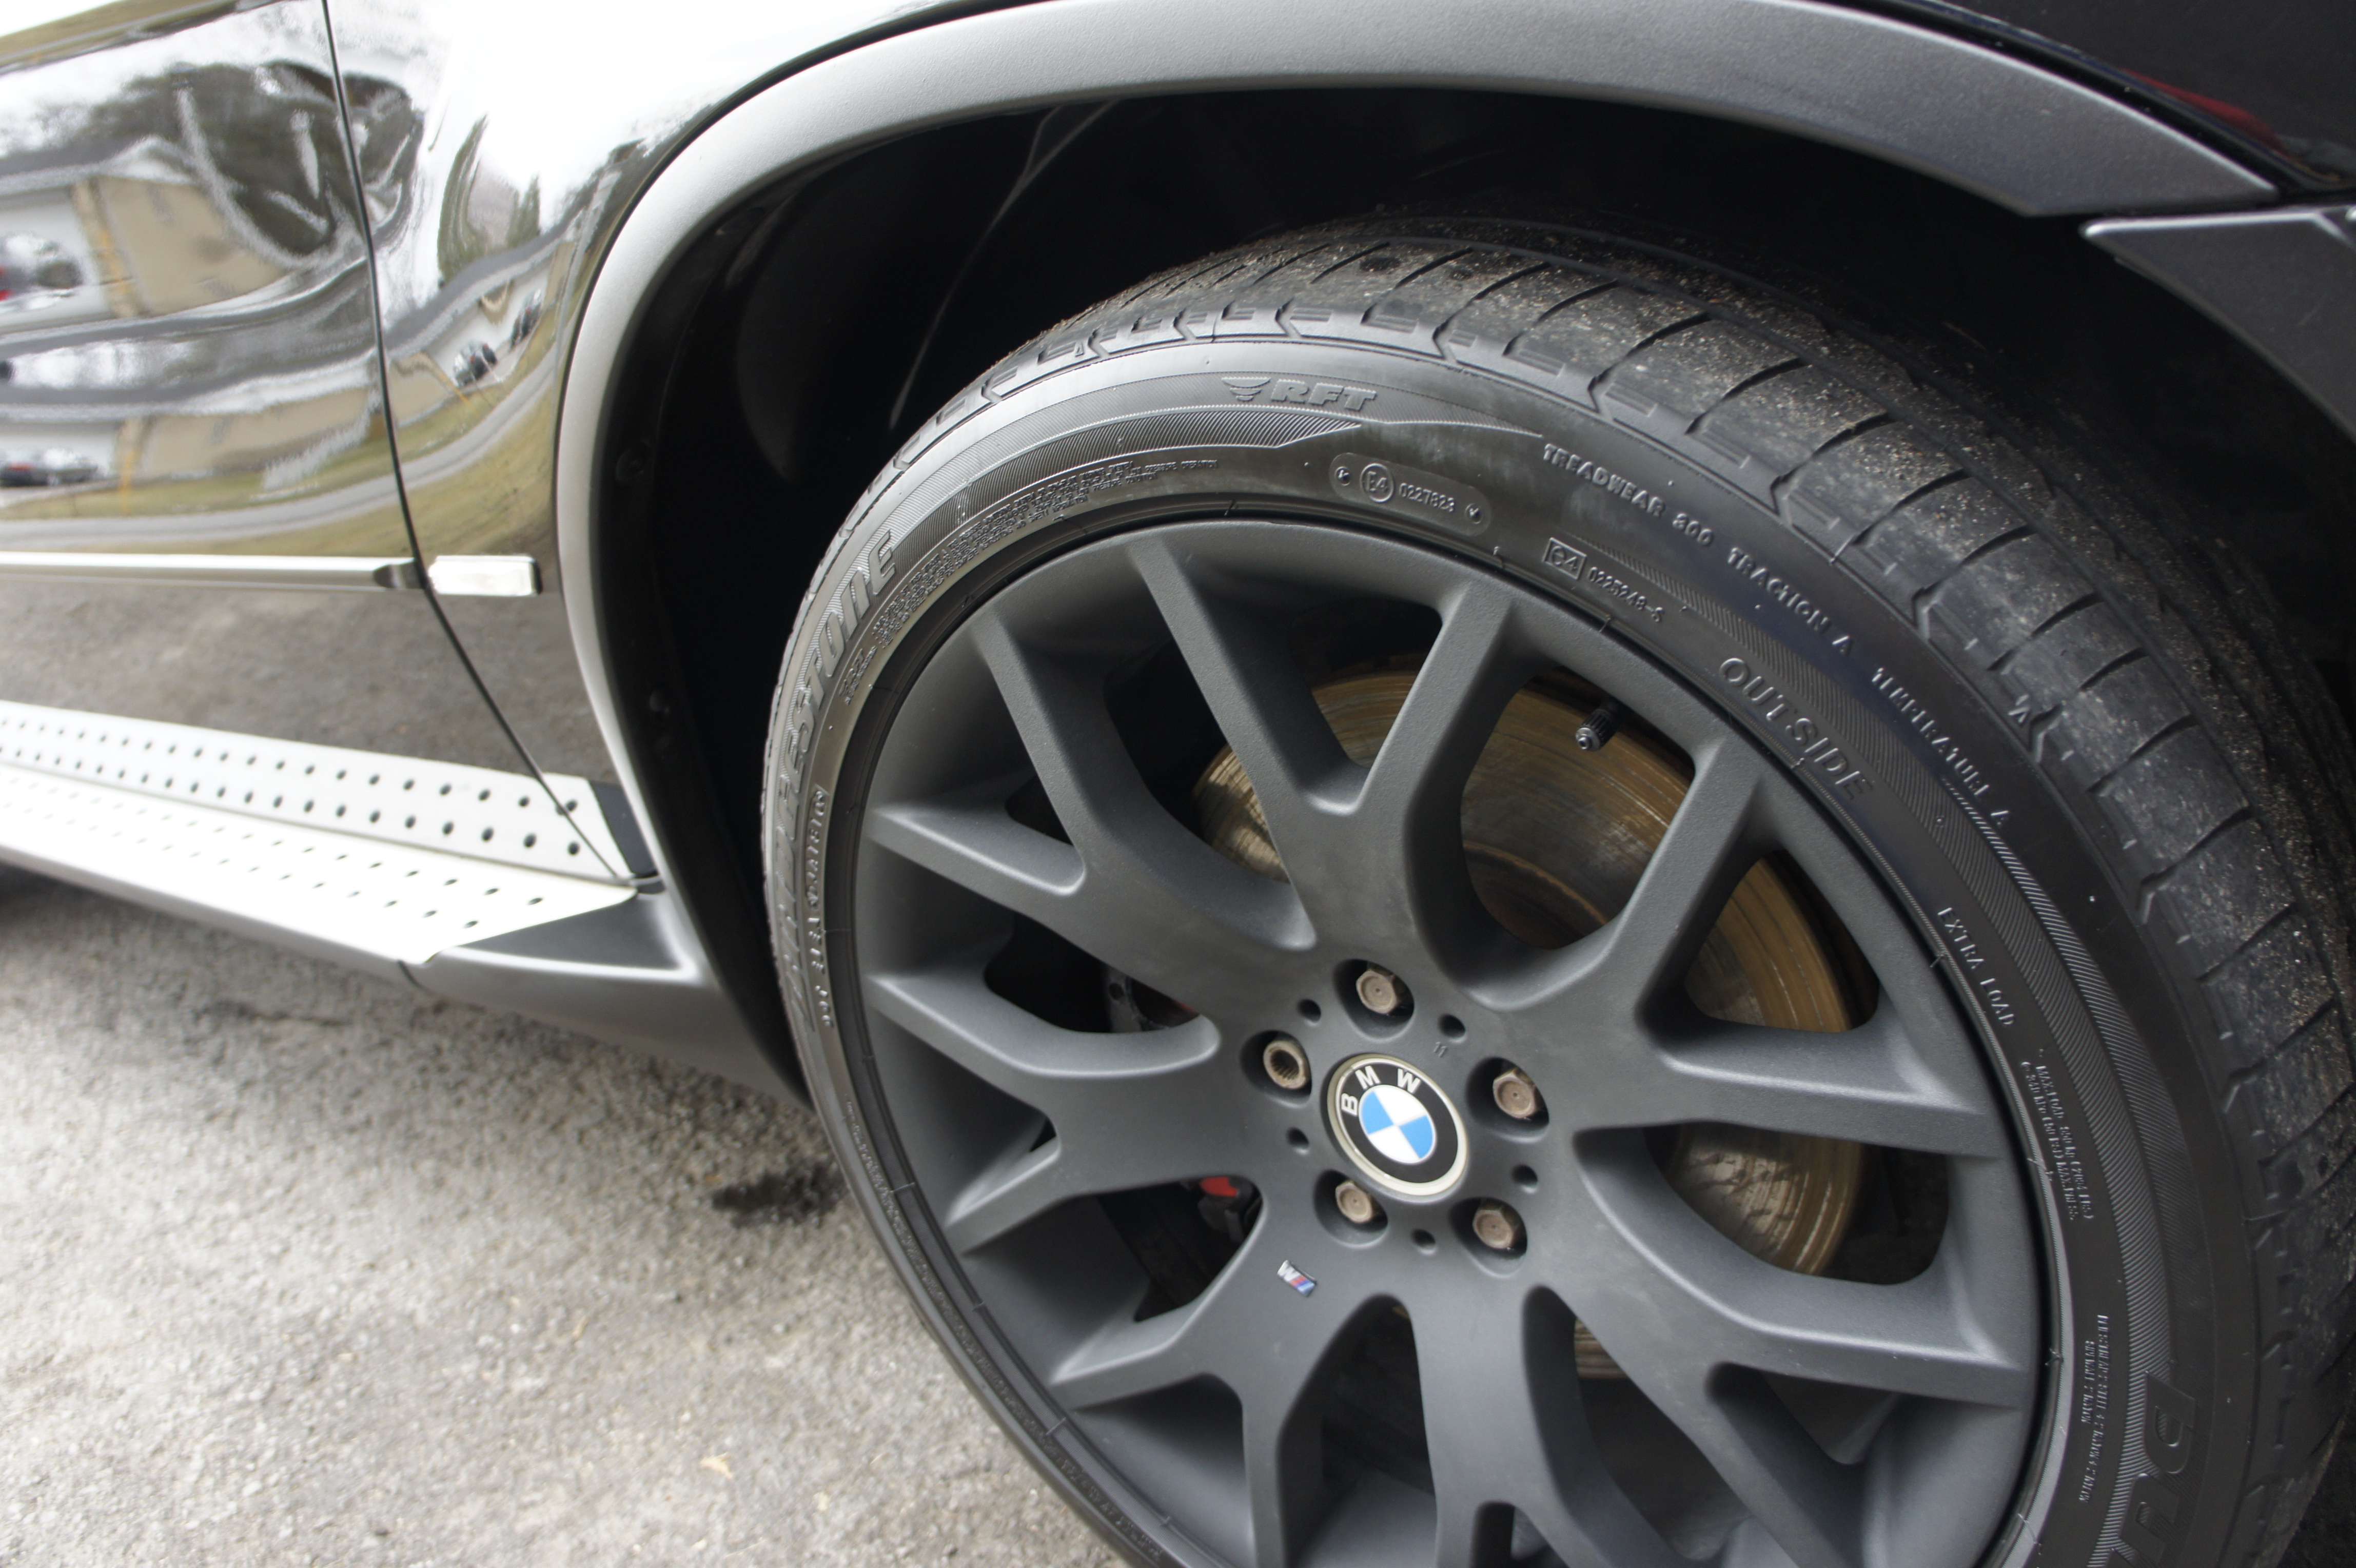
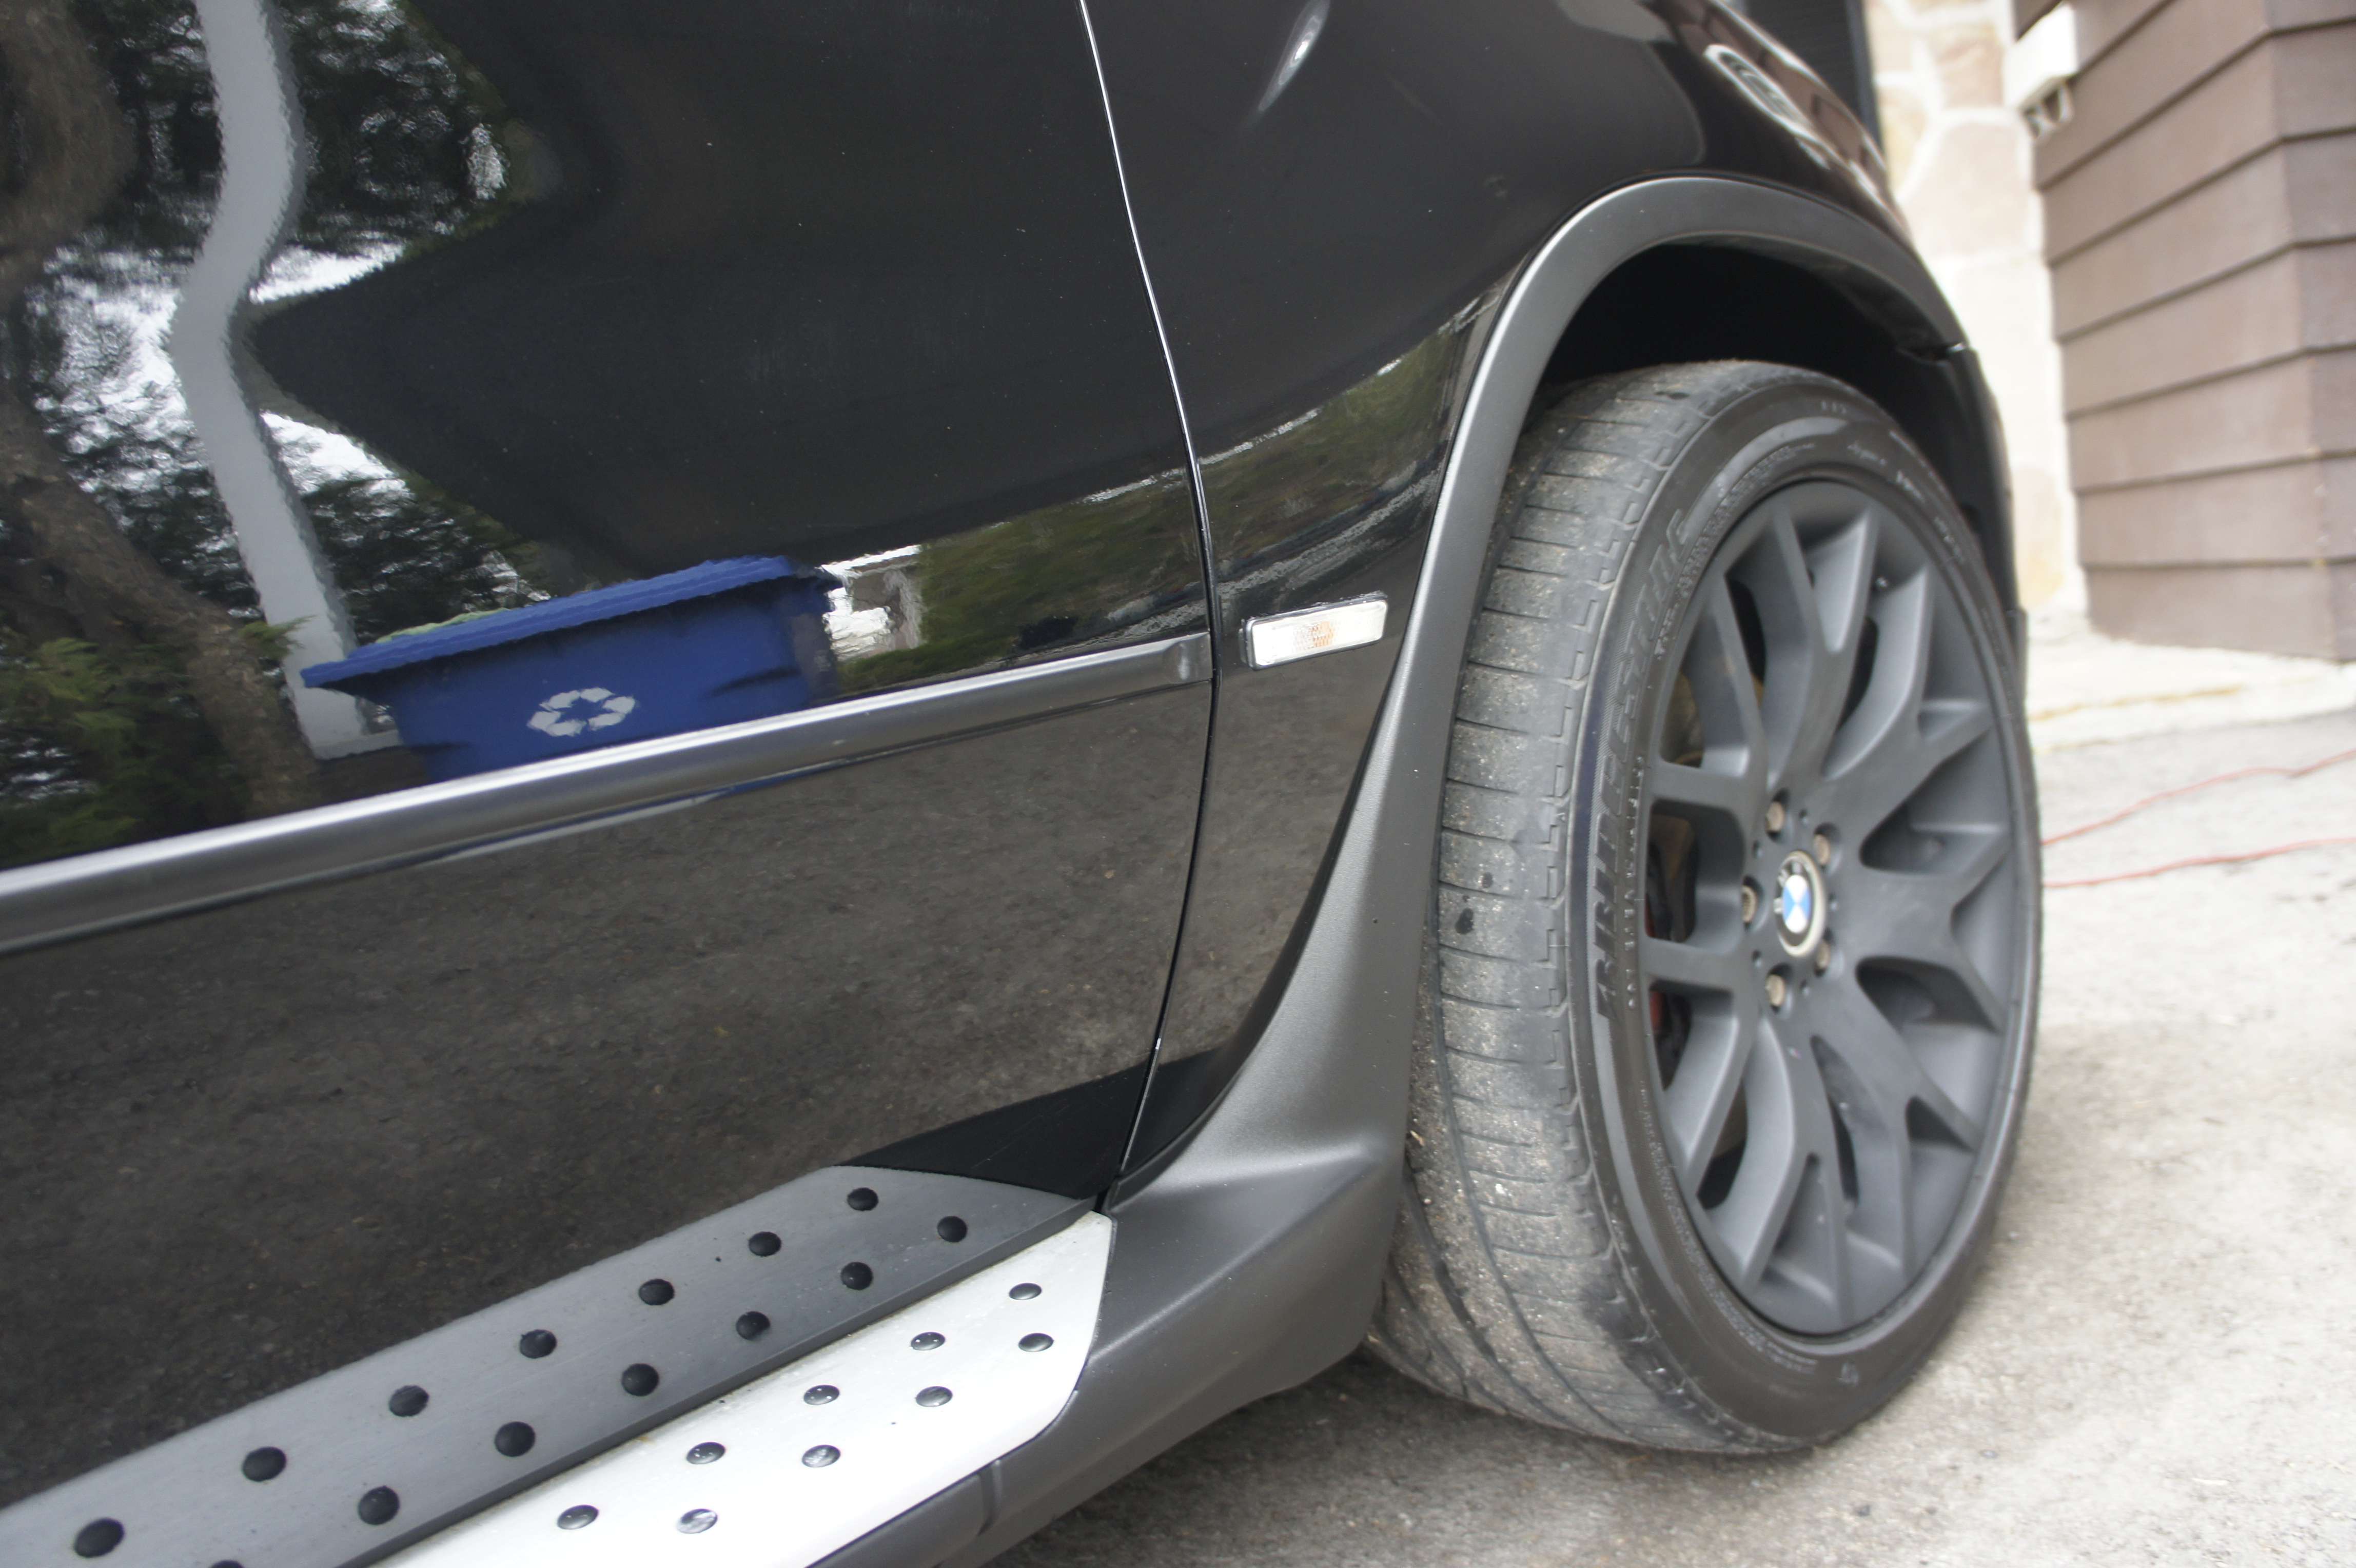
Wheel well detailed :
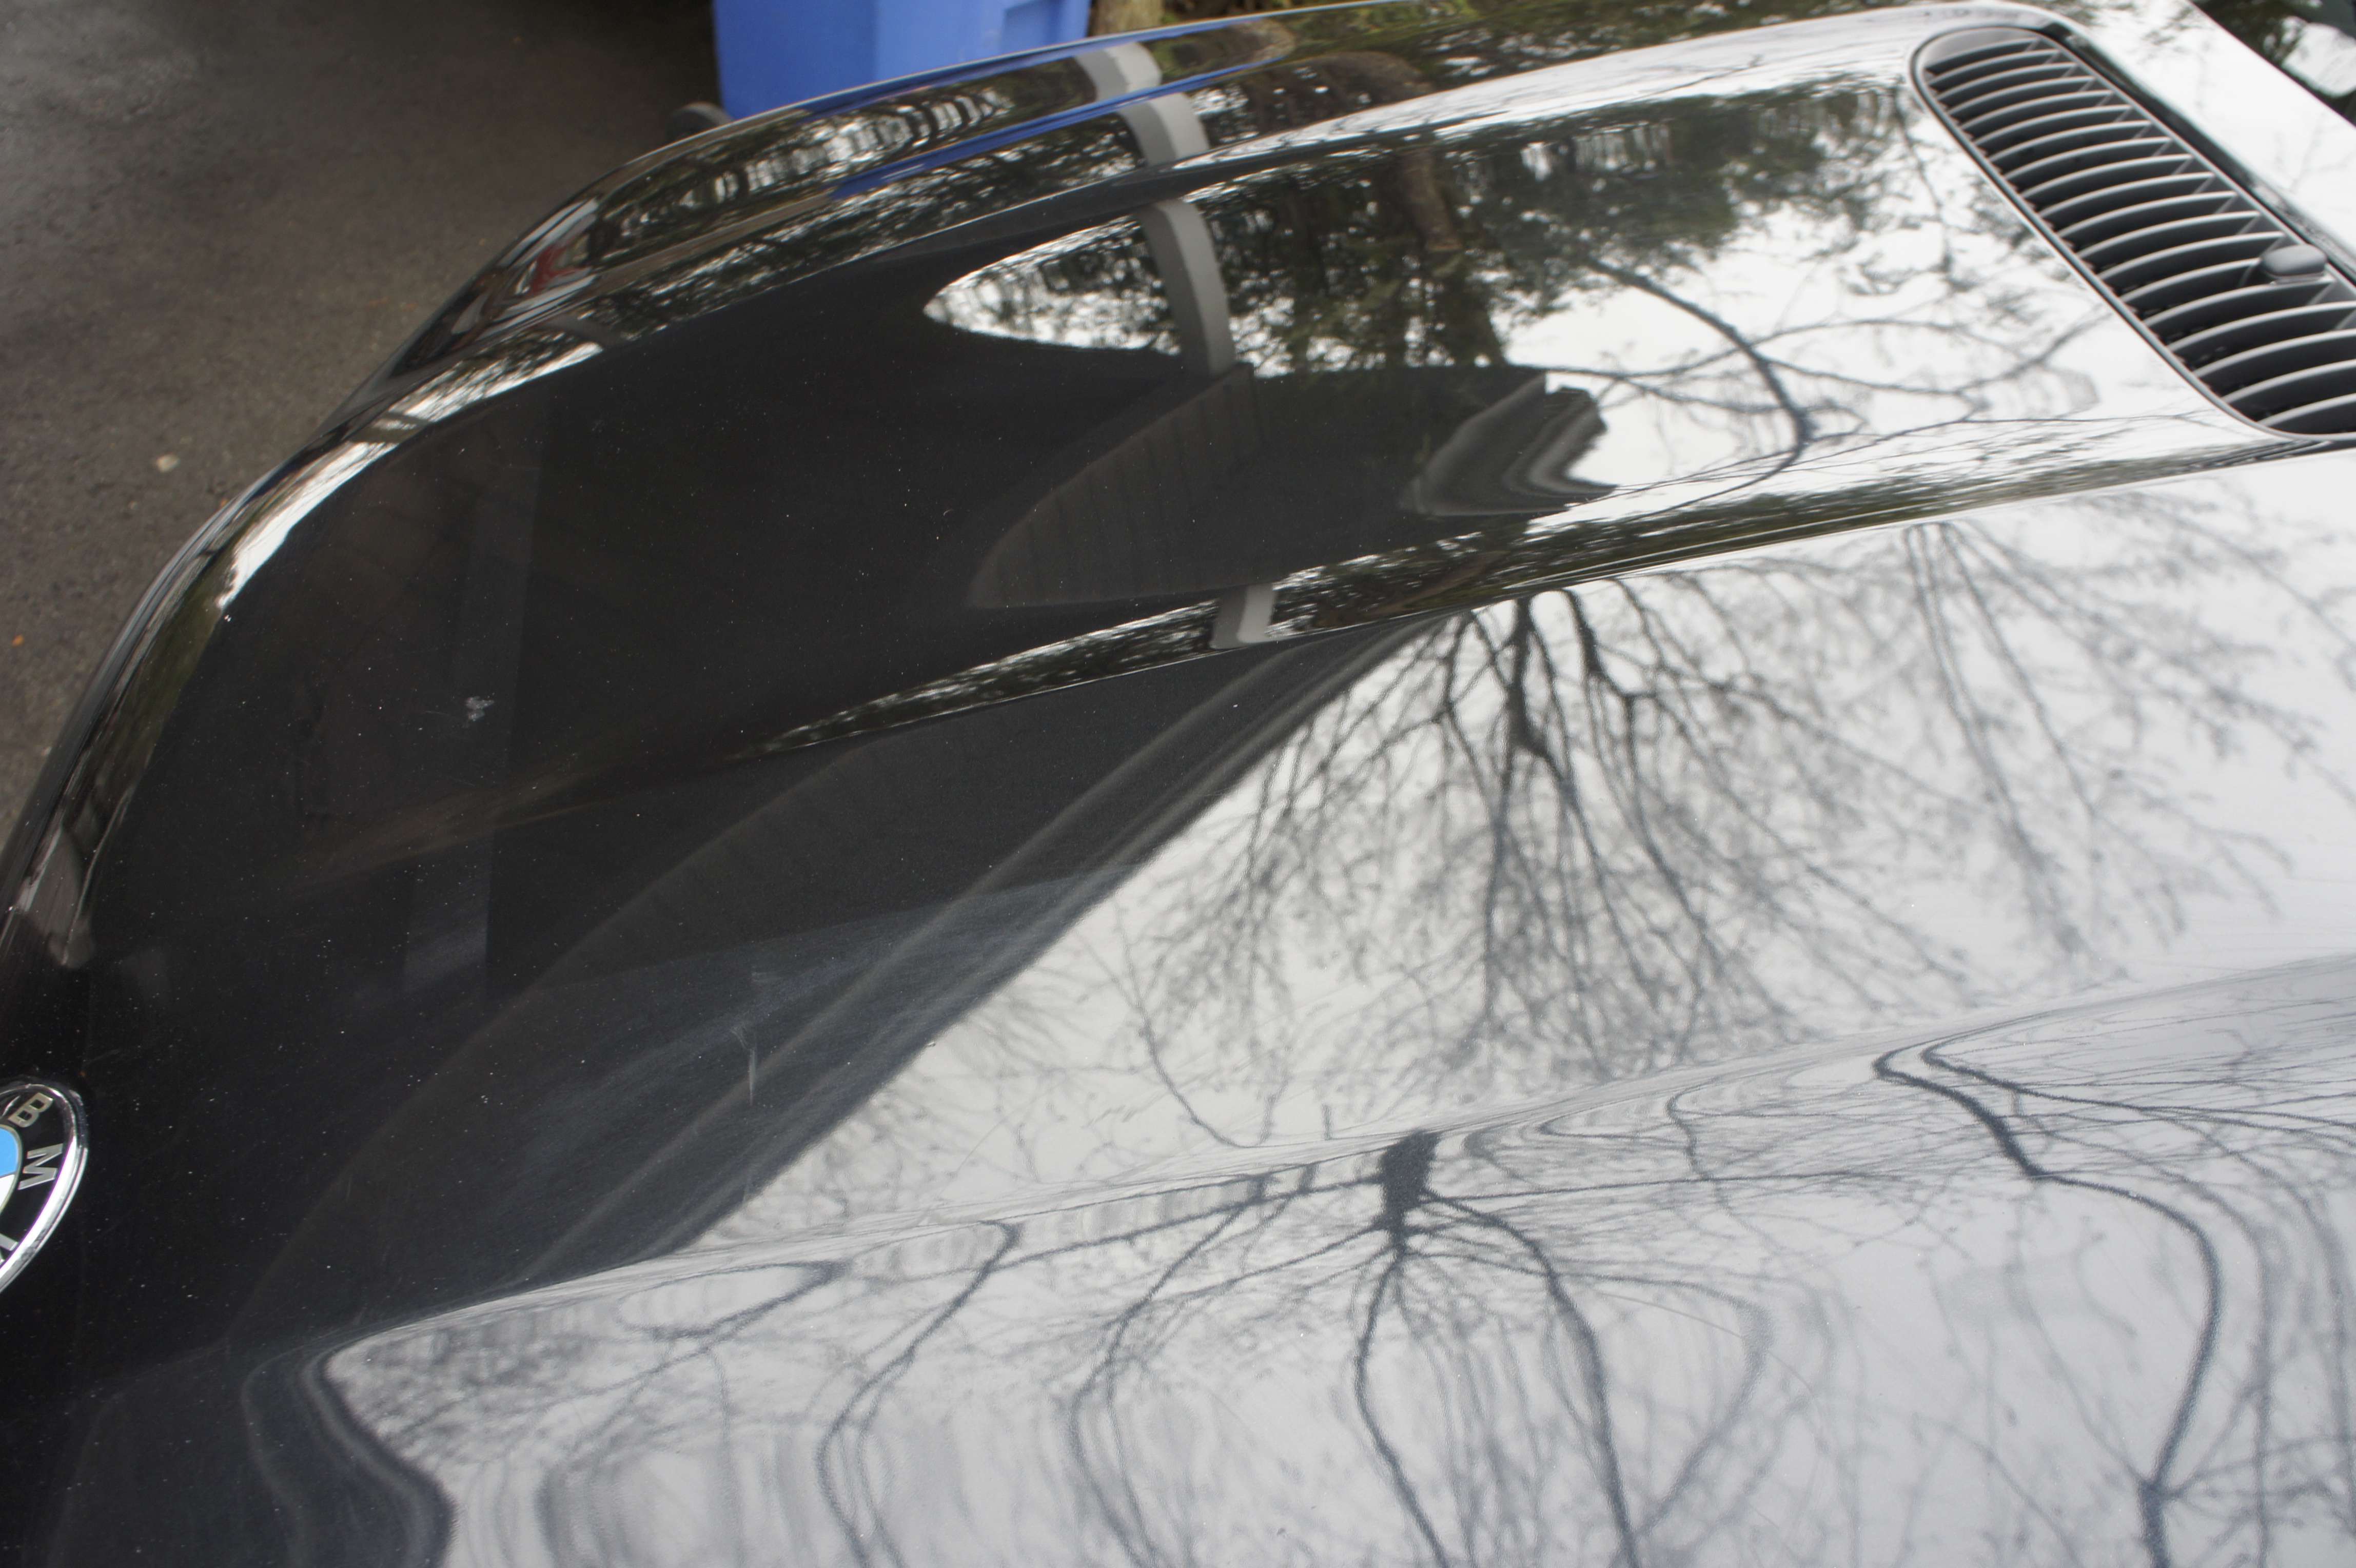
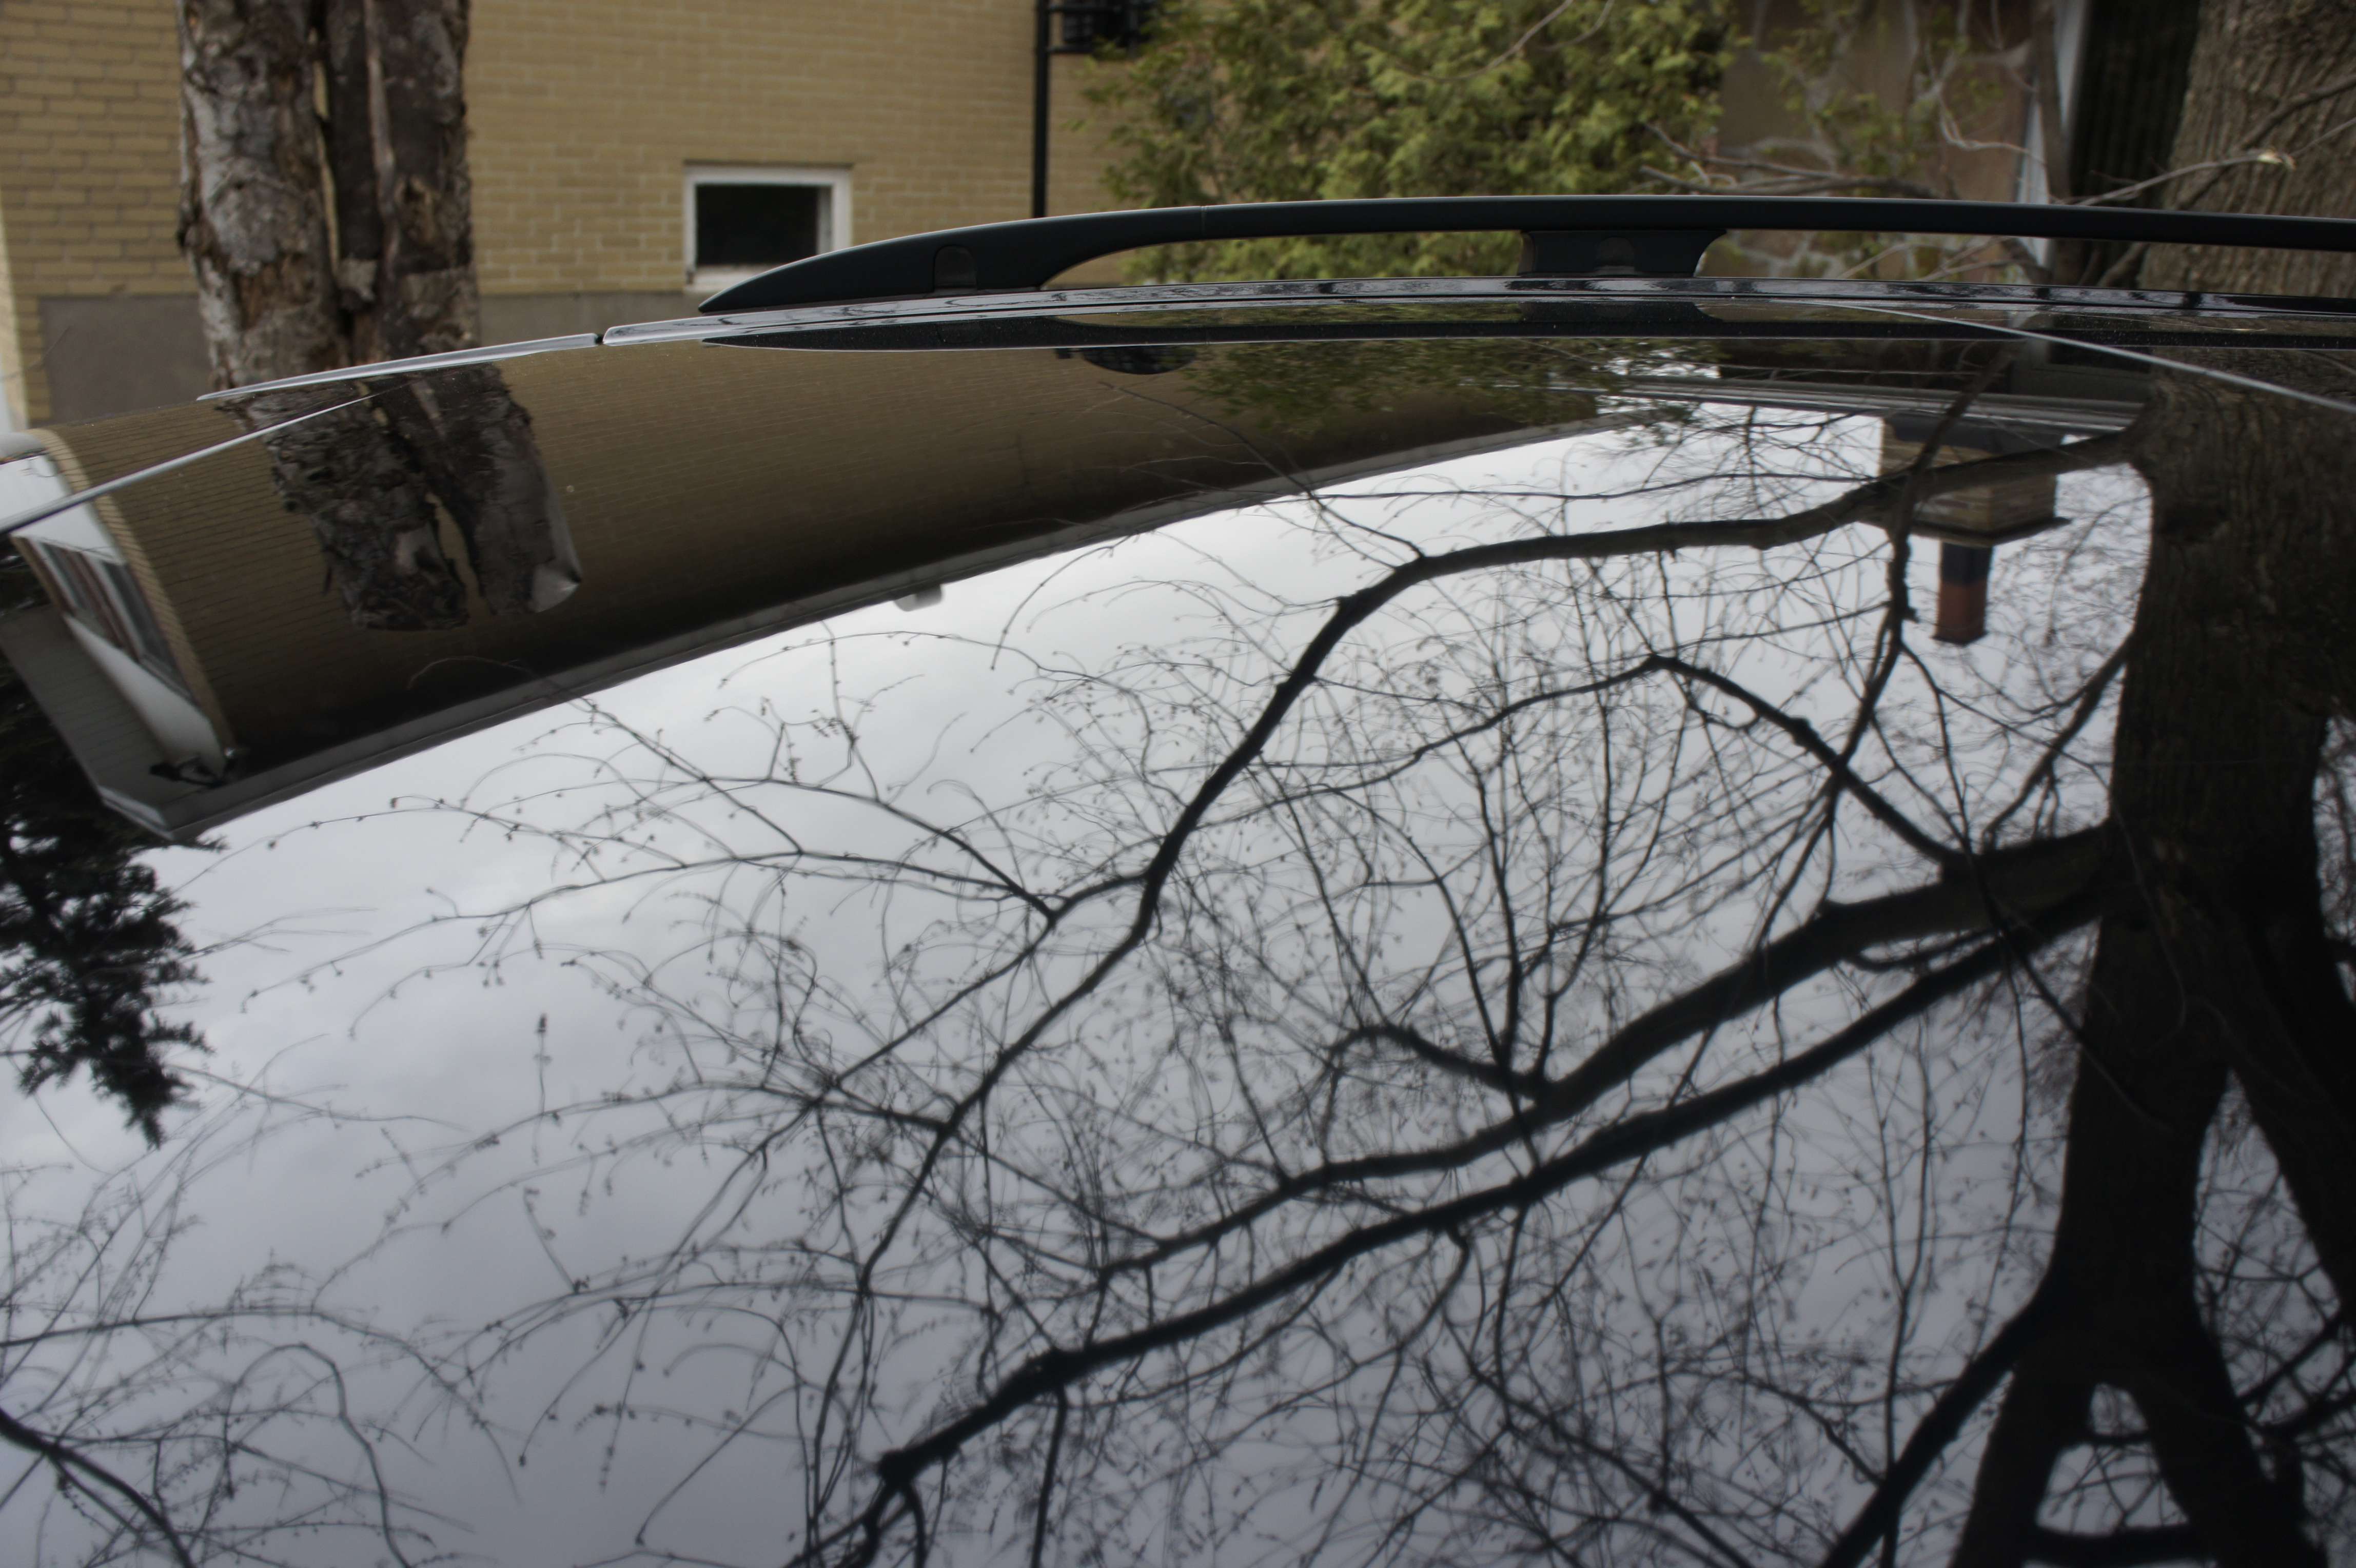
There’s no reason not to polish the top even tho the truck is like 7 feet tall!
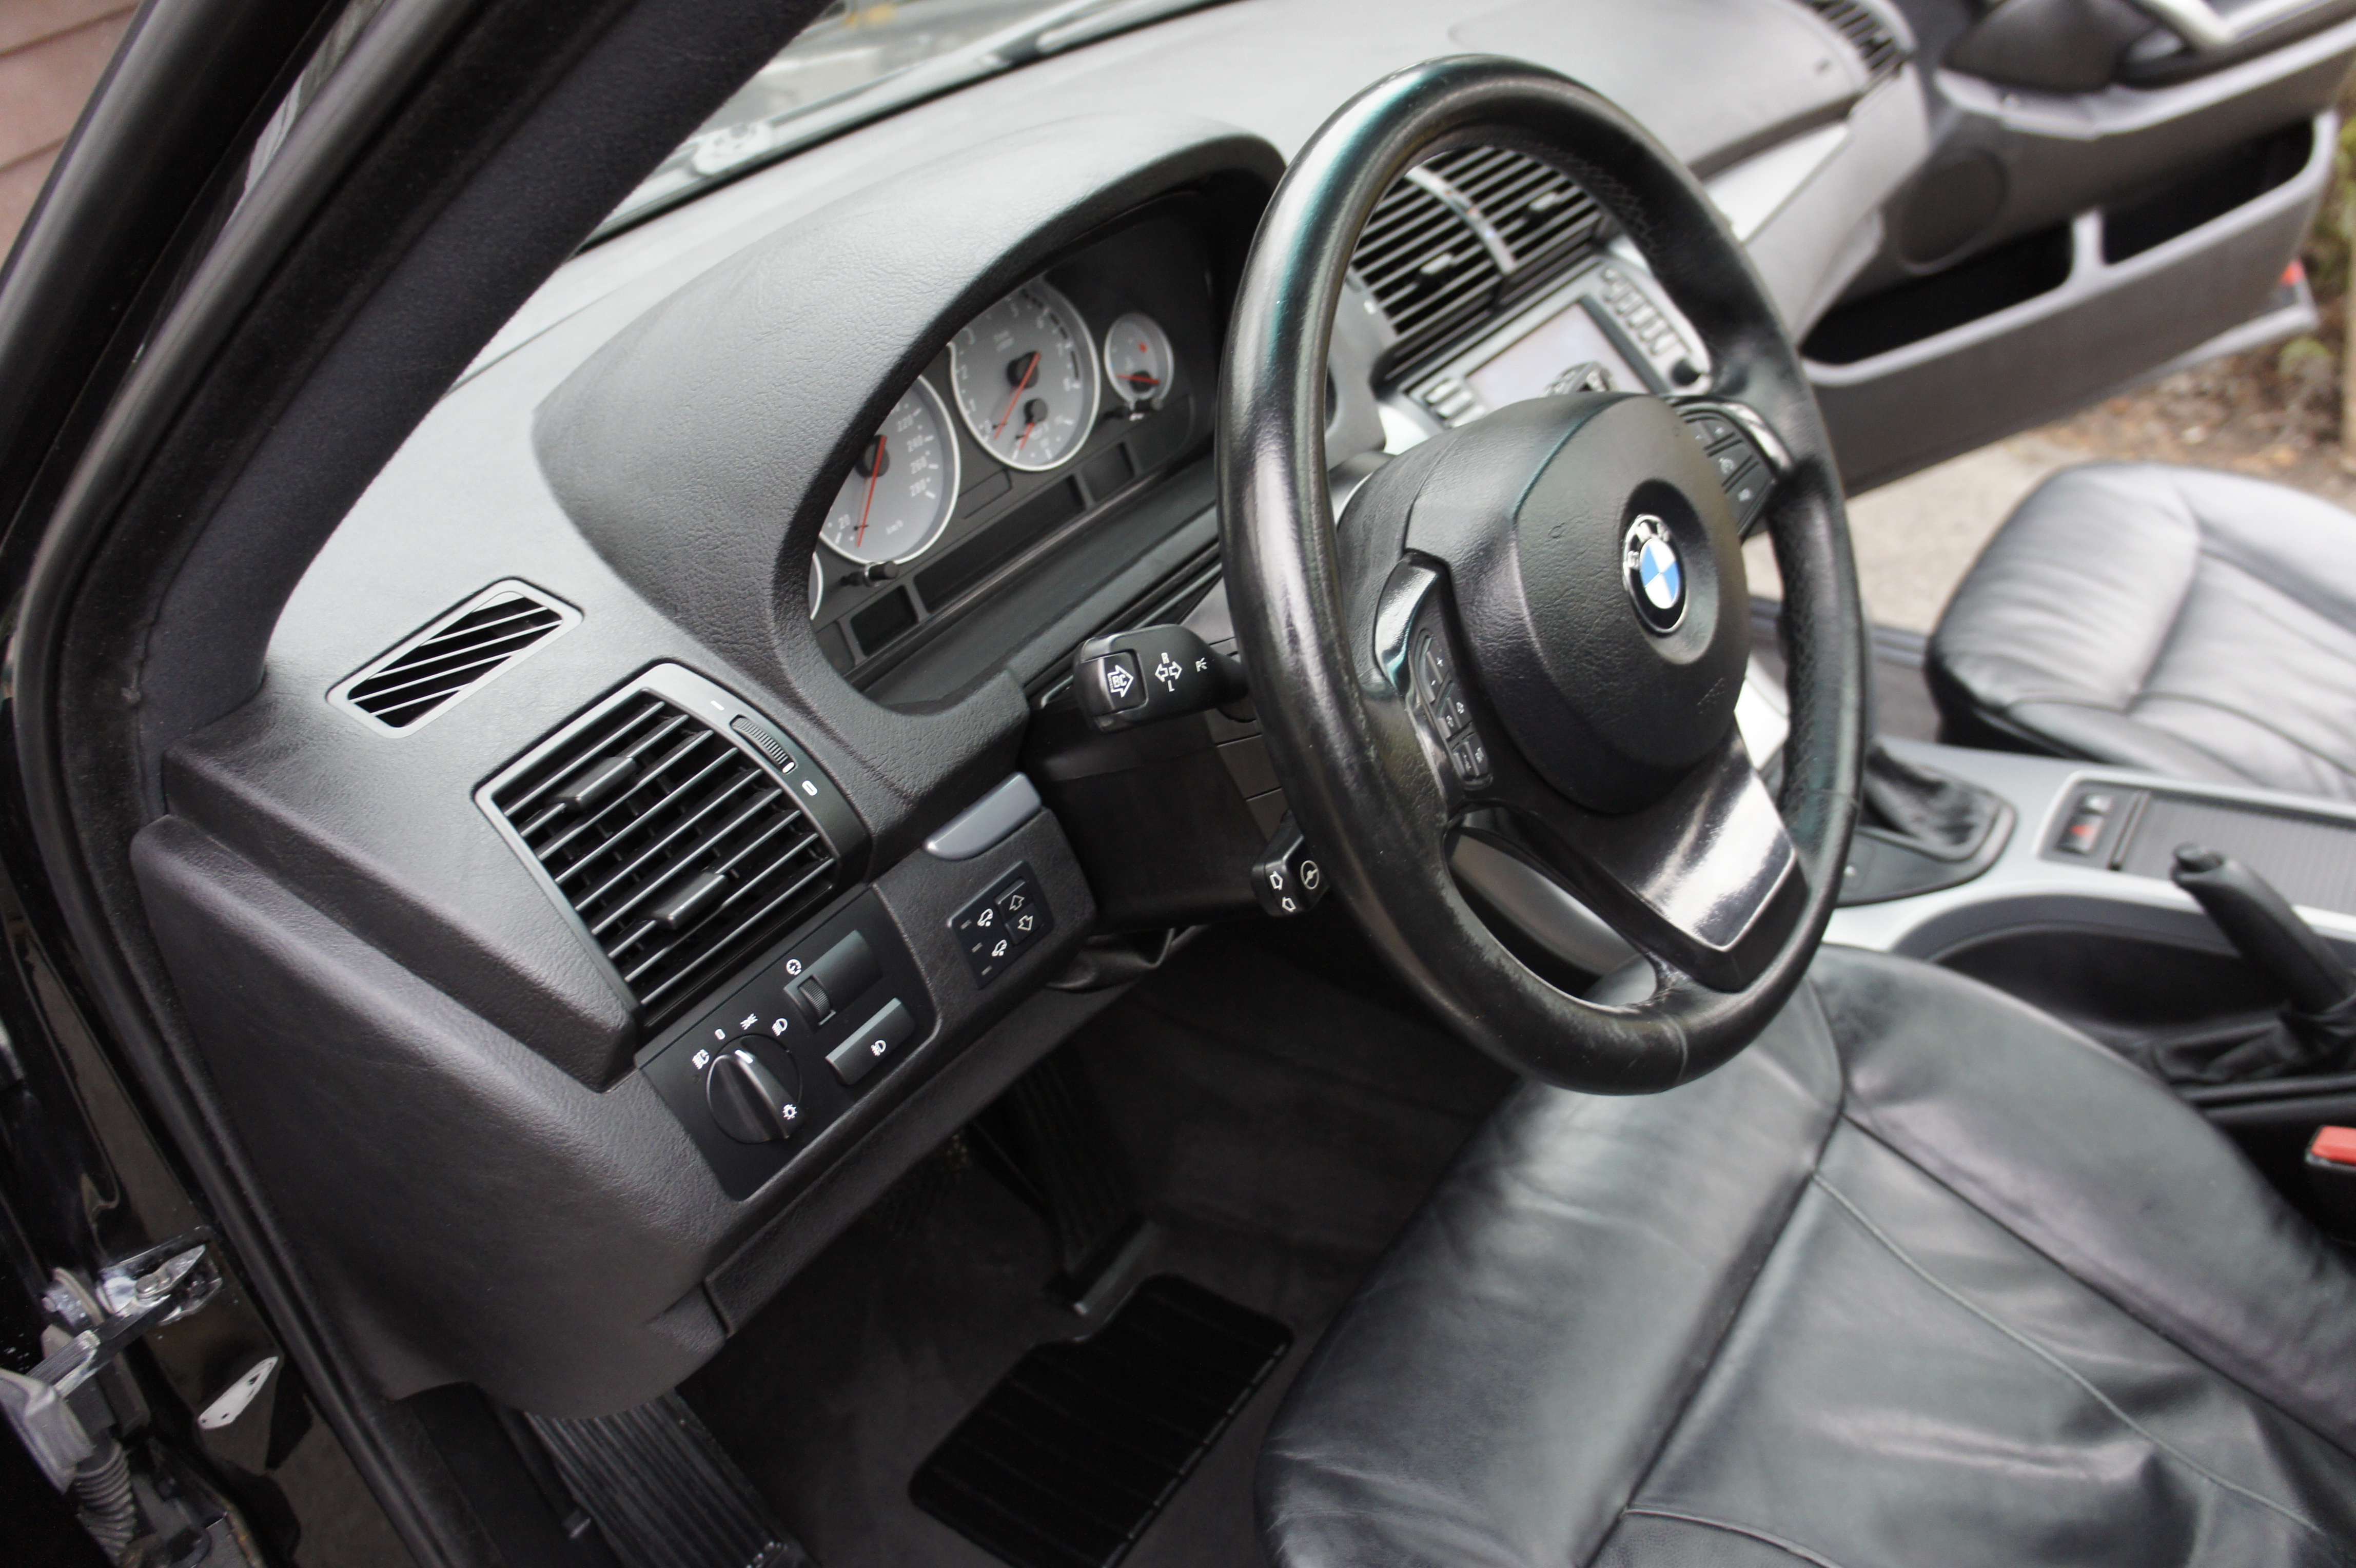
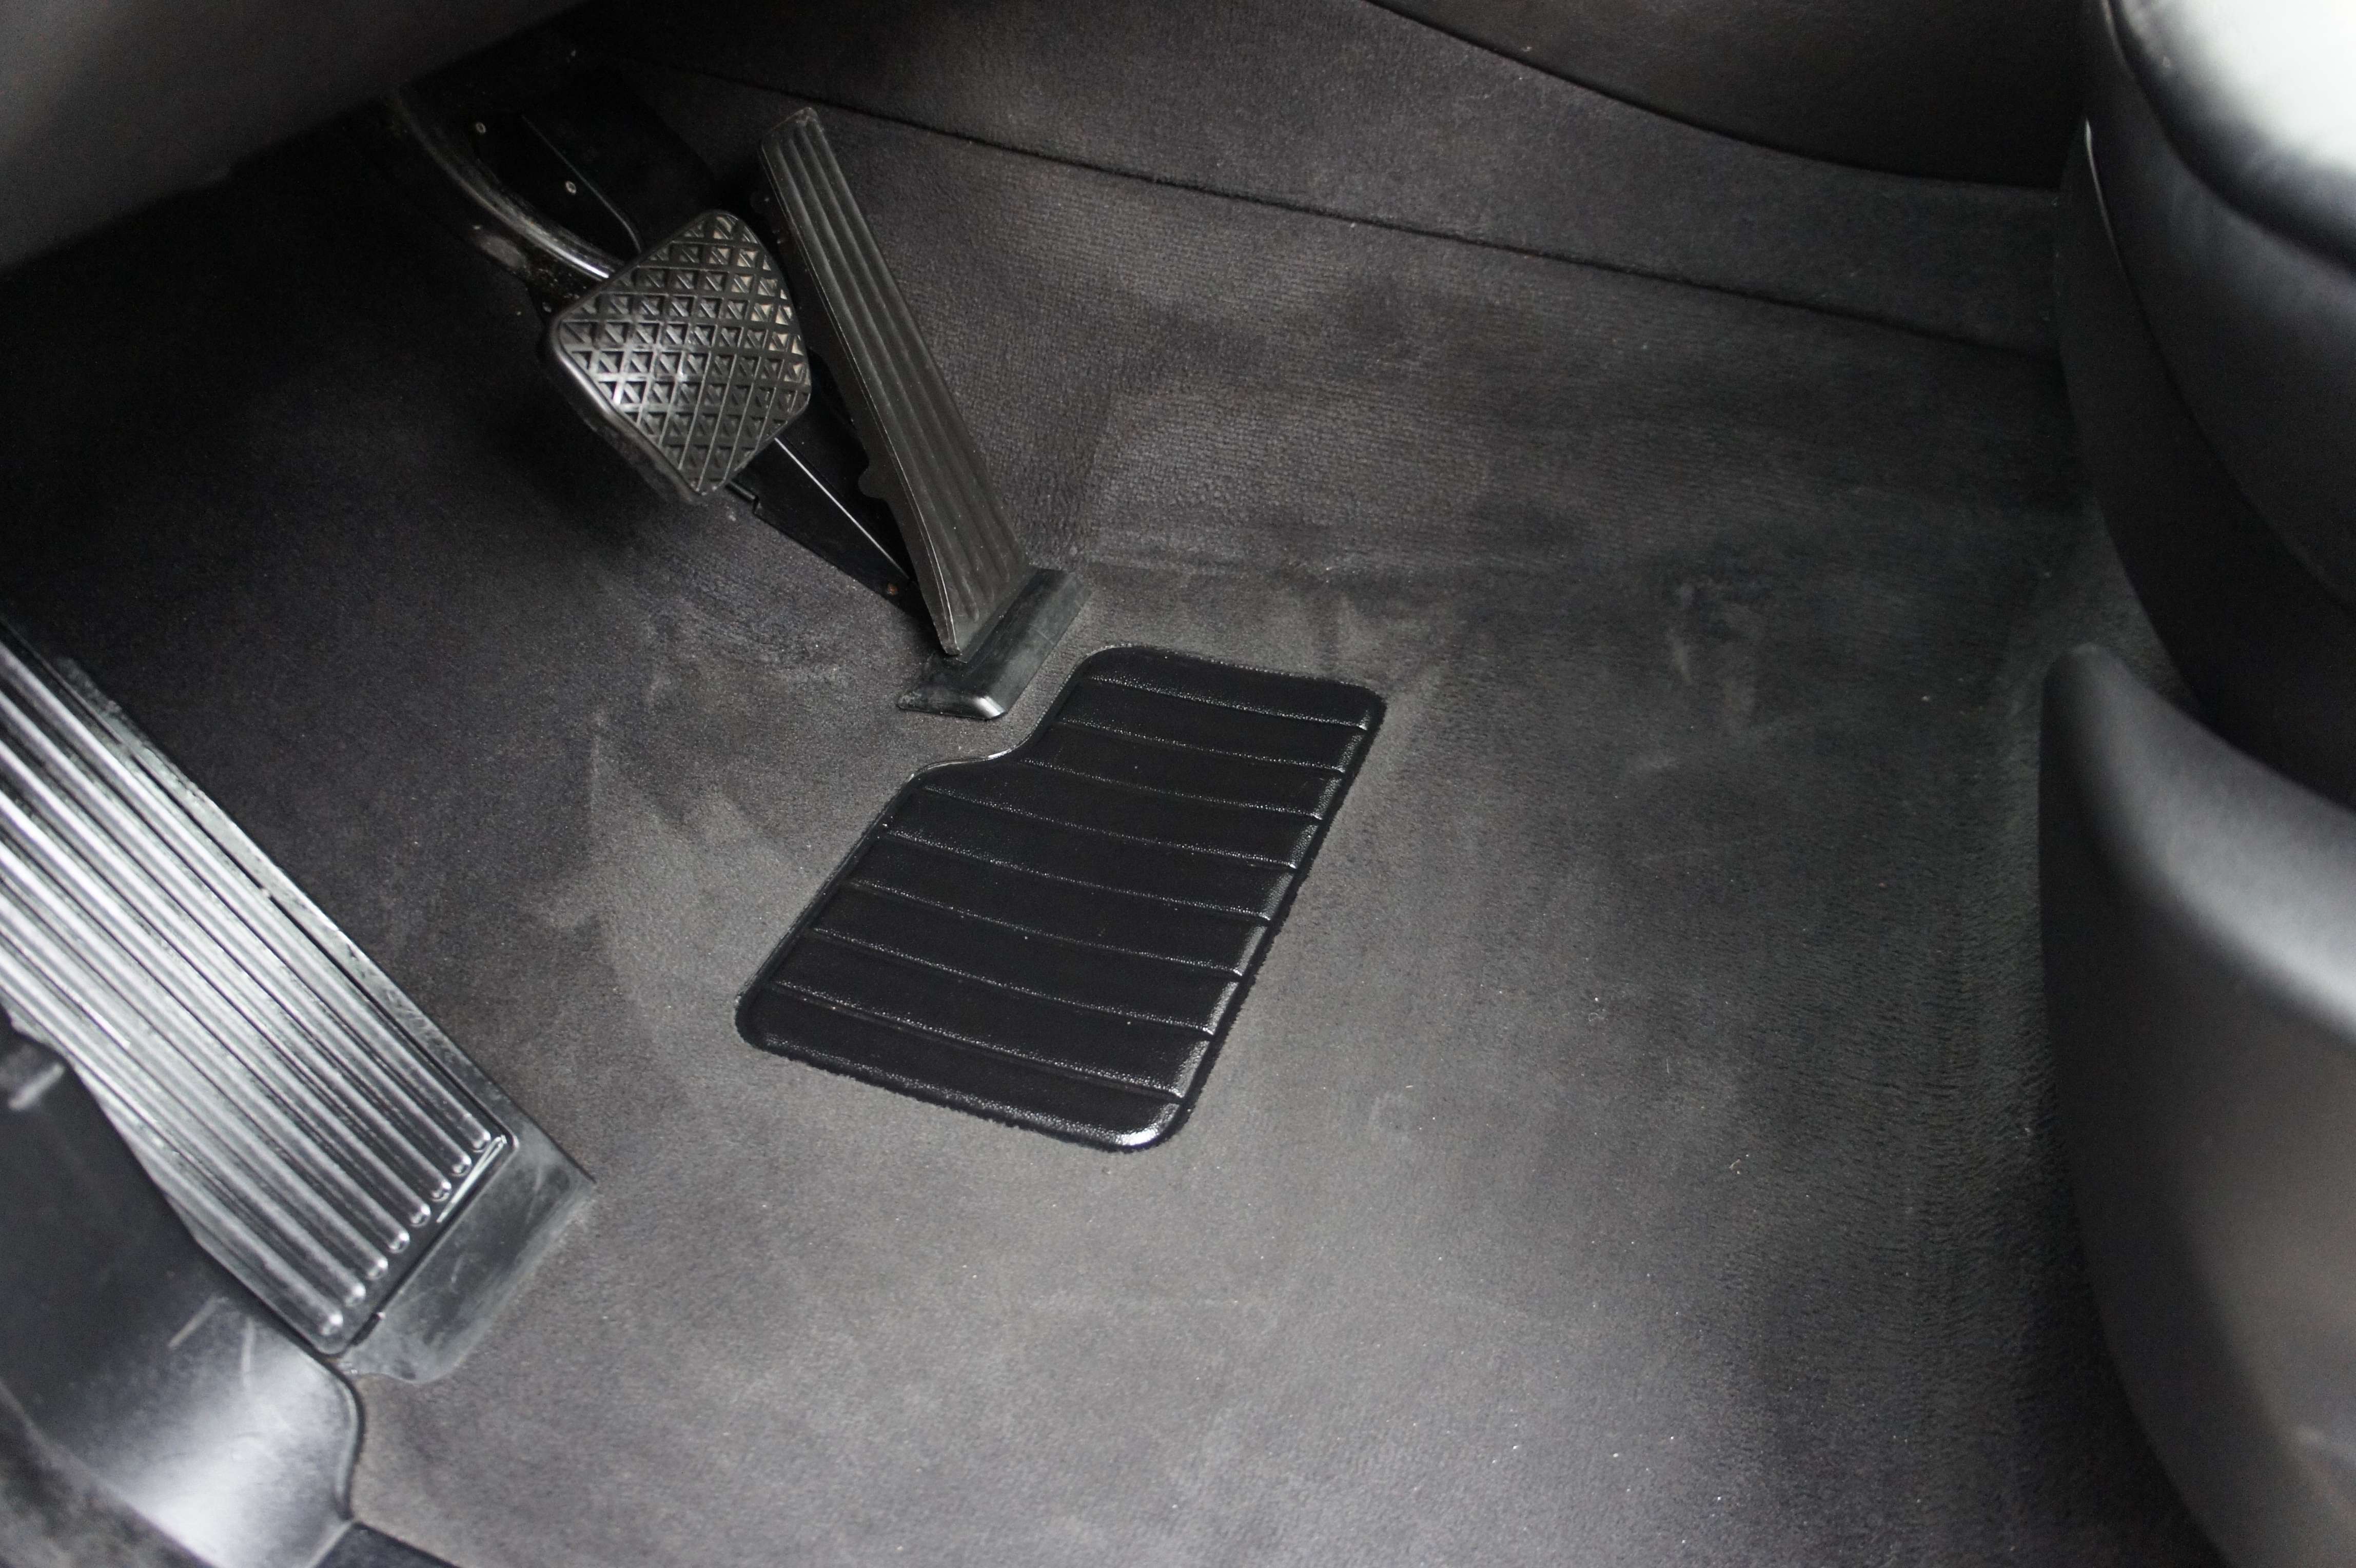
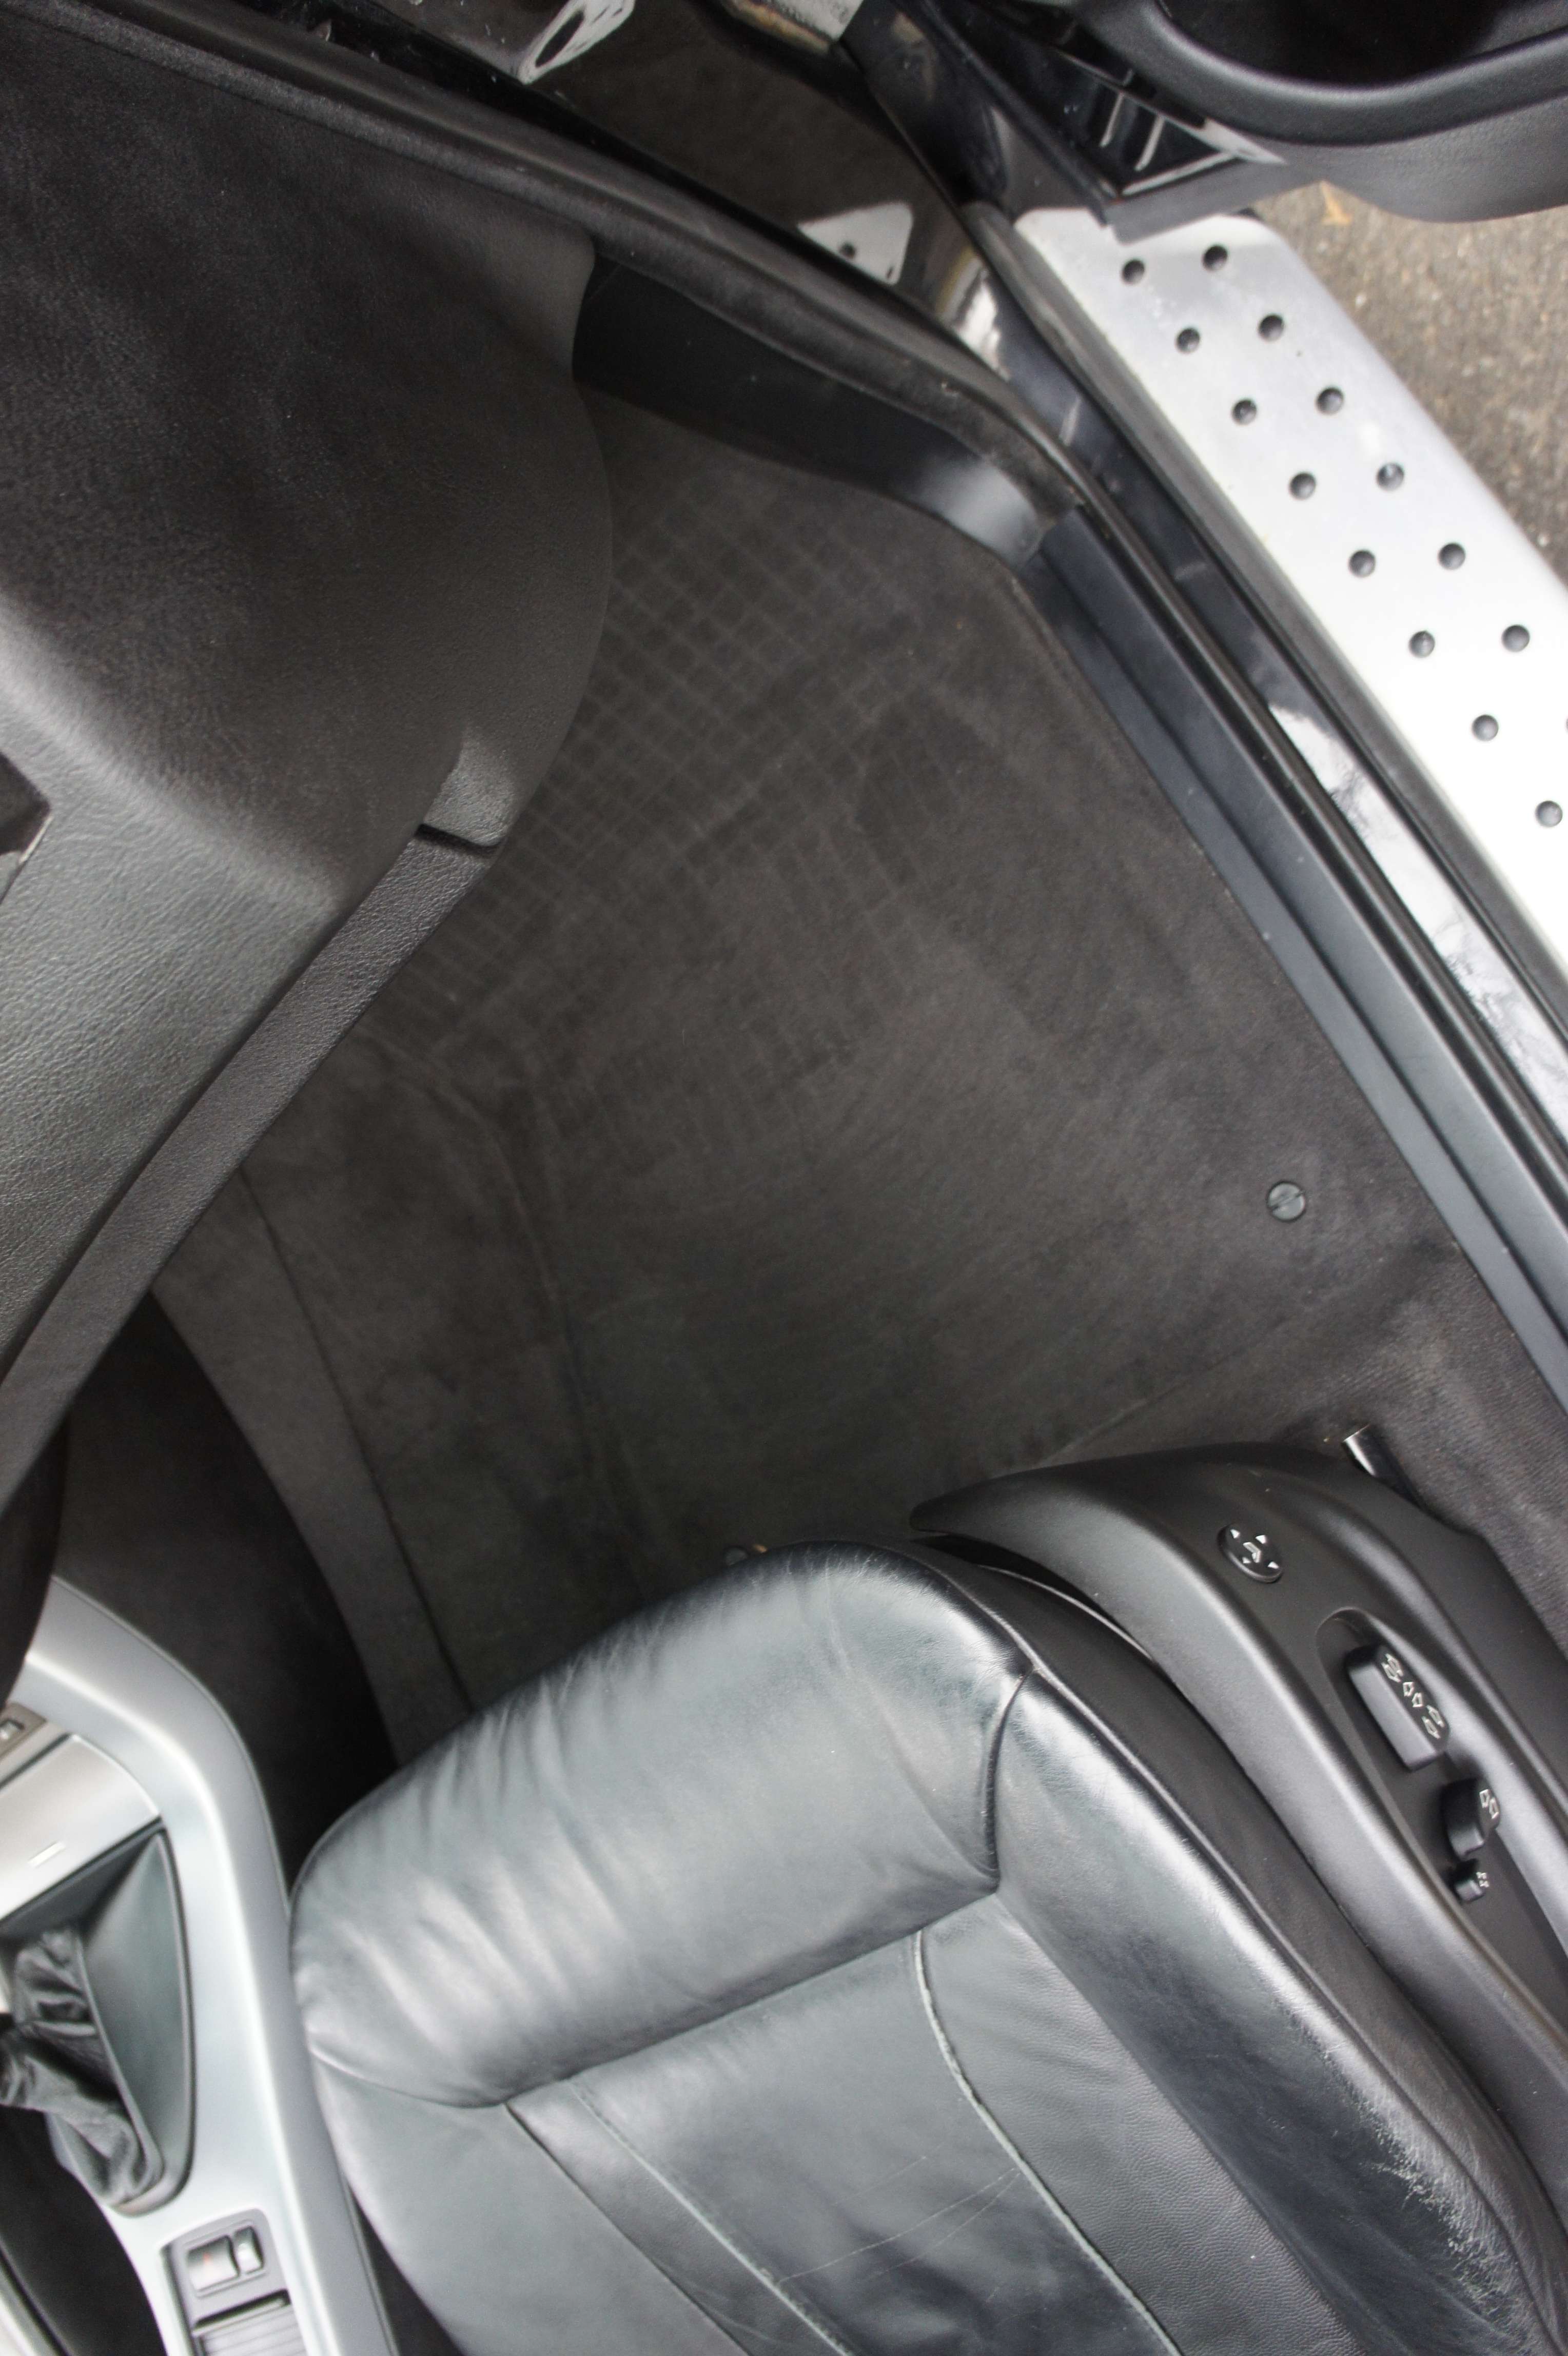
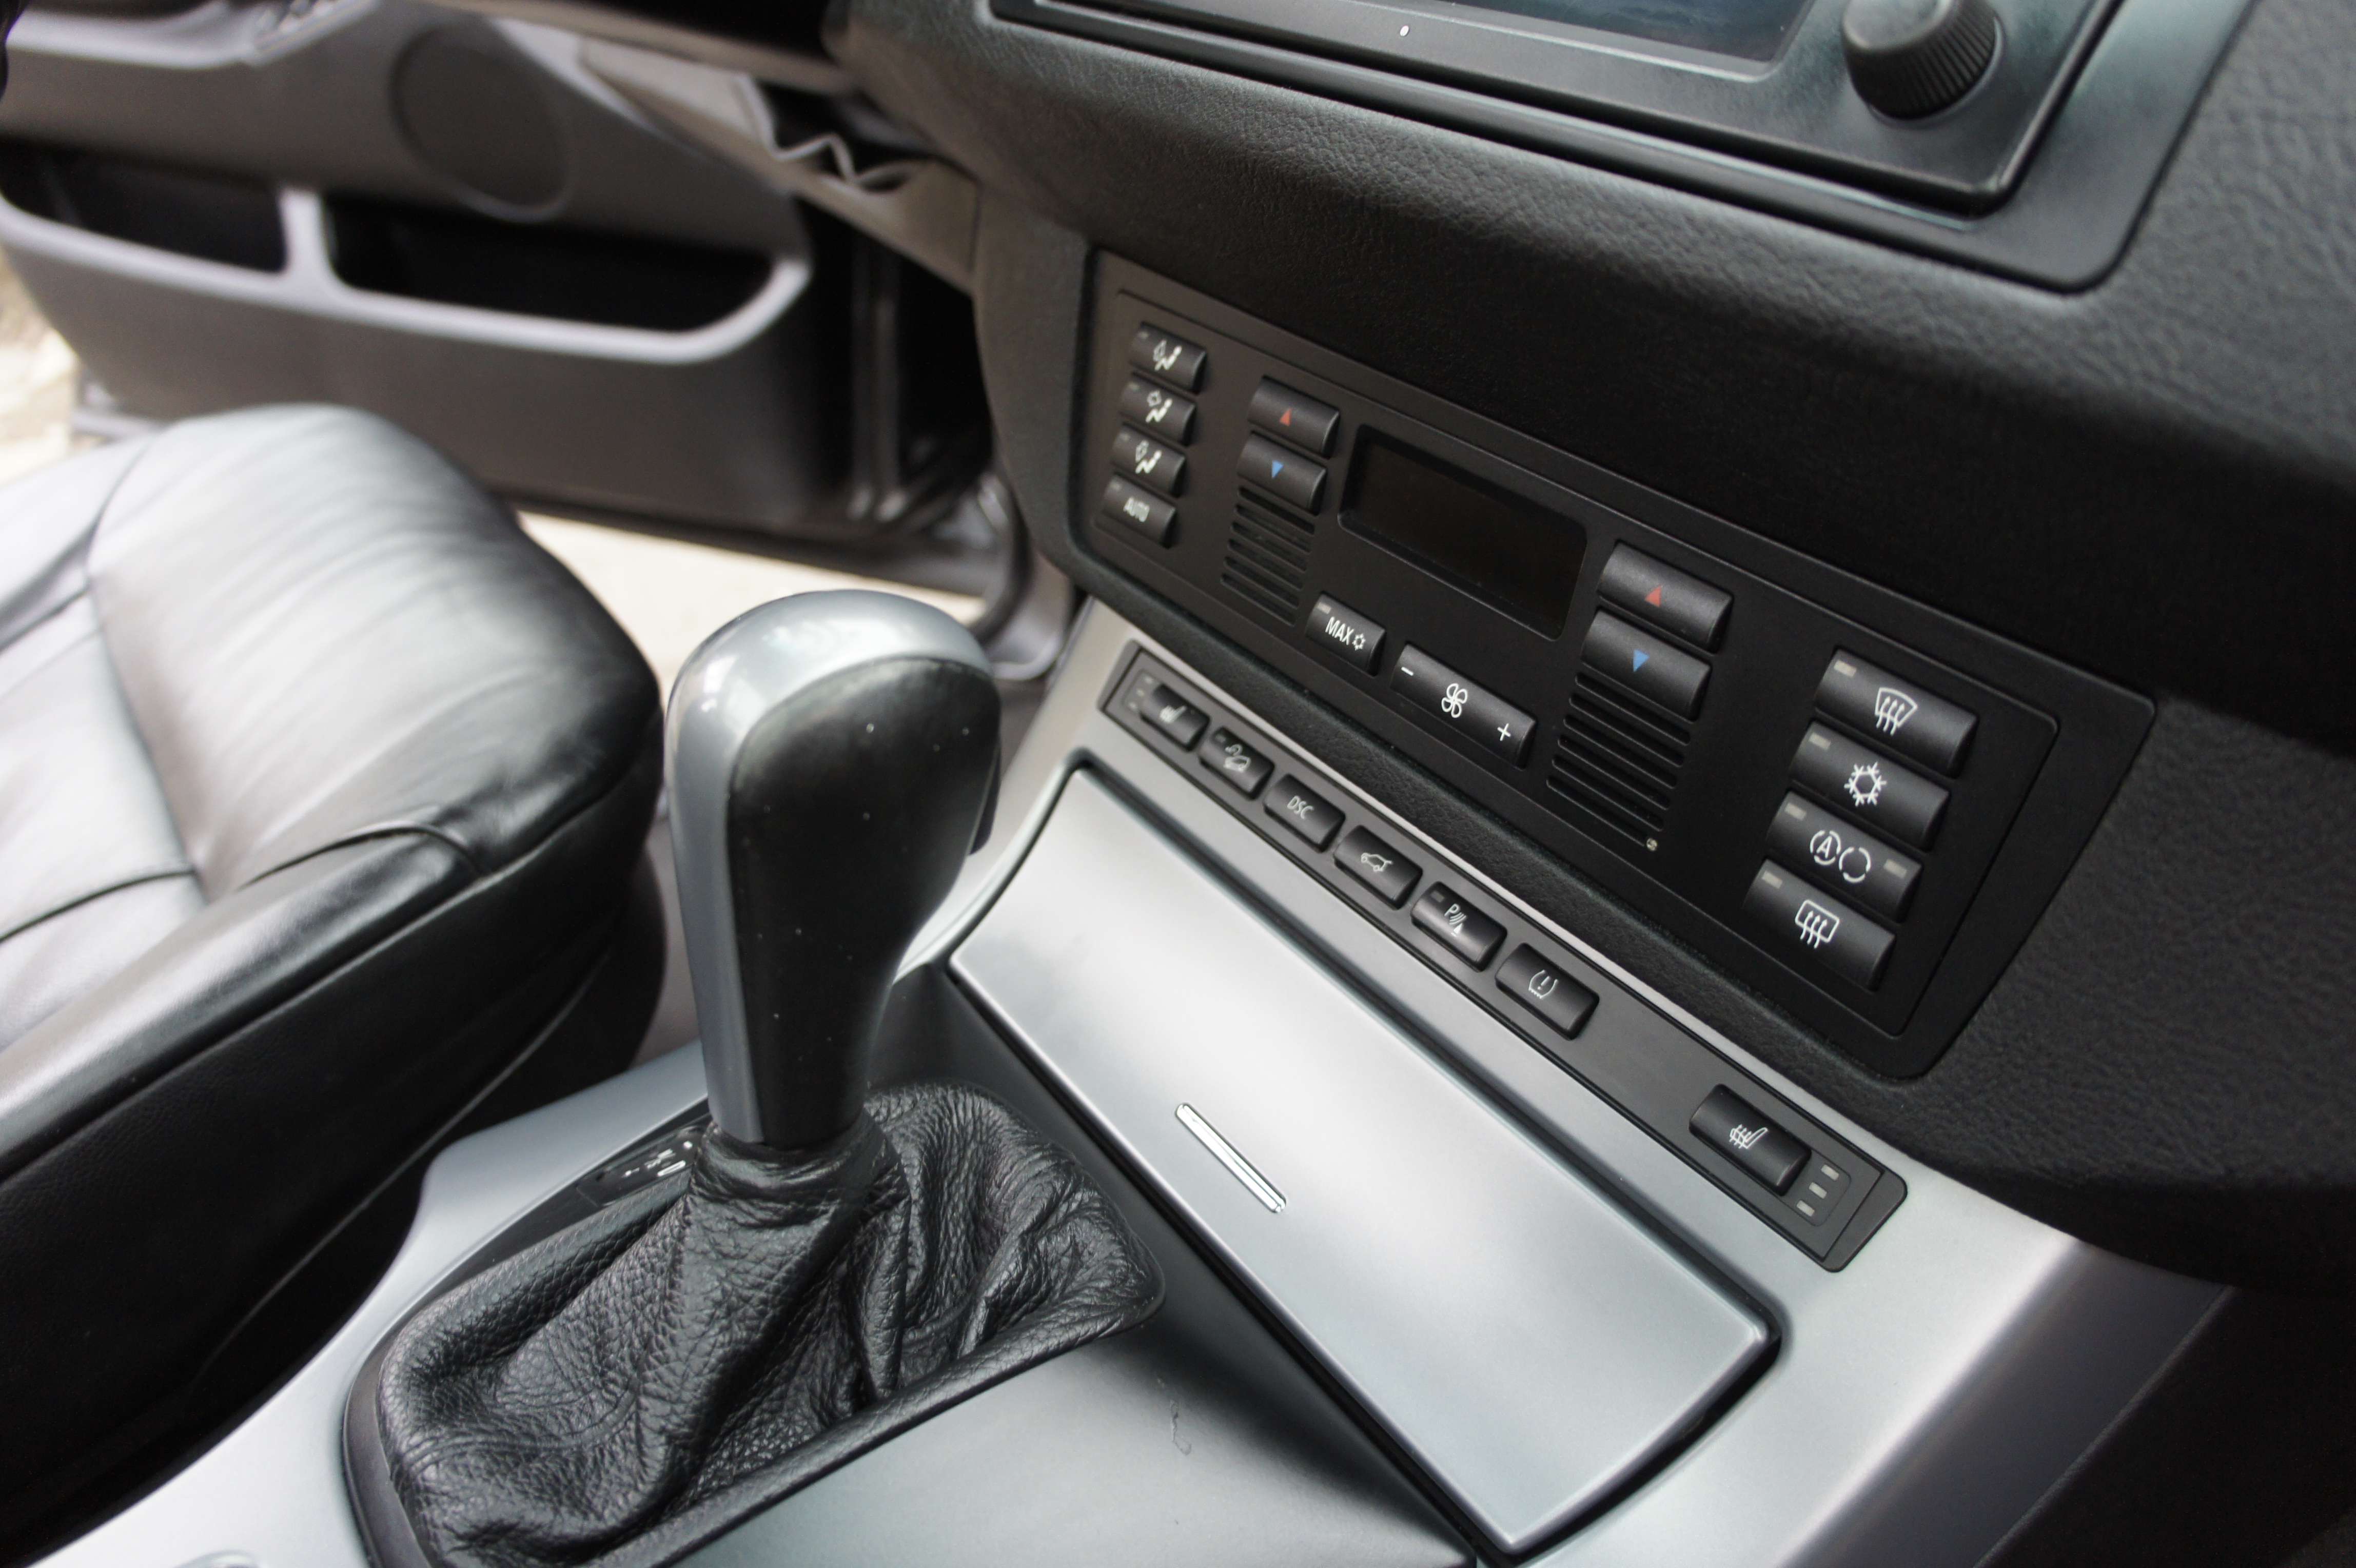
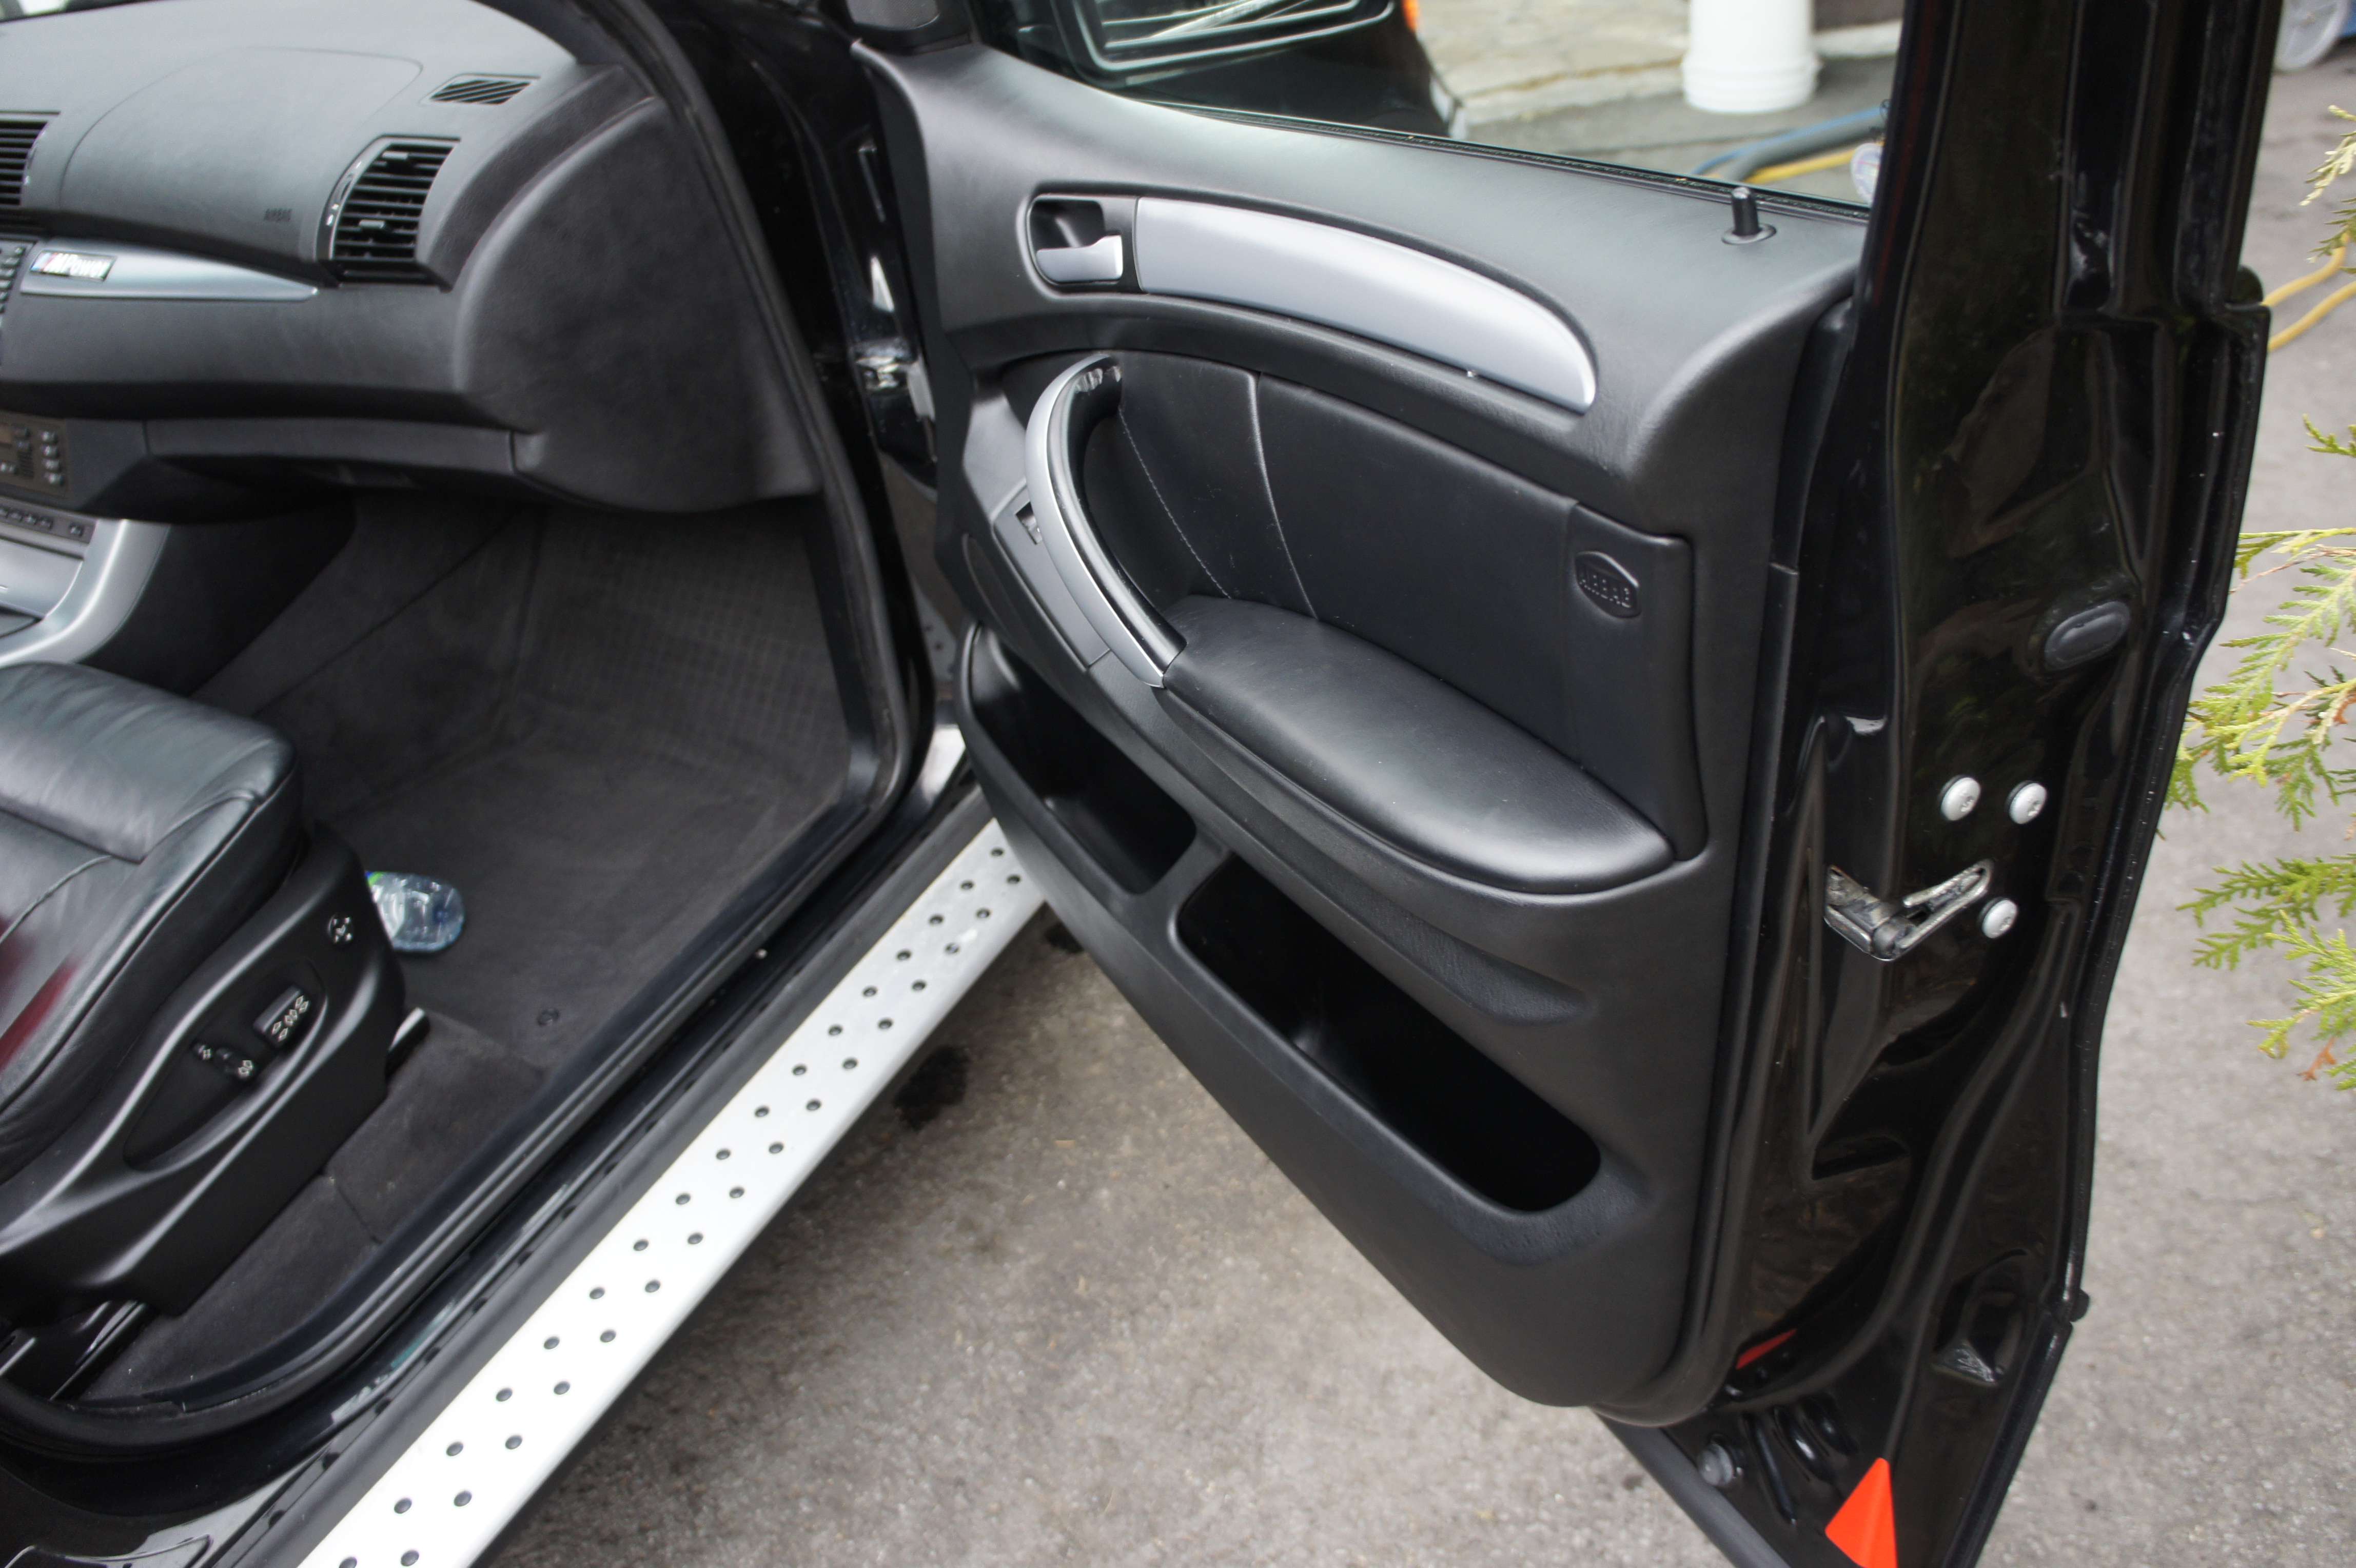
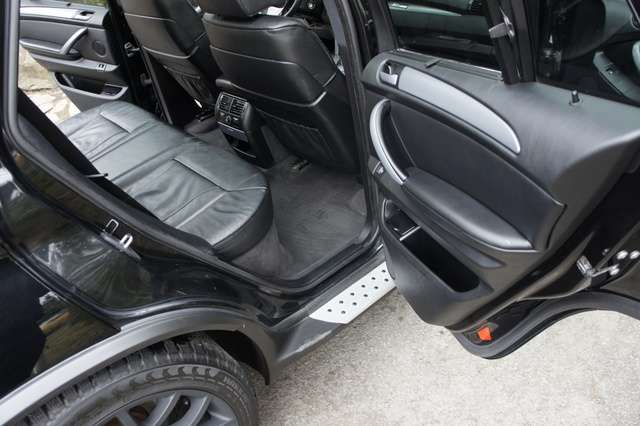
Here’s some after-picture of the interior.
Just did a leather cleaner + conditioner and a quick wipe + salt remover on the carpet done by the extractor.

It was a pleasure to work on this truck, I think The wax added a nice depth to the paint. Even tho, it took me more times than I thought ( these trucks are huuuge lol!), I enjoyed working on this car. The result is rewarding!
See ya.
Pour une question de polissage réalisé à montreal.. alexandre.lemay @ hec . ca
For more info regarding this polishing job, detailing , done in the greater Montreal , please contact me at alexandre.lemay @ hec . ca
With that said, let’s jump to the core of the job :
Here’s how I got the car :
Cleaning-step:
Voici comment je procède toujours pour la preparation d’un polissage:
1. Rinse the car to remove some dirt :
2. I then foam the car:
Gotta love thick foam!
3. I let the foam dwell and works in every crevice of the car and the meantime, I fill up my bucket.
Notice that my bucket have 4 grit guard to keep most of the dirt under the Guard.
Oh yeah, you propably saw my natural sea sponge here.. well just a little extra luxury
4. Rinse again
5. Wash using the 2 bucket method.
6. Rinse
7. Time for the clay bar:
Rough condition!
8. I then use a chemical decontaminant. I let the stuff work for 5-10 minutes. In the meantime, I wash the wheels.
It’s working!
9. Washing wheels: Here’s some tool I used
10. I also use my brush to clean crevice and door molding:
11. The owner asked me to remove the X5 badge, that was some hard work!
It’s now gone:
12. Okay so I think the vehicule is clean now.. let’s rinse it and dry it with a microfiber!
Now before I polish, I want to take some measure with my Defalsko paint gauge to make sure I can work without doing anything bad to the paint. This is excellent safety.
As you can see the paint is quite messed up! I will try to make it more even/uniform by doing a 3-step polish. But before, I will tape my molding:
Inspecting the paint.. uuummmm, this truck was in bad shape!
• When I inspect the paint, I always use AT LEAST 2 different source of light ( usually it’s a sun-gun and a LED light) *
Test-spot.
This time I decide to do it differently.. let’s just do a square inside the swirled paint
Sun gun, you can see the difference in Kelvin color:
And under the shade:
Looks good enough to me!! Let’s polish, we are finally ready! It’s important to not skip any of those step if you want a nicer finish. (better prep = better result!)
Here’s a 50/50 with the trim restorer:
Applying Swissvax cleaner fluid to prep the paint for something quite unique..
Polishing the door handle is very important for a nice finished result;
Et maintenant la pièce de résistance
. Waxxon’s wax made by Raceglaze UK. 76% carnauba of pure p0rn! Haha!
Le résultat final:
Wheel well detailed :
There’s no reason not to polish the top even tho the truck is like 7 feet tall!
Here’s some after-picture of the interior.
Just did a leather cleaner + conditioner and a quick wipe + salt remover on the carpet done by the extractor.
It was a pleasure to work on this truck, I think The wax added a nice depth to the paint. Even tho, it took me more times than I thought ( these trucks are huuuge lol!), I enjoyed working on this car. The result is rewarding!
See ya.
Pour une question de polissage réalisé à montreal.. alexandre.lemay @ hec . ca
For more info regarding this polishing job, detailing , done in the greater Montreal , please contact me at alexandre.lemay @ hec . ca